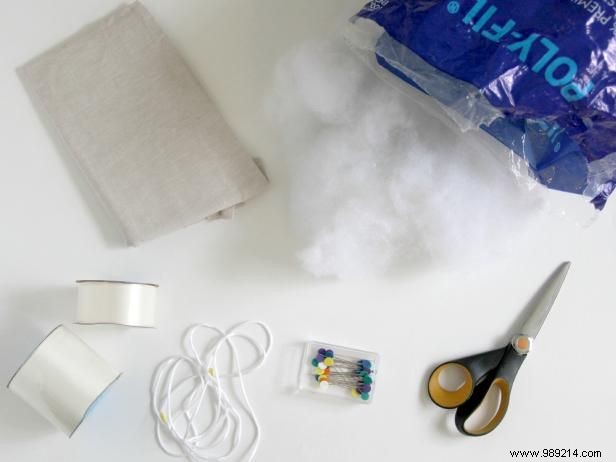
As a crafter with over a decade of experience creating wedding accessories, I've perfected this ring bearer pillow design. You'll need: 3/8 yard woven fabric, 1-1/2 yards 3-inch wide silk ribbon, 1-1/2 yards 1-inch wide silk ribbon, 5/8 yard 5-inch silk cording, Poly-Fil fiberfill, sewing essentials (scissors, pins, thread, sewing machine), and Fray Check.
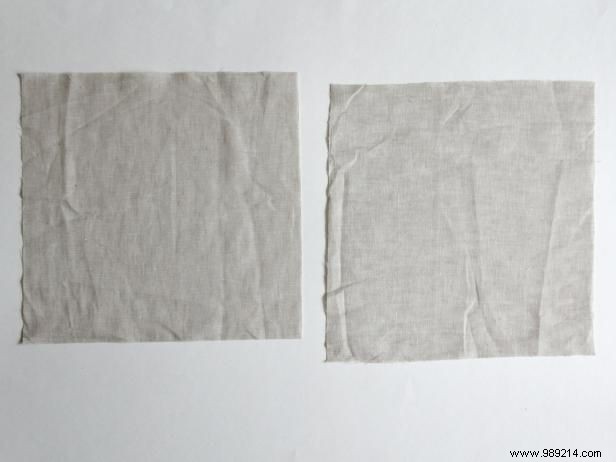
Cut two 11-inch fabric squares for the front and back. Cut two 24-inch pieces of 3-inch ribbon and two 24-inch pieces of 1-inch ribbon.
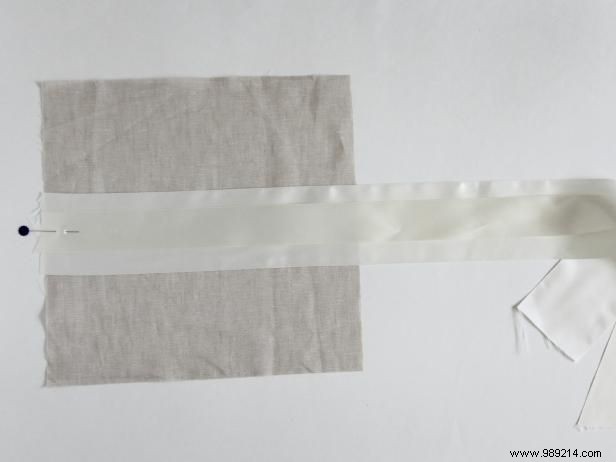
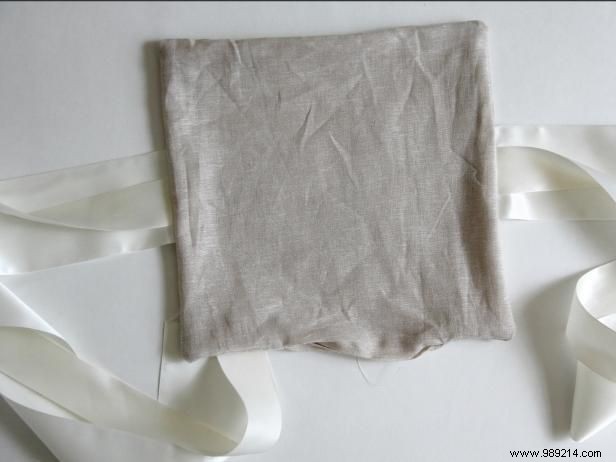
Layer one 1-inch ribbon over a 3-inch ribbon, aligning edges. Center it on one fabric square's edge and pin. Sew with 1/4-inch seam allowance. Repeat on the opposite edge.
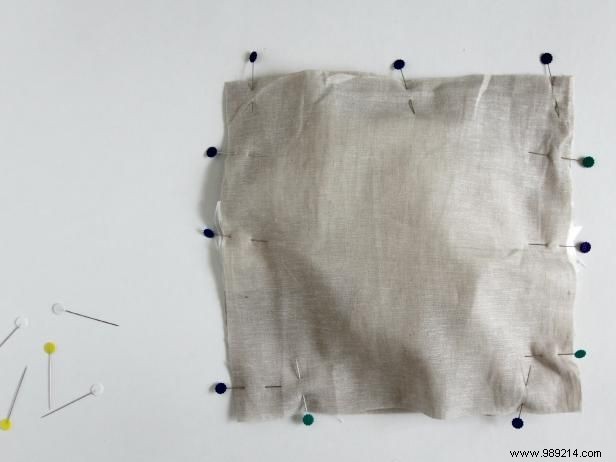
Place pieces right sides together, pinning around edges. Ensure ribbons are secured. Sew around, leaving a 4-inch opening for turning.
Turn pillow through the opening and press with an iron for a crisp finish.
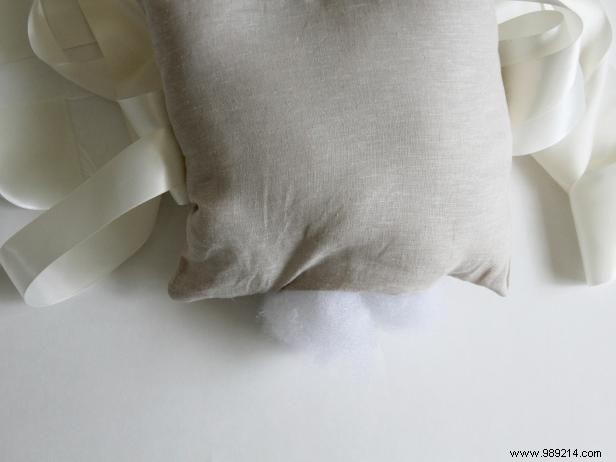
Fill generously with Poly-Fil for a plush, soft feel—avoid overstuffing to keep it comfortable.
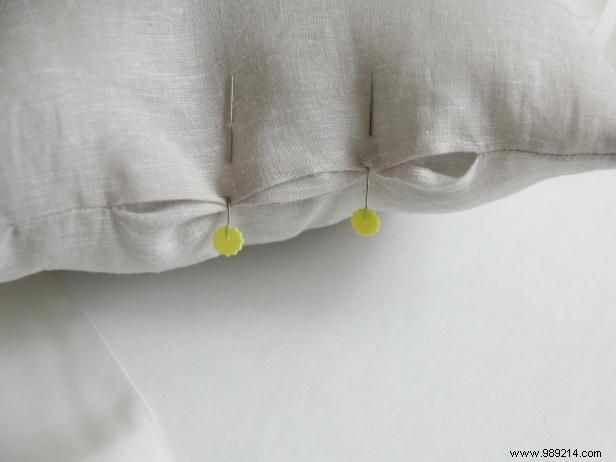
Tuck raw edges inside and whipstitch the opening securely.
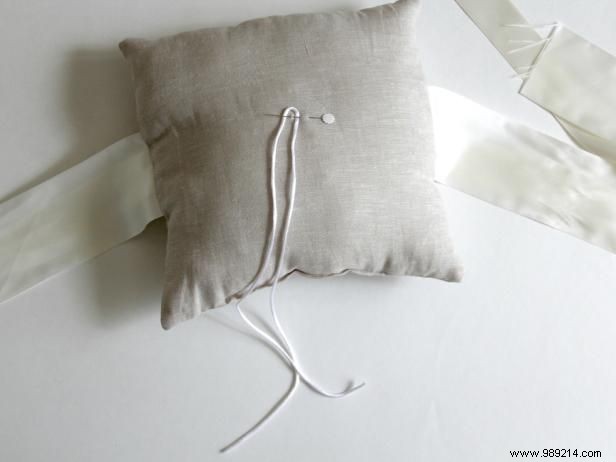
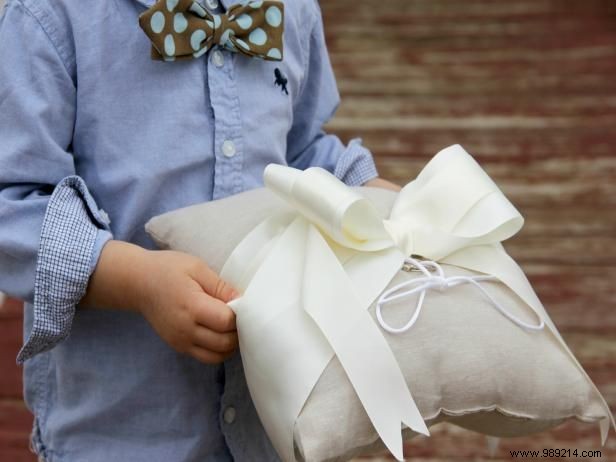
Pin the cording's center to the pillow's center. Sew it firmly to the top with needle and thread.

Fold ribbon ends backward over the pillow top.
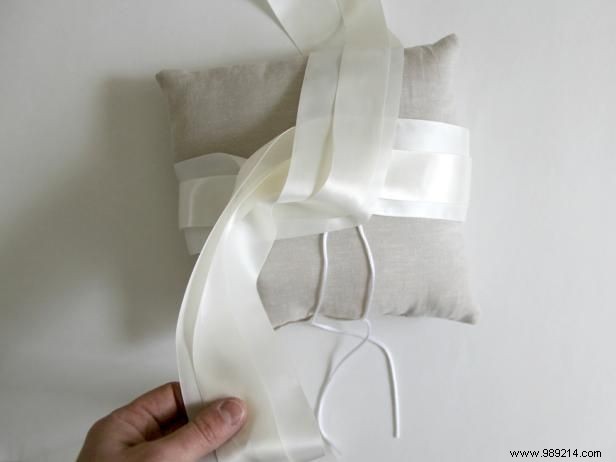
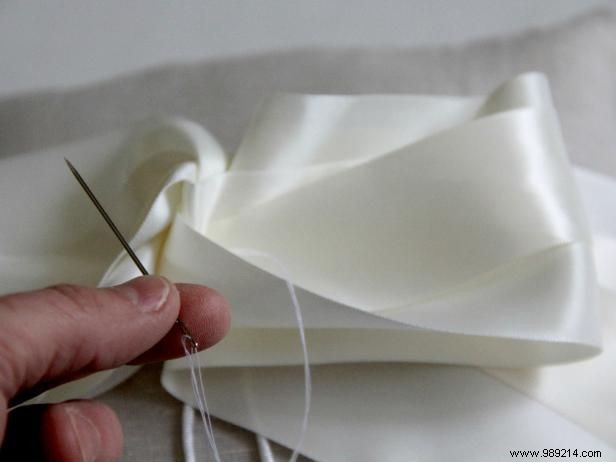
Wrap one ribbon around the other to build the bow structure.
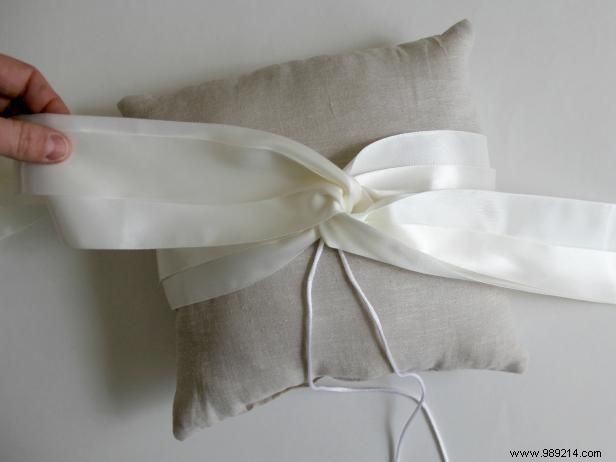
Form a loop with ribbon and gently pull back to center.
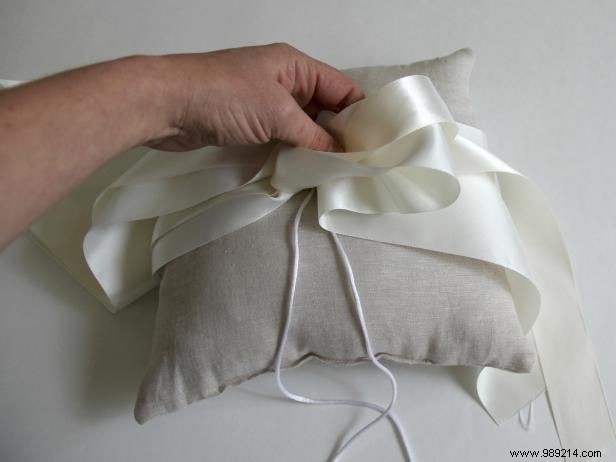
Lift one ribbon side into a loop and pin to secure.
Repeat on the other side for symmetry.
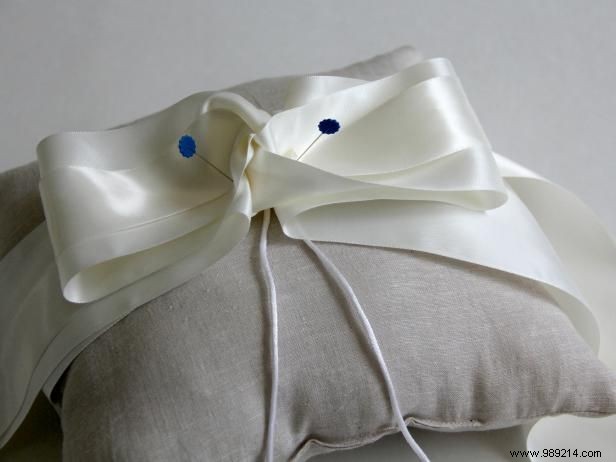
Sew a few stitches through loops to hold them together.
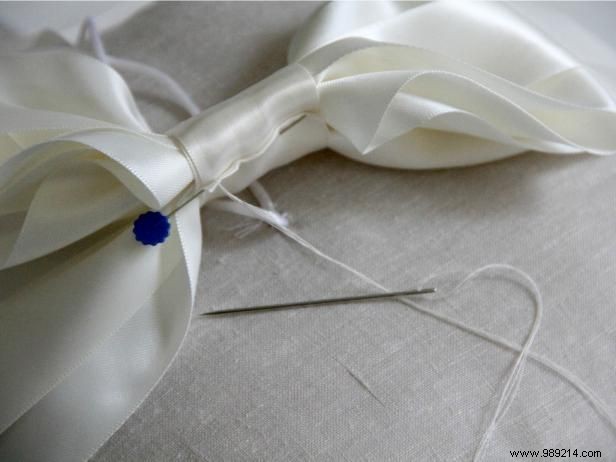
Cut 4-inch piece of 1-inch ribbon, wrap tightly around bow center. Fold end under 1/4-inch, whipstitch to secure.
Sew bow center directly to pillow center from the back.
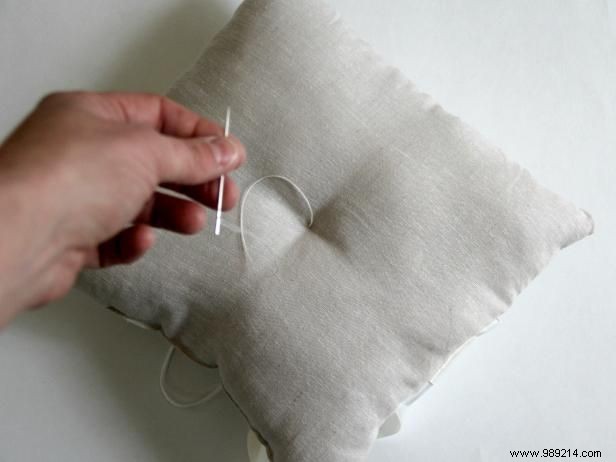
Pull thread through to front for a quilted effect, repeating a few times. Knot to finish.
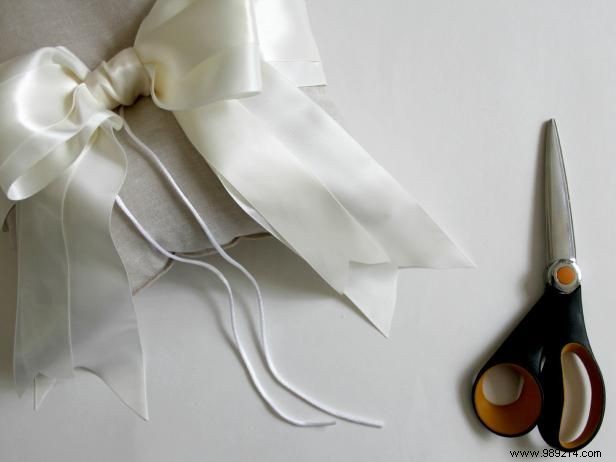
Cut ribbon ends neatly with sharp scissors. Apply Fray Check to prevent fraying.
Congratulations! You've created a cherished, handmade ring bearer pillow perfect for any wedding.