Photography by Buff Strickland
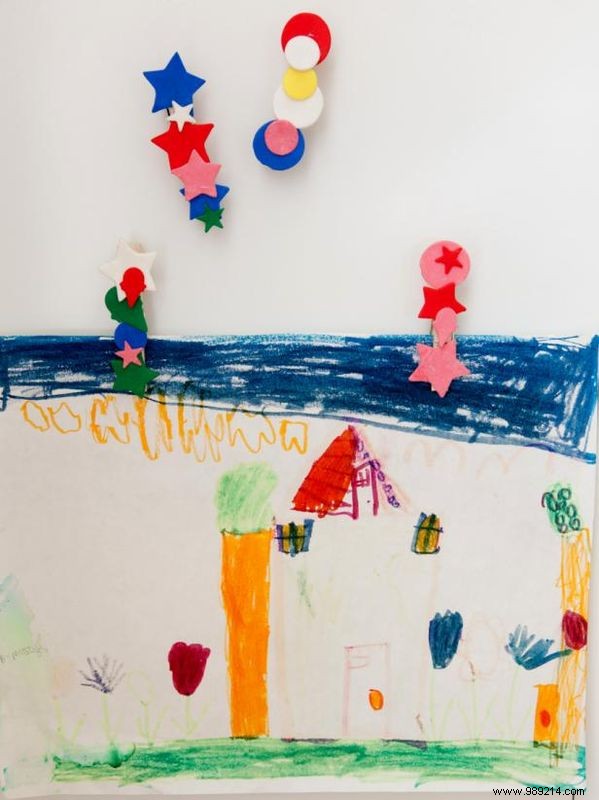
Help kids craft these adorable magnetic clips to showcase their artwork or stand alone as mini masterpieces on the fridge.
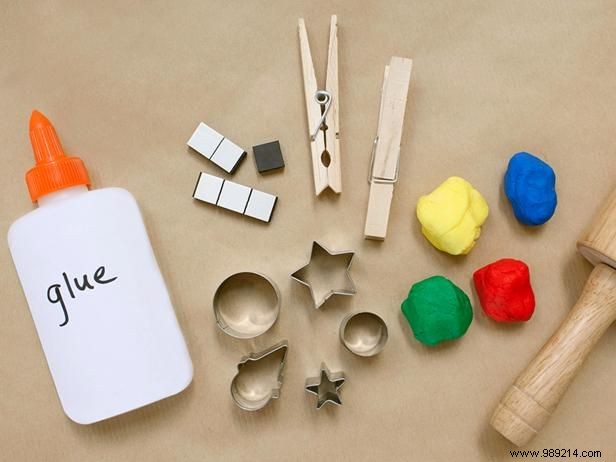
You'll need: clothespins, air-dry clay, a rolling pin, clay cutters or small cookie cutters, craft glue, and adhesive-backed magnets.
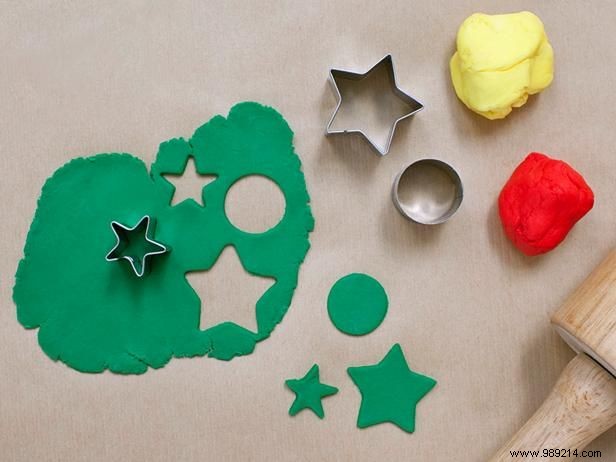
Roll the clay into a ball, then flatten it with a rolling pin. Thinner clay dries faster. Use cutters to form shapes, and let them air-dry. Repeat with different colors and designs for variety.
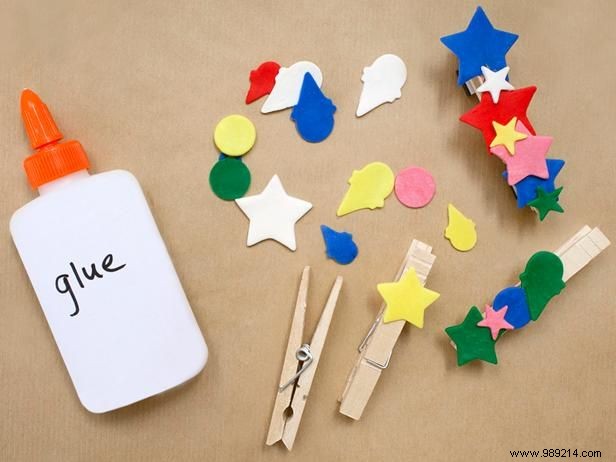
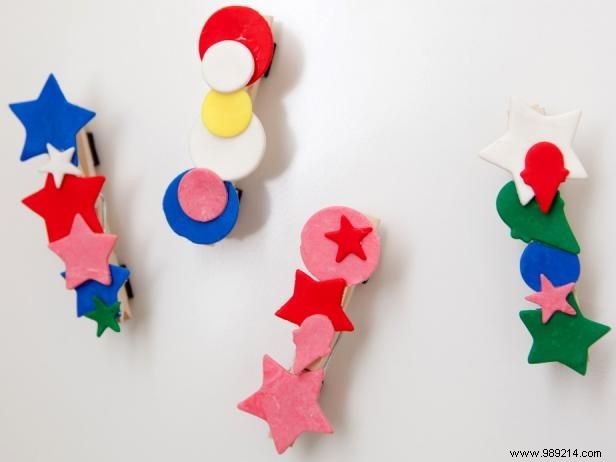
Once dry, glue the shapes onto the clothespins. Experiment with layered colors and arrangements for unique designs. Allow to dry fully.
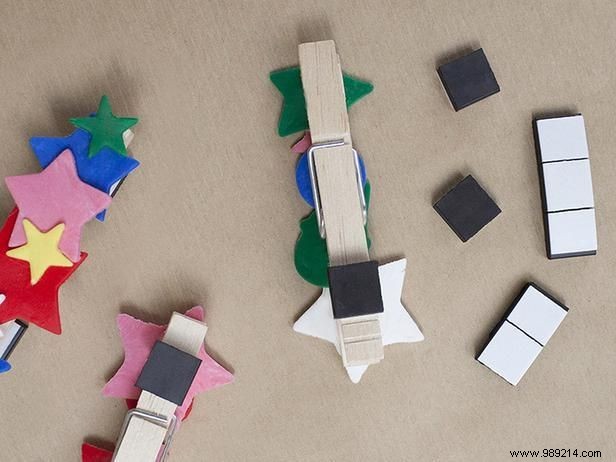
With glue dry, flip the clothespins over. Peel the backing from the magnetic squares to expose the adhesive, and attach three to the back of each clothespin.
Photography by Buff Strickland
Display on the fridge to hold artwork, photos, or notes—instant eye-catching decor!