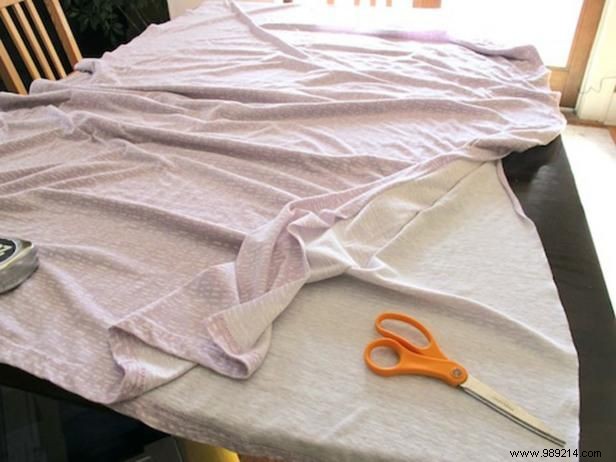
As a DIY home decor expert with years of custom window treatment projects, start by spreading your flat sheet on a flat work surface. Cut it cleanly in half lengthwise for a personalized touch—save the template for future use if desired.
Measurements will vary by window size, but this method scales easily. For my bedroom windows, I needed 50 inches top to bottom. The blackout fabric bolt was 54 inches wide, so two yards (just $7.50 total!) covered both perfectly after trimming. Always check widths at the store to avoid excess.
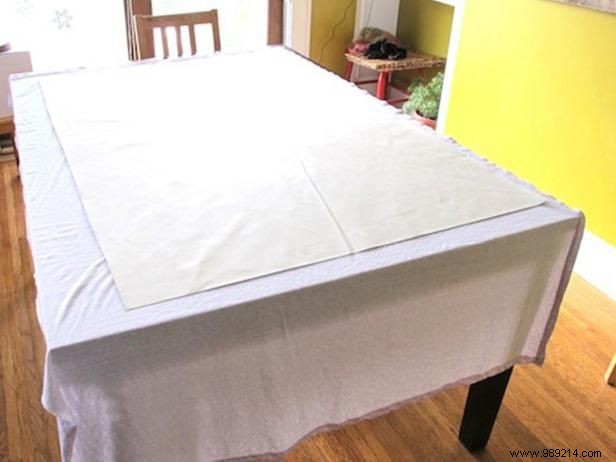
Layer a yard of blackout fabric over the sheet (have the store precut two yards in half for ease).
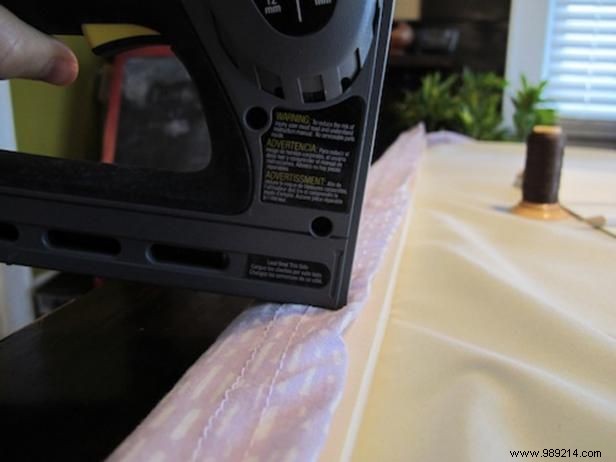
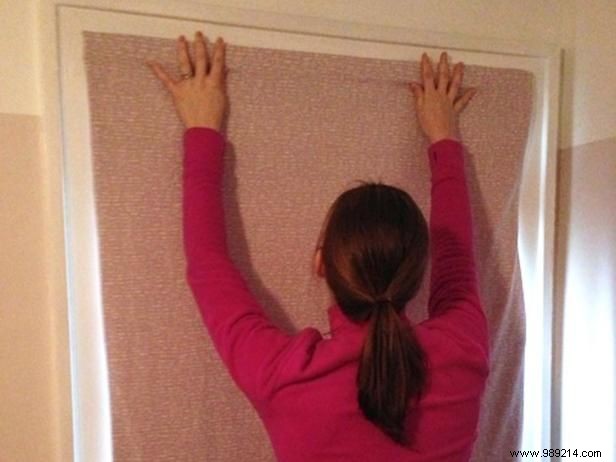
Using a miter saw, cut a 6-foot board in half for my 36-inch-wide shades. This sturdy header supports the curtain weight and mounts easily. Staple both fabric layers directly to the board with an electric staple gun, as shown.
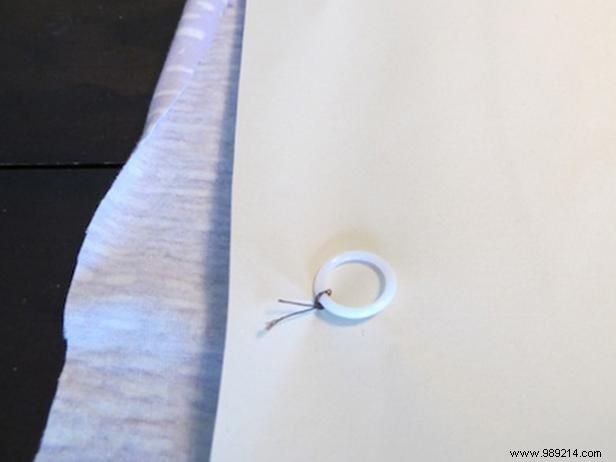
Sew plastic rings along both sides, across the top under the header, spaced about 15 inches apart.
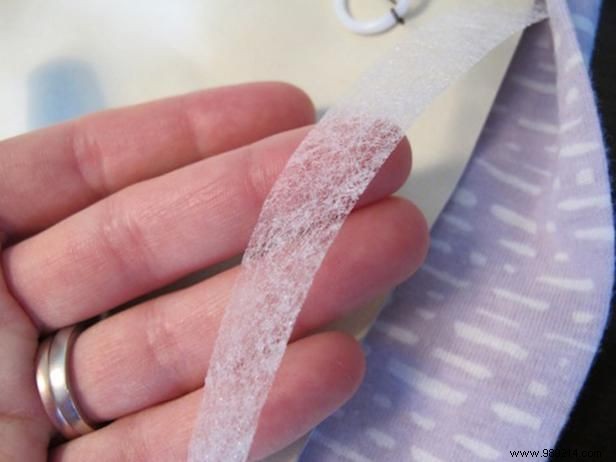
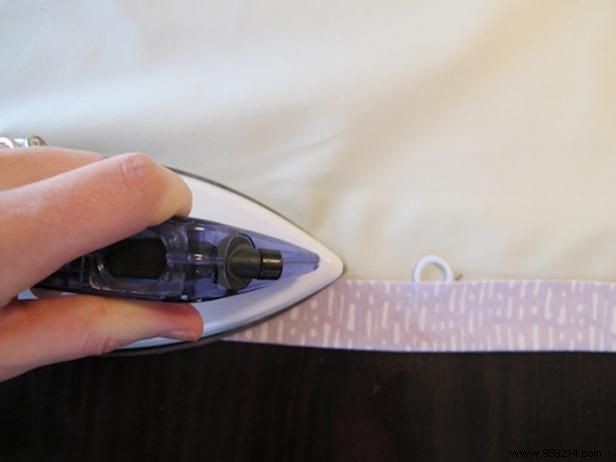
Apply 5/8-inch Stitch Witchery to fuse the layers securely. I also sealed a weighted hem at the bottom (as hinted in the photo) for even hanging.
Thread thin, strong nylon cord through the rings.
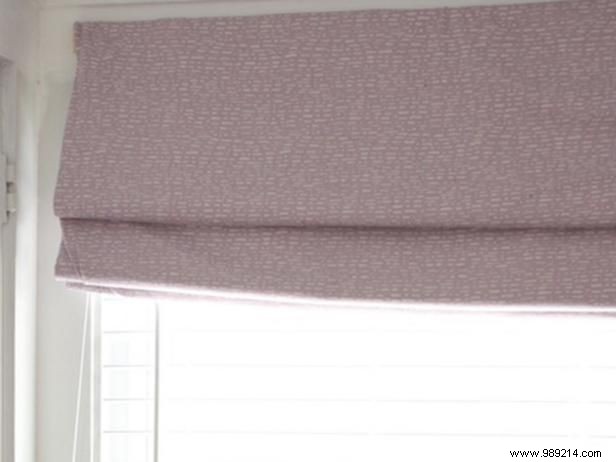
Screw the header board directly into the window frame for stability, concealing screws under the fabric for a clean look. Add a wall hook to hold the raised shade safely out of reach.
For wider shades (over 36 inches), add a center row of rings and a third cord to prevent slack.