Upcycled tables like these are timeless conversation starters. Crafted from natural log slabs and vintage chair legs, they're exceptionally sturdy—perfect for kicking back with your feet up—while costing next to nothing and assembling with ease. As a seasoned woodworker, I've made dozens, and this method delivers professional results every time.
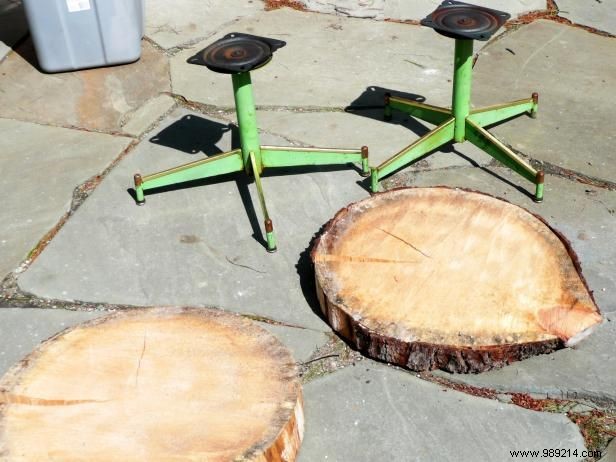
Hunt for vintage chair bases at thrift stores, salvage yards, or flea markets—you may need to buy full chairs and remove the seats. For the tabletop, source kiln-dried log slabs from a local sawmill to prevent cracking, shrinking, or excessive expansion.
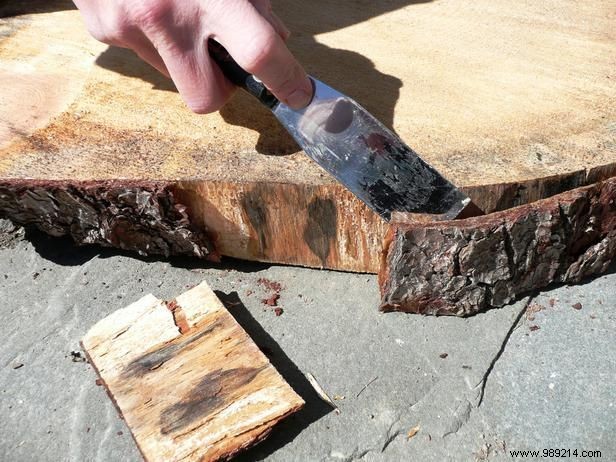
Optionally, strip the bark from the log slab's edges for a cleaner finish.
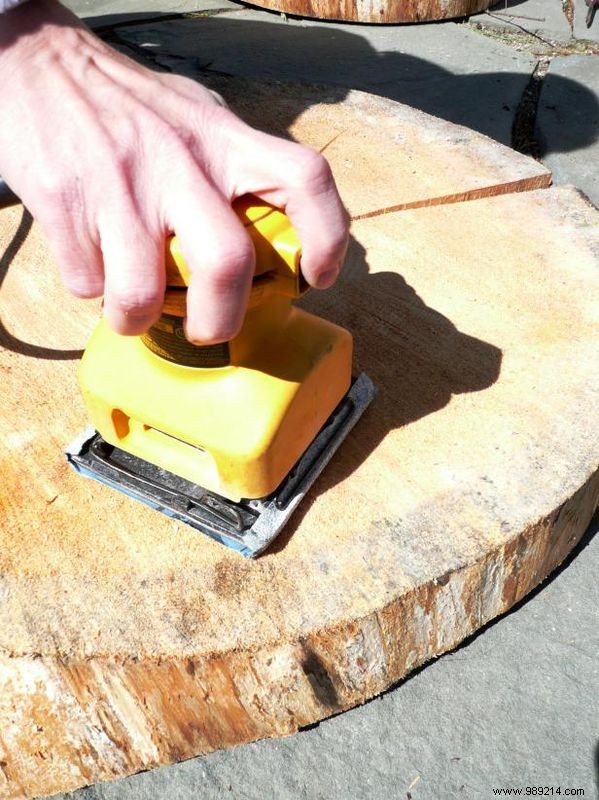
Sand the entire slab, including edges, starting with 80-grit paper and progressing to 120-grit for a smooth surface. Wipe away dust with a damp cloth and let it dry completely.
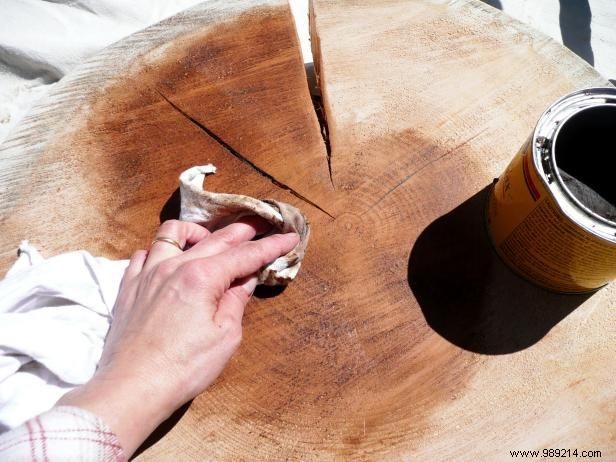
Coat the top surface with dark wax, working it in circular motions using a lint-free rag. Allow it to dry, then apply a second coat for enhanced durability and rich patina.
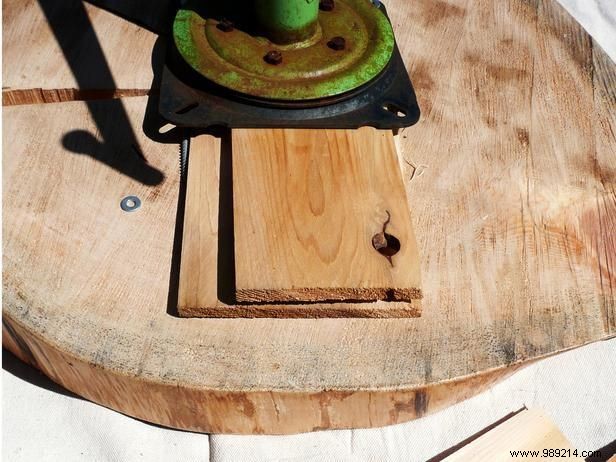
Lay the slab face down on a drop cloth. Center the chair legs underneath. If legs are uneven, insert shims for stability, and double-check levelness with a reliable level tool.
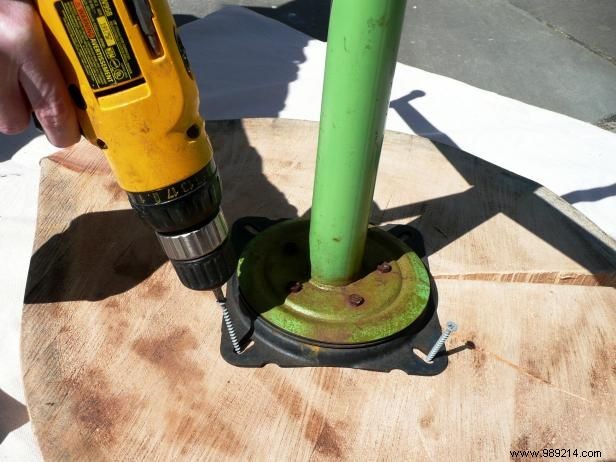
Thread a washer onto each screw, then drill into the slab to fasten the legs securely. Use a level to verify evenness, adjusting screws as needed for a perfectly balanced table.