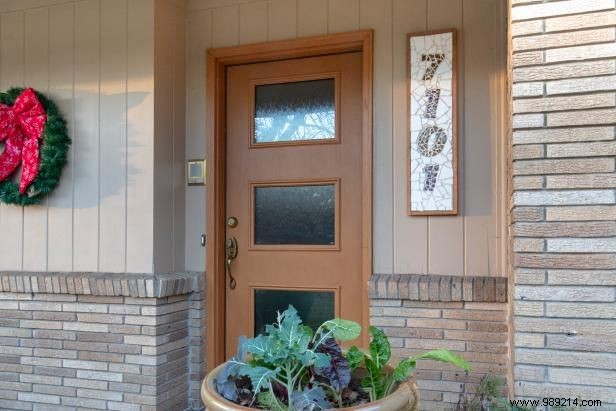
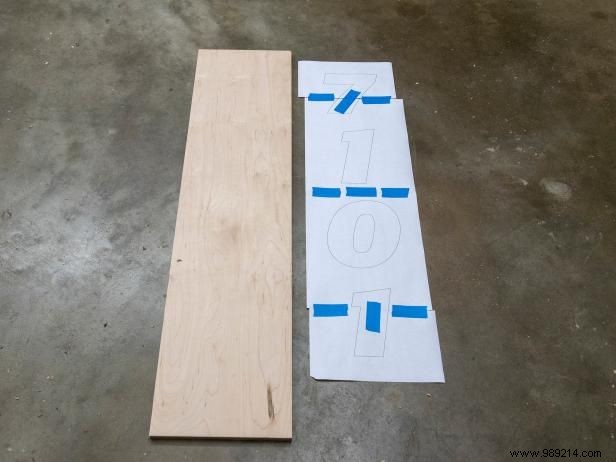
Begin by measuring the installation space for your house numbers. Choose dimensions large enough to be visible from the street but not oversized or unwieldy. A rectangular shape offers a straightforward starting point. Cut your 1/8-inch plywood to the selected size for the backing. Print numbers on your computer at the desired scale, then assemble them into a full template to match your plywood.
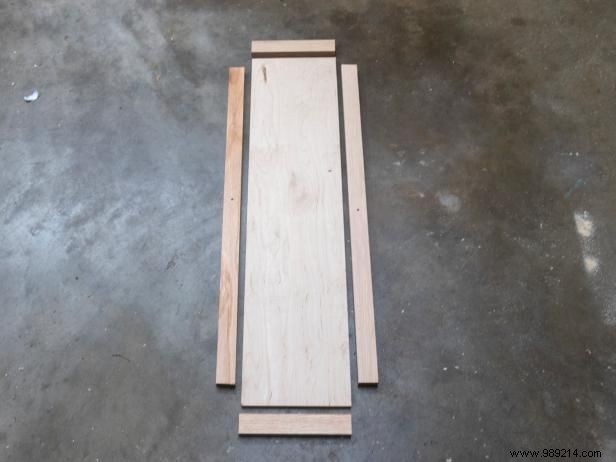
A back frame conceals mounting hardware and prevents interference with tiles on the front. Cut 1x3 wood strips to frame the inner edges of the plywood backing.
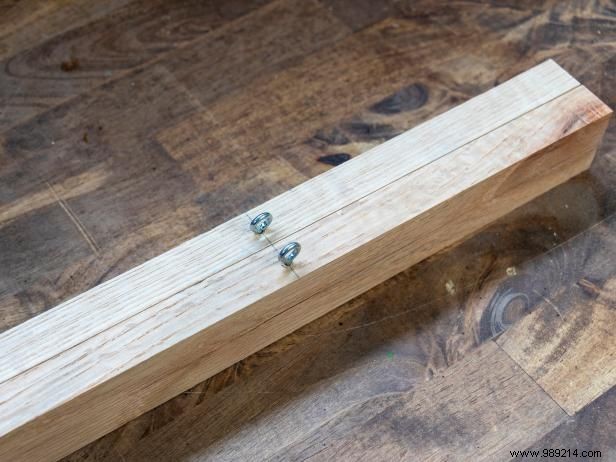
Attach screw eyes to the frame now, before tiles are added. On the two longest frame rails, mark spots 6-8 inches from the top ends and install screw eyes at each.
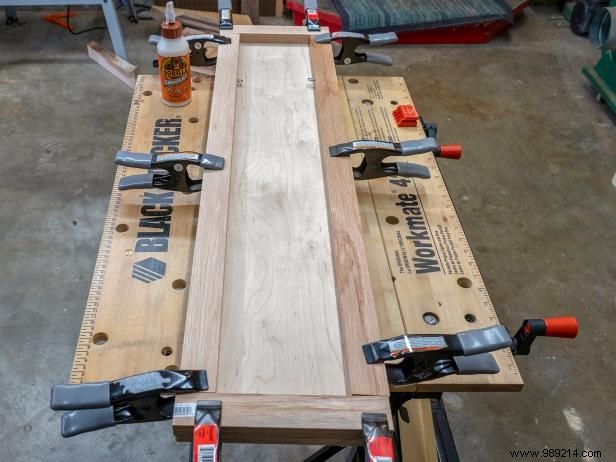
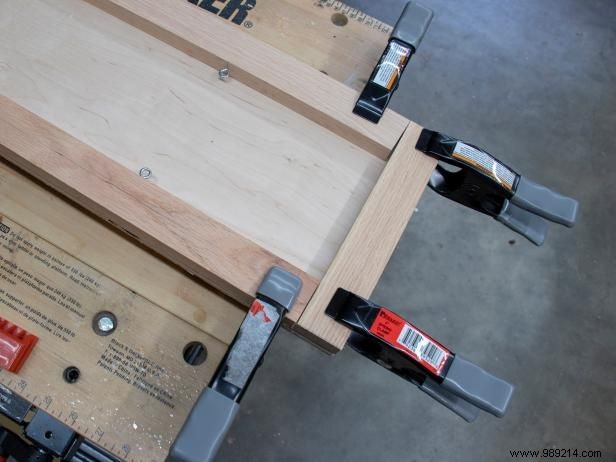
Position screw eyes facing up, apply generous wood glue to each rail, and clamp securely. Ensure even contact on all sides and allow drying per the glue instructions.
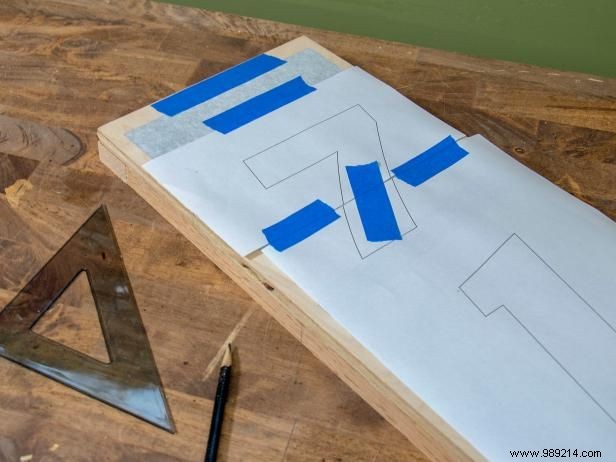
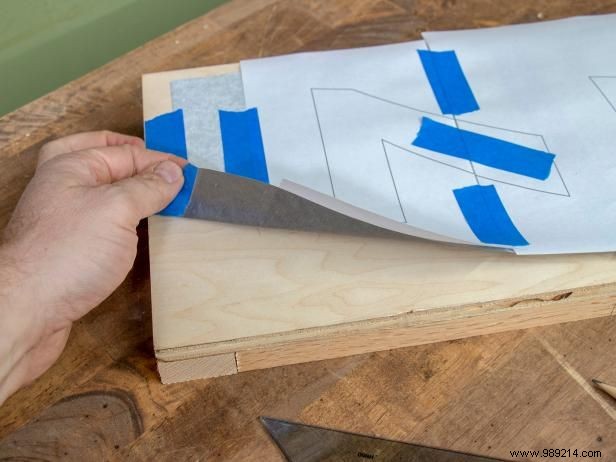
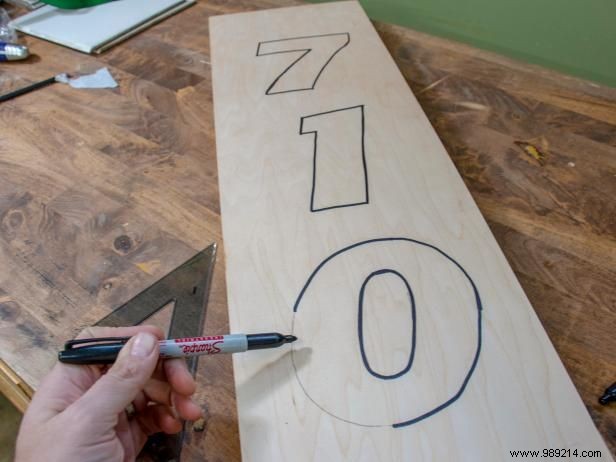
Tape carbon transfer paper to the plywood front, then secure your template on top. Trace the design firmly with a pencil to transfer it via the carbon. Outline with permanent marker for clear visibility during tiling.
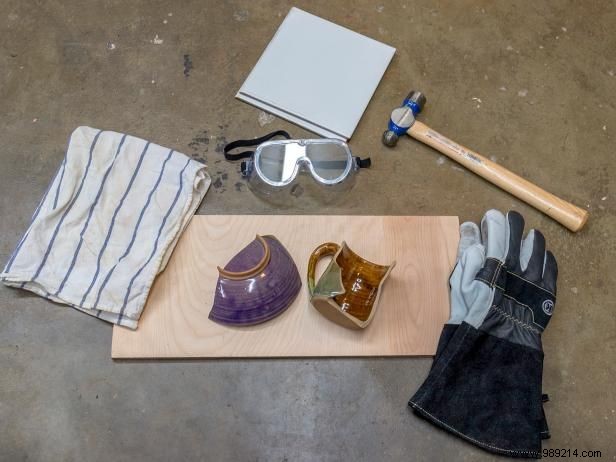
Incorporate seashells, pebbles, glass, ceramics, broken dishes, or tile scraps. For safety, wear sturdy goggles and gloves. Use a wood block to cushion hammer blows and cover items with a towel to contain shards. Start lightly and adjust force for controlled breaks.
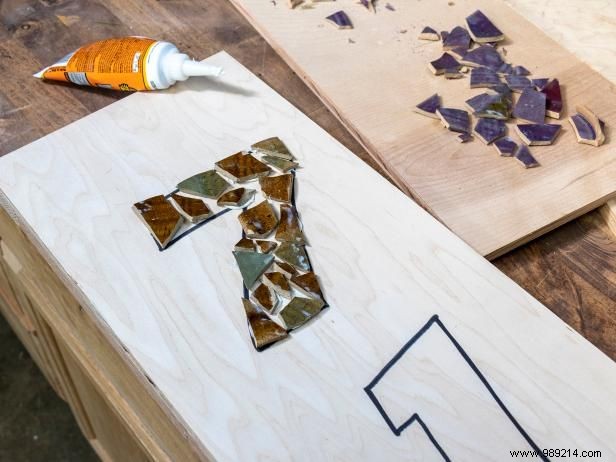
Prioritize bold colors or materials for numbers to ensure readability. Apply heavy-duty construction adhesive and press pieces firmly onto the plywood. Allow full drying before proceeding.
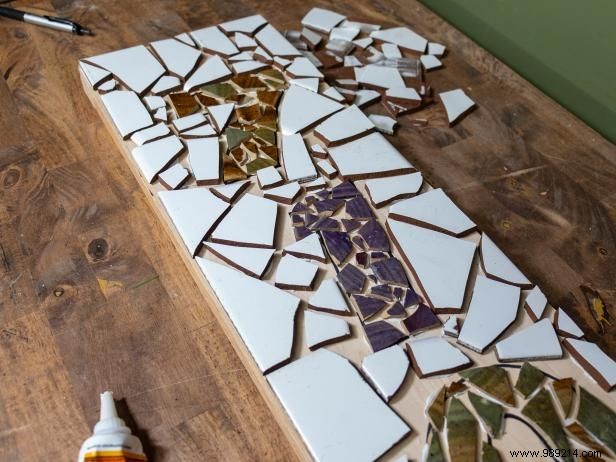
With numbers set, fill surrounding areas using subtler materials. Adhere pieces similarly, keeping everything within the backing edges.
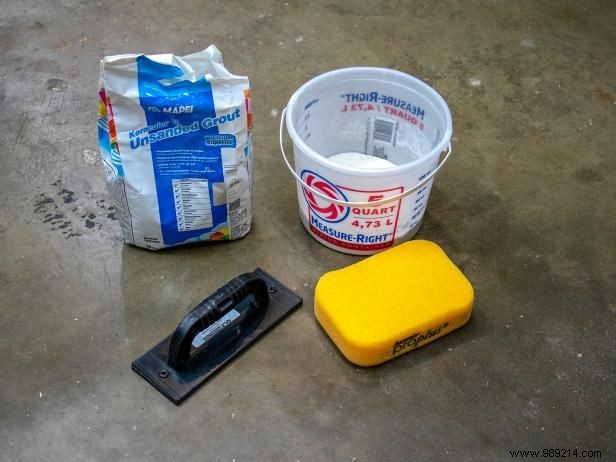
Once adhesive cures, mix unsanded grout with water to a smooth, peanut butter-like consistency using a grout float, sponge, bucket, and trowel.
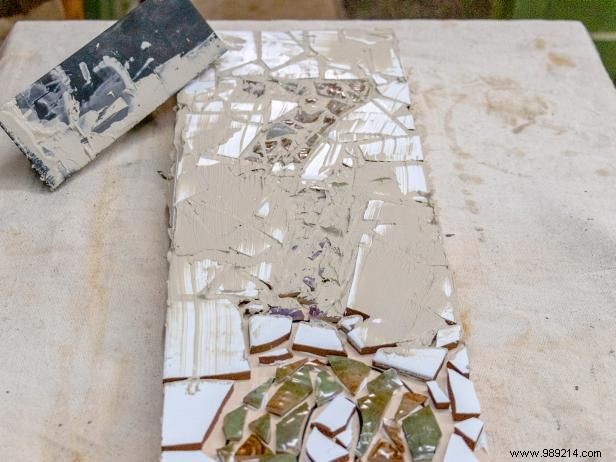
Mound grout in the center and work it into gaps with the trowel edge. Ensure full coverage and clean edges. Wait about an hour before initial cleanup.
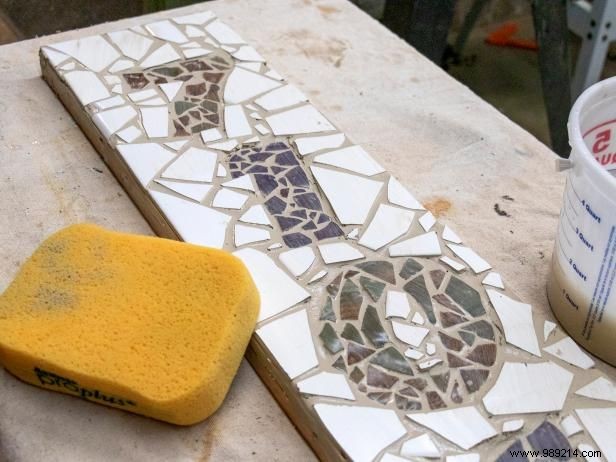
Wipe excess grout with a lightly damp sponge, rinsing frequently and squeezing out 95% of water. Avoid over-wetting while grout sets.
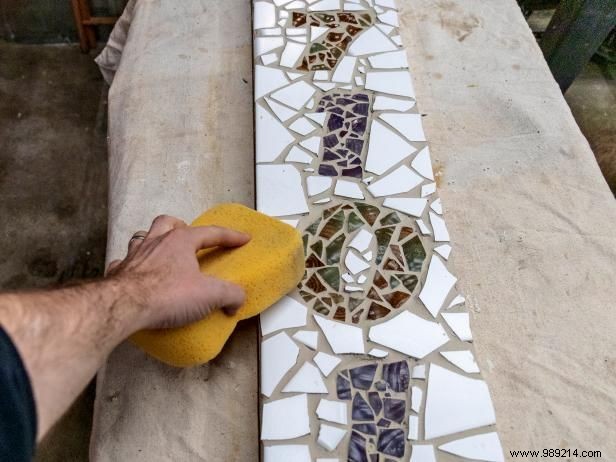
Allow 6 hours for initial hardening, then repeat sponge wipe. Rest 24 hours for full cure. Finally, buff with a damp cloth to remove any haze, revealing a polished finish.
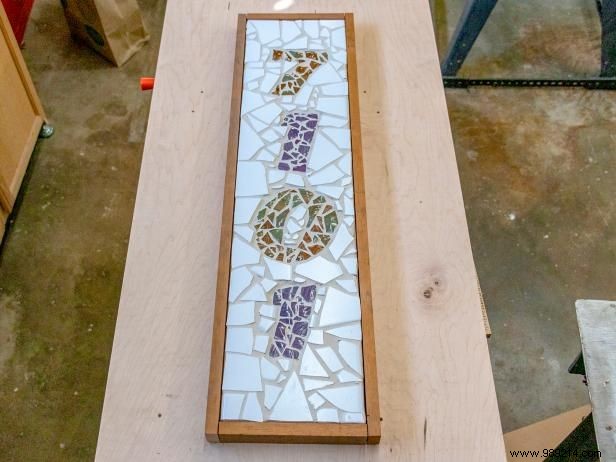
Frame rough tile edges with 1x3 strips, finished as desired (e.g., mahogany with polyurethane). Secure with construction adhesive and small nails.
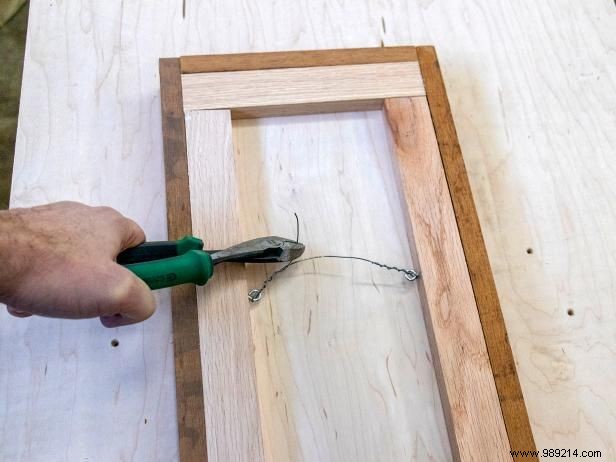
Thread strong picture wire through screw eyes, twisting securely and trimming excess. This supports the mosaic's weight for easy installation. Continue reading