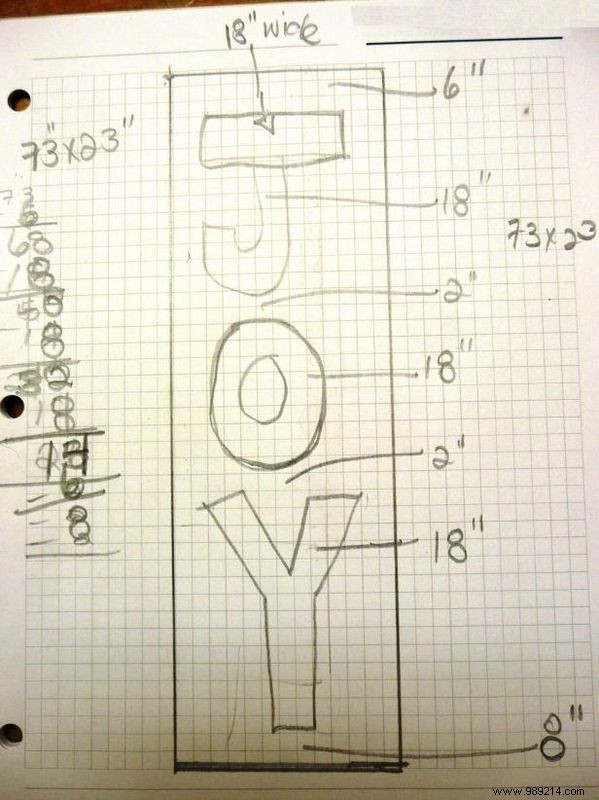
Always wear a mask for safety. Vacuum the board thoroughly to remove loose paint flakes or debris. Wipe it clean with a damp cloth. Measure the board precisely and sketch your layout on paper to plan ahead.
If sourcing reclaimed wood in the exact size proves tricky, opt for new lumber. Paint it first, then distress by sanding and lightly tapping with hand tools for that authentic aged appearance.
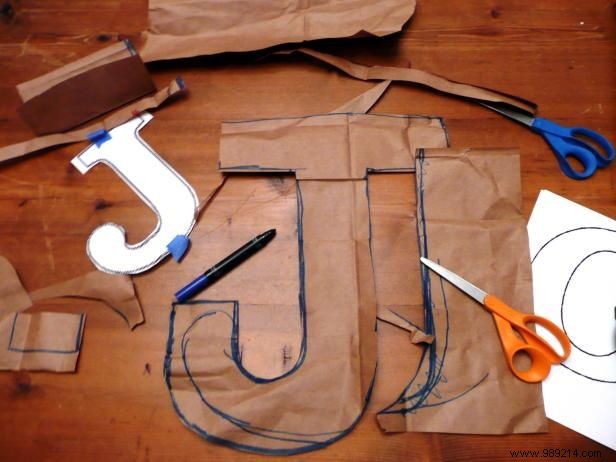
Craft letter templates from paper bags or sturdy paper. For a 70" x 24" board, design letters at least 16" tall to ensure bold visibility and impact.

Secure the templates to the board and carefully trace the outlines with a marker for precise guidelines.
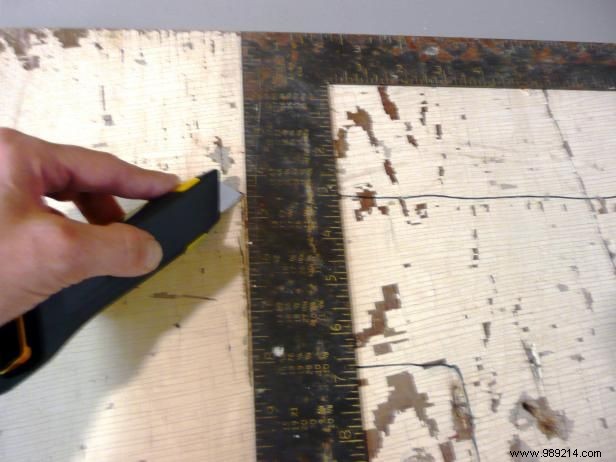
Remove the templates and run a razor blade along the marker lines. Repeat several times to create wider, deeper grooves.
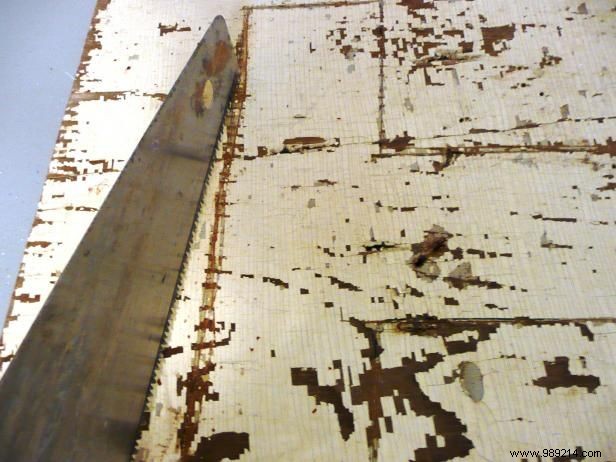
Go over the grooves with a hand saw to achieve a striking, bold-lined effect. Vacuum away all dust and wood chips for a clean surface.
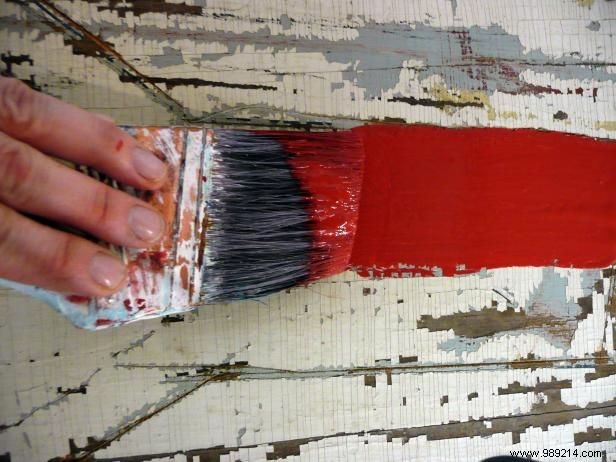
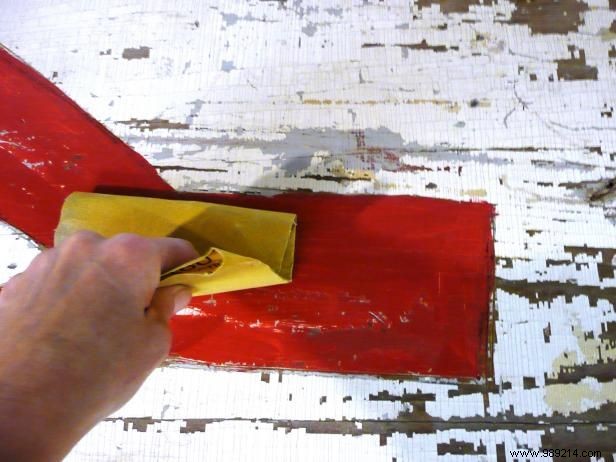
Fill the grooves with paint, intentionally leaving hints of the underlying wood or finish exposed for realism. Allow to dry fully. Apply a second coat if needed, then dry again. Sand lightly in spots to enhance the aged, vintage patina.
Seal the wood with lacquer, applying two coats to both front and back. Attach D-rings to the reverse side. Hang using picture wire and enjoy your custom vintage hand-painted sign.