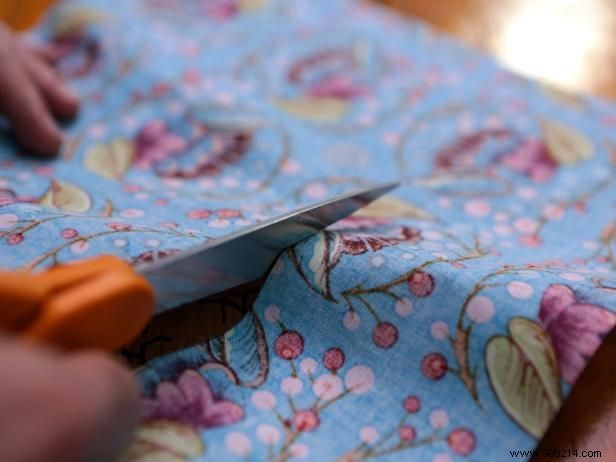
Make a pattern out of kraft paper. You can also use old wrapping paper or newspaper. Adding an inch for the seam allowance. We made our pattern 9" x 7", for a final measurement of 8" x 6". Cut the siding first. You will need two pieces, so fold the fabric into the pretty side half. Trace the pattern with the fabric marker. Pin the plastic to the outside of the line you drew and cut out both pieces at once. If there is a specific design on the fabric, you may want to center the pattern and cut the plastic pieces one at a time.
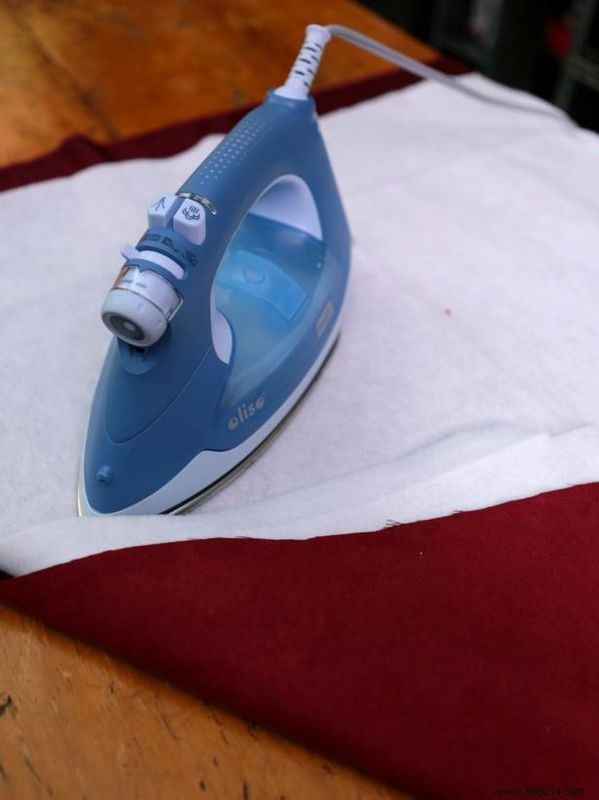
Before cutting the outer fabric, you may need to strengthen it using a fusible fleece and an iron. Trace the pattern onto the fleece twice and cut out two pieces. Be sure to set the iron to the proper temperature for the type of material you are using. Place the fabric pretty side down and the fleece sticky side down (the rougher textured side) on enough fabric to make two rectangles. Iron until fleece and fabric come together.
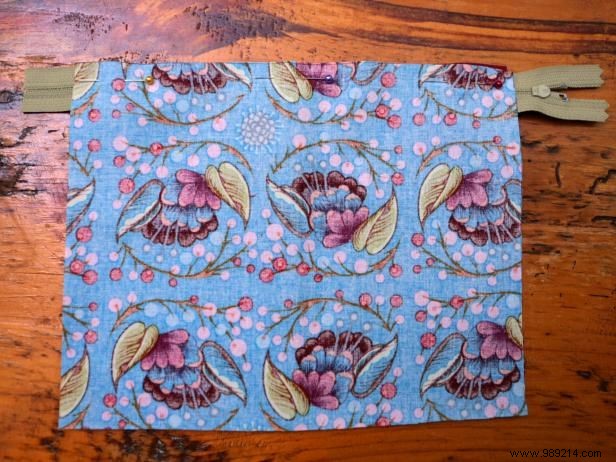
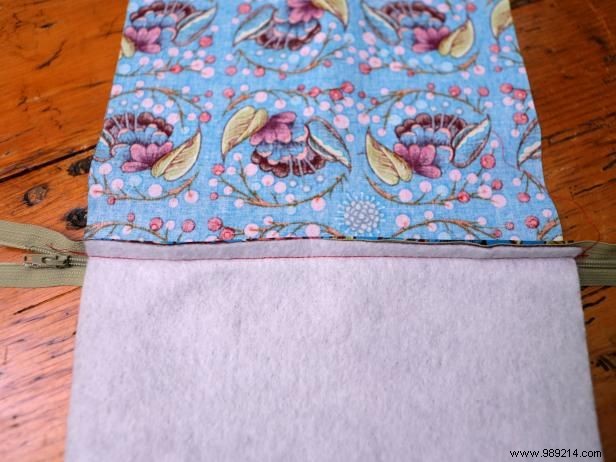
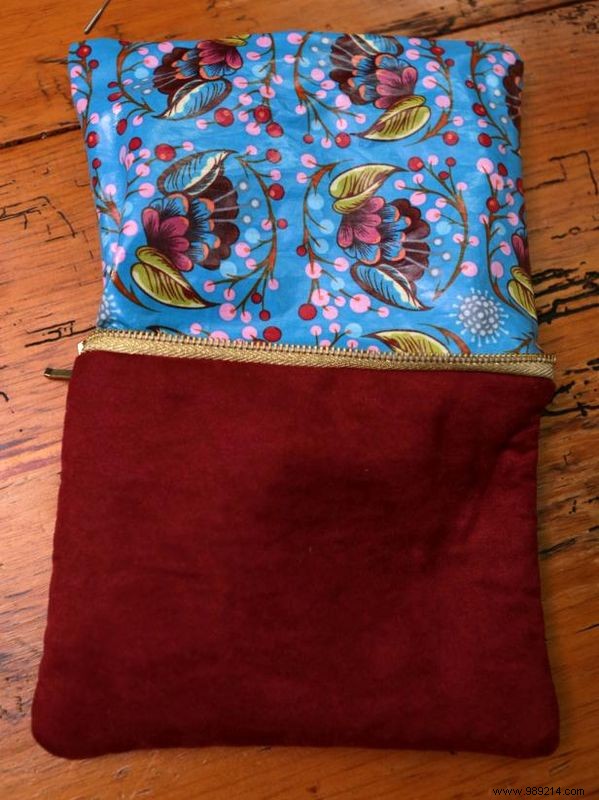
Attach the zipper foot to your sewing machine so you can sew the top edges of the bag to the zipper. First assemble the parts. Lay the outer fabric on the table with the pretty side facing up. Place the zipper on top with the zipper tabs facing down. Align the top edge of the zipper with the top edge of the fabric. Then place the lining fabric on top, pretty side down. Align the top edges so the zipper is completely covered. Put everything in its place.
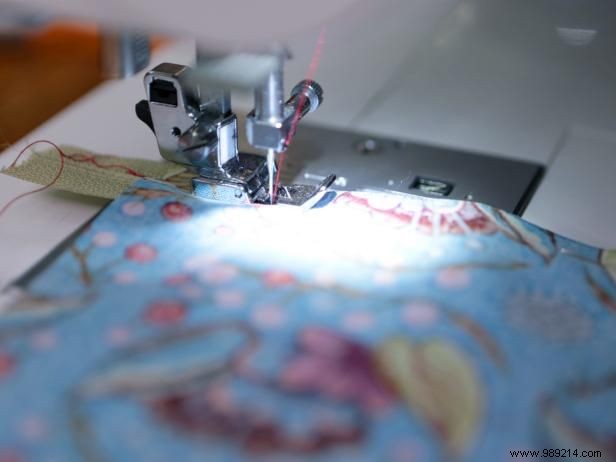
Use the zipper foot on your sewing machine, sew the top edge along the length of the zipper. You may have to move the zipper slider while you are sewing to keep it flat. Always remember to weight the beginning and end of a seam to prevent it from unraveling.
To attach the other side of the zipper, open the fabric and fold it the other way, wrong sides together, and sew together.
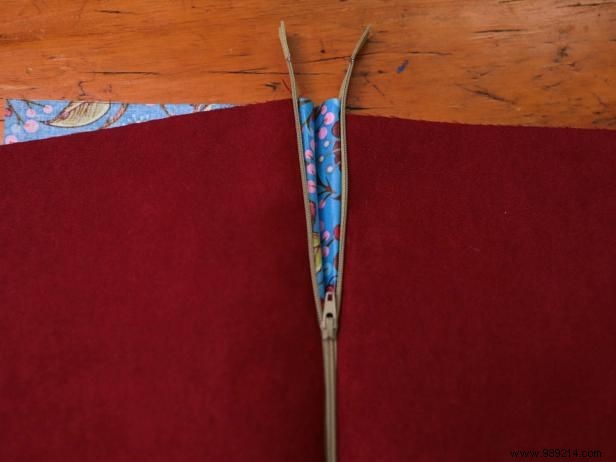
When all four pieces of fabric are attached to the zipper with the pretty sides out, switch to your regular sewing machine foot and place the zipper on top to make sure the seams lay flat and the fabric doesn't get stuck. on the zipper teeth. Keep the fabric nice and tight, and sew the length of the zipper. You can see this yarn on the finished bag, so make sure it's a nice color.
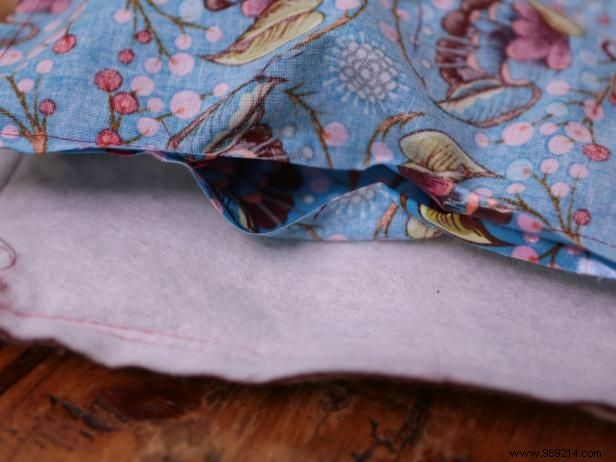
Position the bag so that the two outer fabric pieces are together, pretty to pretty, and the inner fabric is joined, pretty to pretty with the inner fabric on top. Pin the fabric together, starting with the inner lining. Lay the fabric on the sides perpendicular to the edges, and then pin two pins perpendicular to the top edge of the inner lining. Place two pins spaced three inches apart at the bottom of the liner. This will be your guide when you are sewing to stop and leave a three inch gap so you can turn the bag right side out later. Sew around the inner lining, using the foot of the sewing machine as a guide and be sure to sew backwards at first.
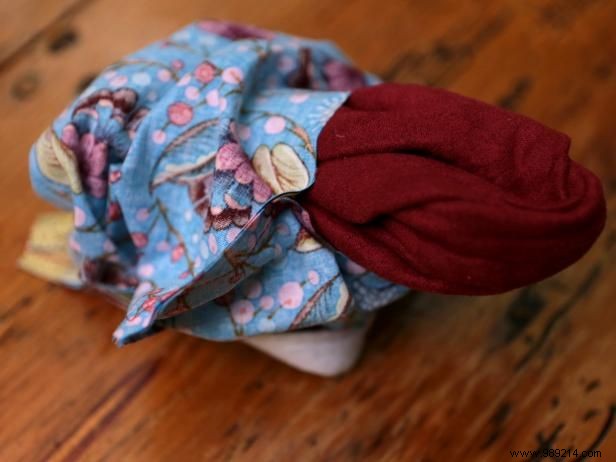
Open the zipper halfway. This is very important, otherwise you will not be able to turn the bag over after the next step. Pin the outer fabric pretty to pretty and sew all three sides. Once everything is sewn, turn the bag right side out. Run your fingers through the hole you left in the lining and then through the hole in the zipper. Bring the fabric to the end.
Push the corners out and lay the bag flat. Iron if necessary.
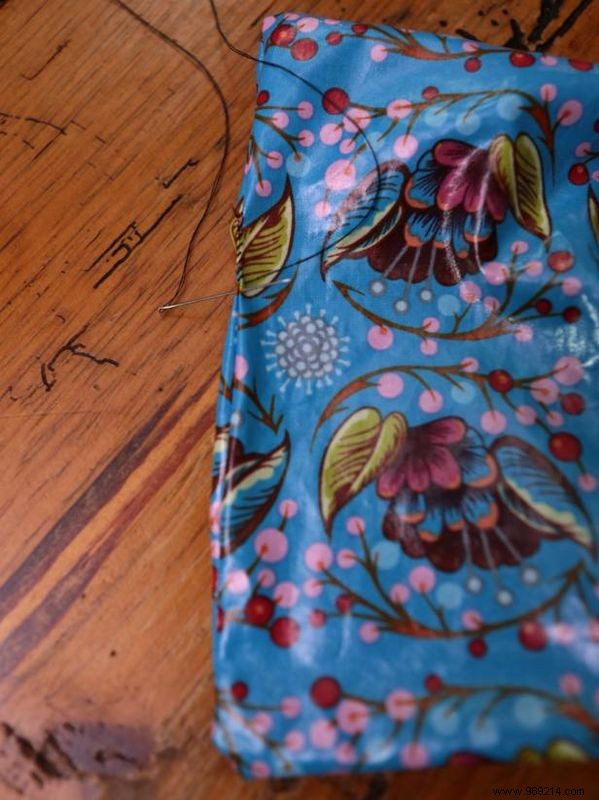
To finish, close the hole in the lining by hand with a blind stitch or use your machine, since it is inside the bag and will not be seen.