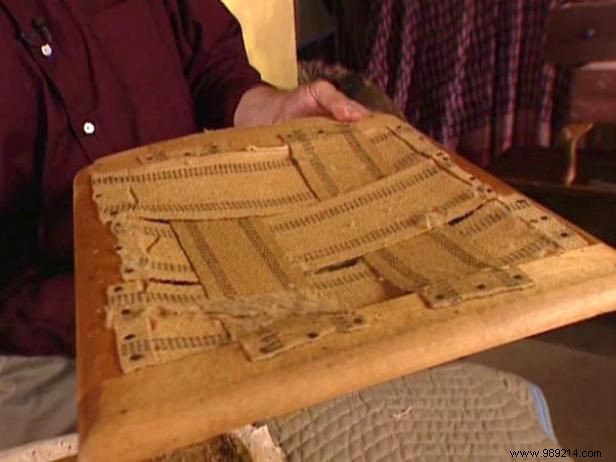
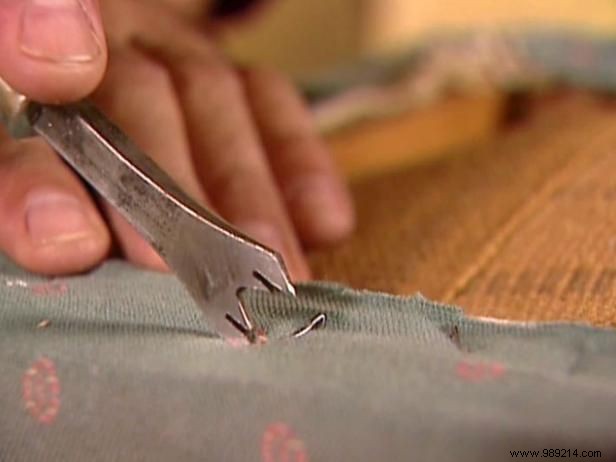
As a seasoned upholsterer with years of hands-on experience restoring furniture, I always start by gathering essential tools and materials. Carefully remove the old fabric using an upholsterer's staple remover (Image 1), extracting every staple and tack. Avoid layering new fabric over the old—hidden stains could bleed through when cleaning. Next, detach the worn straps (Image 2) and padding to prepare a clean base.
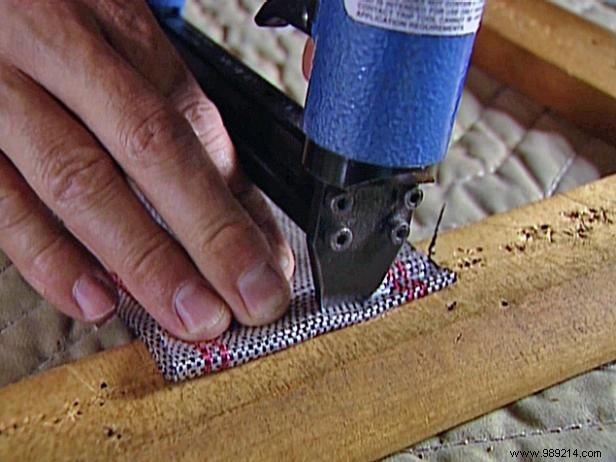

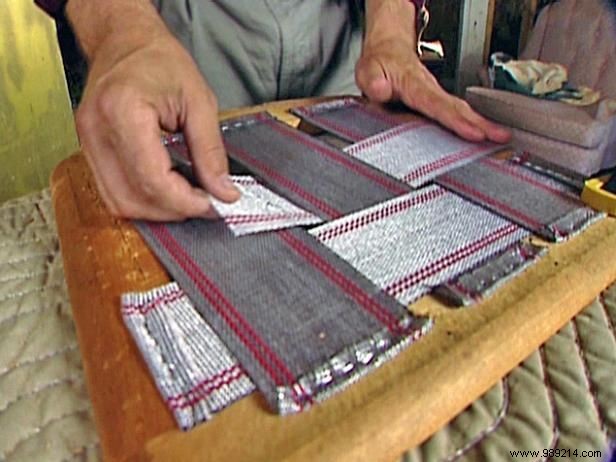
Lay new polypropylene webbing in a durable basket weave pattern. Begin at the center: fold the end, staple securely (Image 1), and use a bar clamp to hold it. Tension with a strap stretcher (Image 2) until snug, then staple the end after leaving an extra inch to fold over. Repeat for front-to-back strips. For horizontals, alternate weaving over and under (Image 3) for strength and stability.
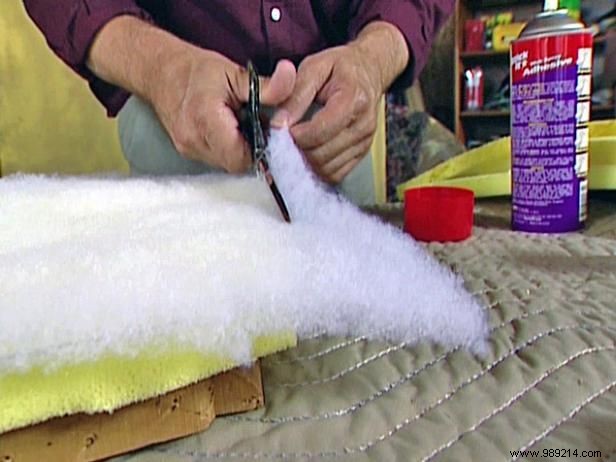
Position your seat pad on 1-inch oversized foam (readily available at fabric stores). Trace the outline, adding 1/4-inch allowance around all edges. Secure the foam atop the webbing with spray adhesive. Layer 1/2-inch bonded Dacron over the foam, trimming it 1/4-inch larger than the pad. This professional technique creates an inviting crown for comfort and aesthetics.
Plan for about 1 yard of fabric for four chairs or 1.5 yards for six, ensuring at least 3 inches of excess around the seat base.
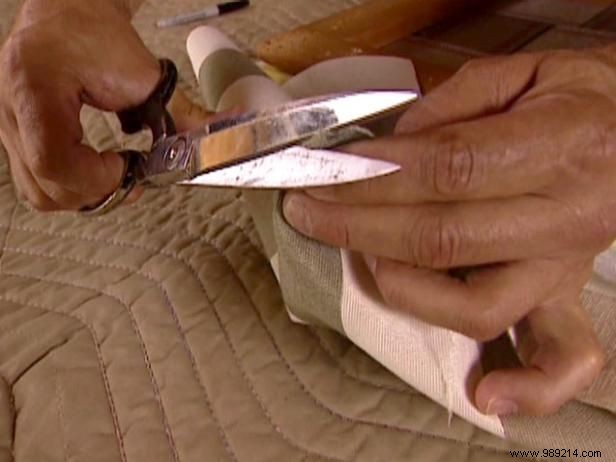
Mark the center front, back, and sides of the pad. On the fabric, fold to locate the center and snip small notches for front and back alignment (Image 1). Starting from the back, align the notch with the pad's mark, pull taut but not distorting patterns, and staple along straight edges, leaving corners. Smooth continuously with your free hand for a wrinkle-free finish. Trim excess fabric.
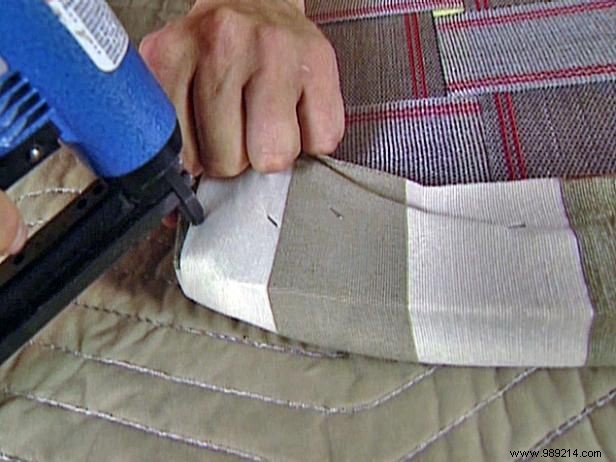
For corners, pleat the fabric downward and outward, stapling firmly (Image 2). Flip the cushion and repeat for each corner. Finish by stapling a dust cover to conceal staples and raw edges, ensuring a polished, long-lasting result.