Darren Setlow Photography, LLC
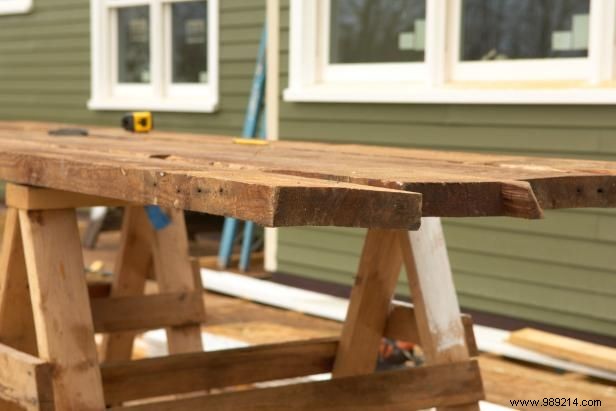
Reclaimed wood offers a unique surface and patina that's nearly impossible to replicate artificially. One person's trash is truly another's treasure. If you know someone renovating an older home, ask about salvaging 2x6 joists or 2x8 floor joists before they head to the landfill. Architectural salvage yards and antique stores are excellent sources too.
Darren Setlow Photography, LLC
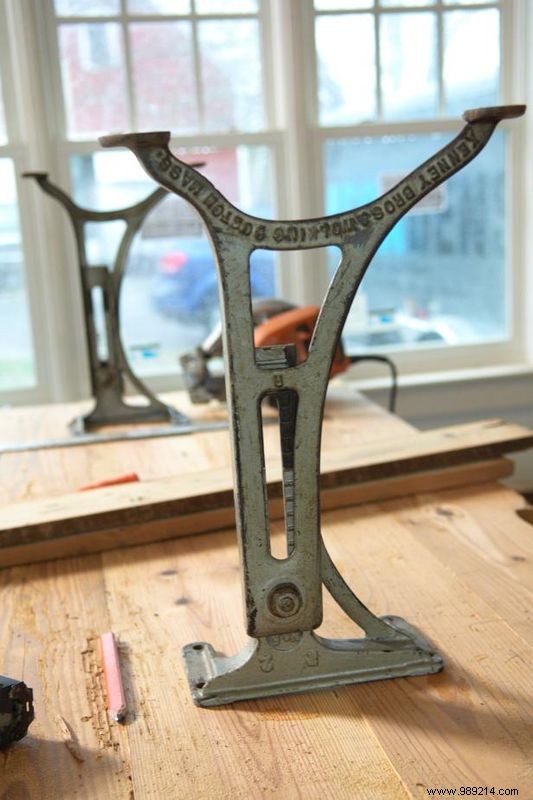
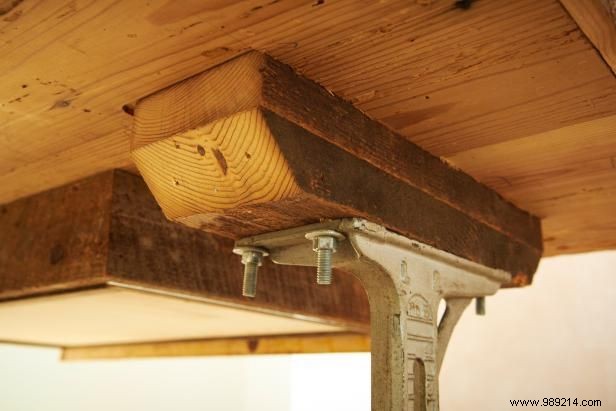
Look for industrial adjustable cast iron bases at antique stores or online for under $100. Ensure they're at least 24" tall for comfortable desk height.
Darren Setlow Photography, LLC
Darren Setlow Photography, LLC
First, confirm the wood is completely dry. Wood exposed on job sites often retains moisture from rain. Floor joists from crawl spaces are especially prone to this. Bringing wet wood indoors after assembly leads to warping. The ideal solution is kiln-drying; local mills often handle this for a fee. Alternatively, store indoors over winter in a heated space with good airflow and low humidity. If pressed for time, stack with 1" spacers in a warm, dry area.
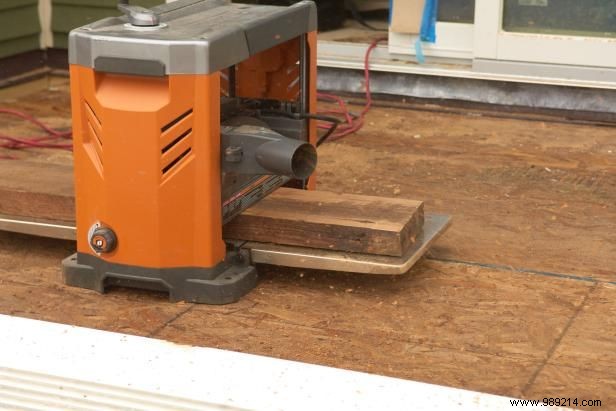
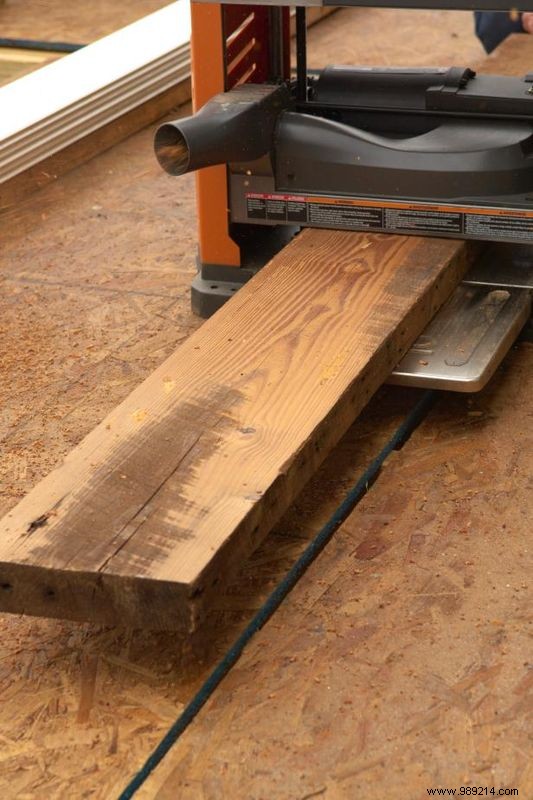
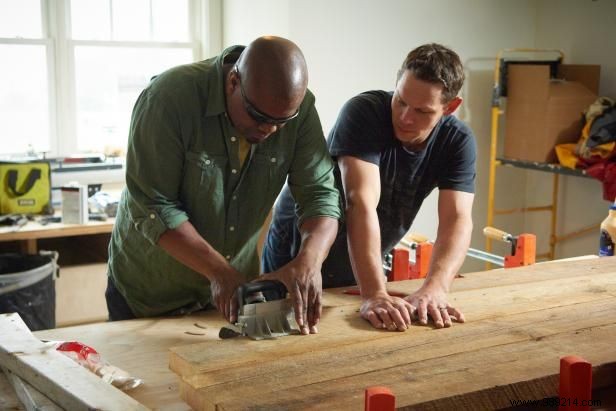
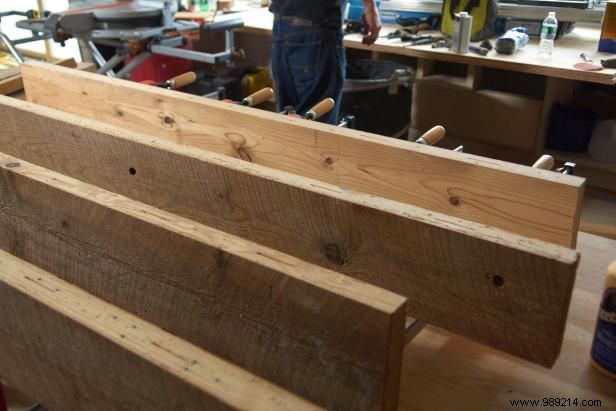
Depending on the wood's condition and desired finish, sanding may be needed. Reclaimed boards often cup or warp due to age and moisture. A planer (tabletop straightener) is the quickest fix—borrow one or have a local shop plane them for about $20. If planing yourself, first remove nails and debris. Rip boards to length, leaving them 1" oversize for final trimming. Plane gradually, adjusting depth manually for each pass to avoid damage, as thickness varies. Aim for light contact across all surfaces; minor thickness differences (<1/8") can be corrected later. Then, joint edges on a table saw for parallel sides—boards don't need identical widths, just uniformity along their length.
Shops may refuse reclaimed wood due to hidden nails or dirt dulling blades. Extract all nails and drill out broken ones. Opt for small planers with affordable blades. As a last resort, belt-sand after assembly, running perpendicular to joints and moving parallel to them.
Frank Murray
Darren Setlow Photography, LLC
Darren Setlow Photography, LLC
Darren Setlow Photography, LLC
Darren Setlow Photography, LLC
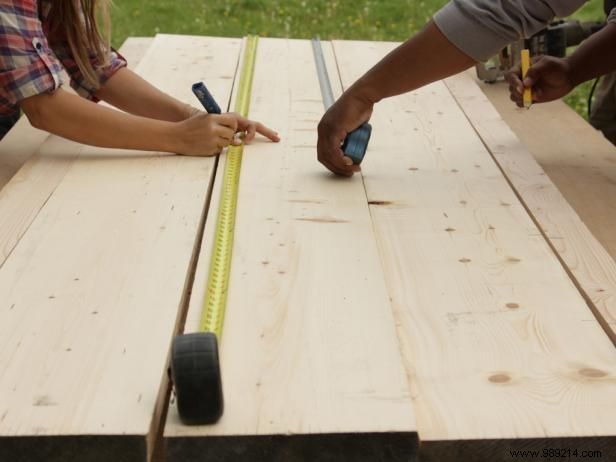
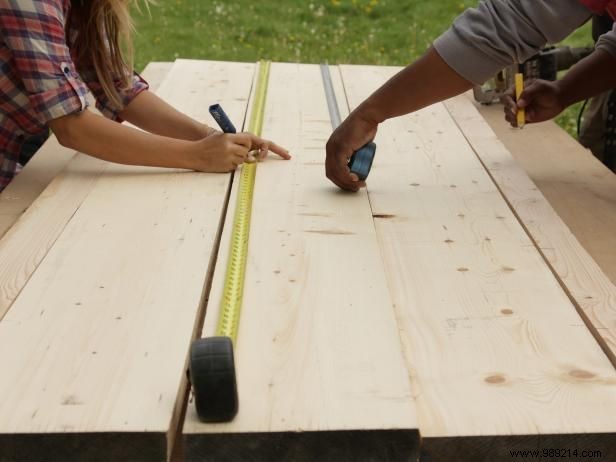
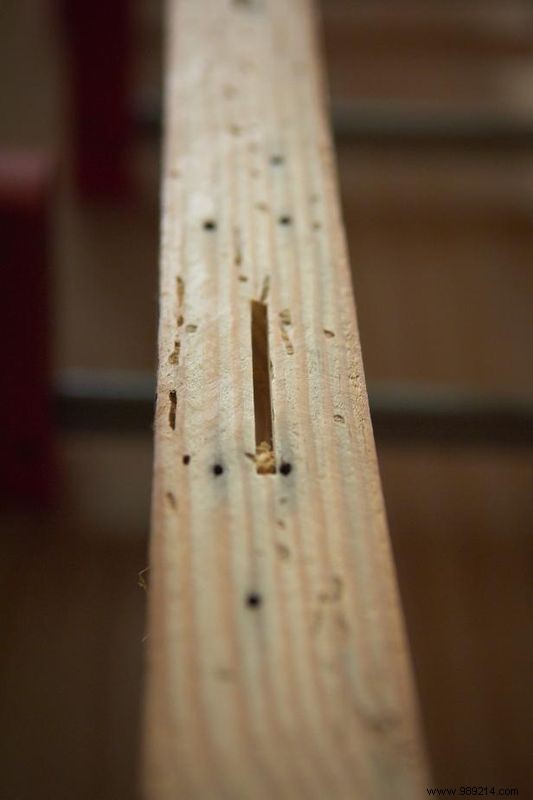
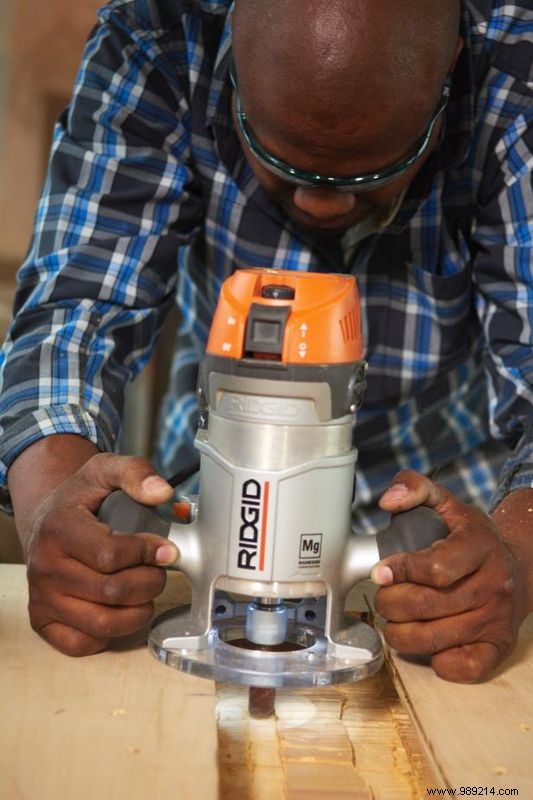
Set your biscuit joiner to #20 depth. Lay out the top four boards flat in final position. Mark seams every 8" with a pencil, working two boards at a time. Cut biscuit slots at marks using the joiner—plunge smoothly while holding the fence firm against the board. Skip outside edges of end boards.
Note: Avoid cutting biscuits on outer edges.
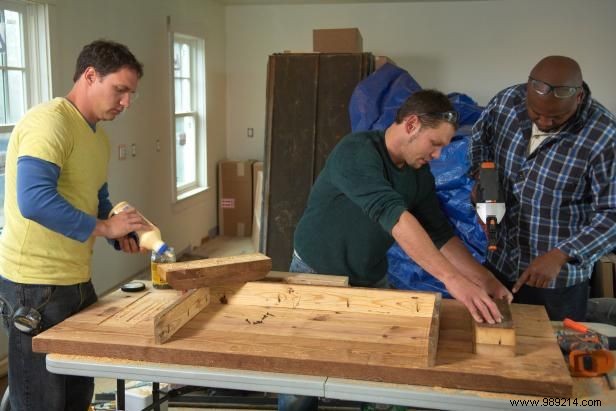
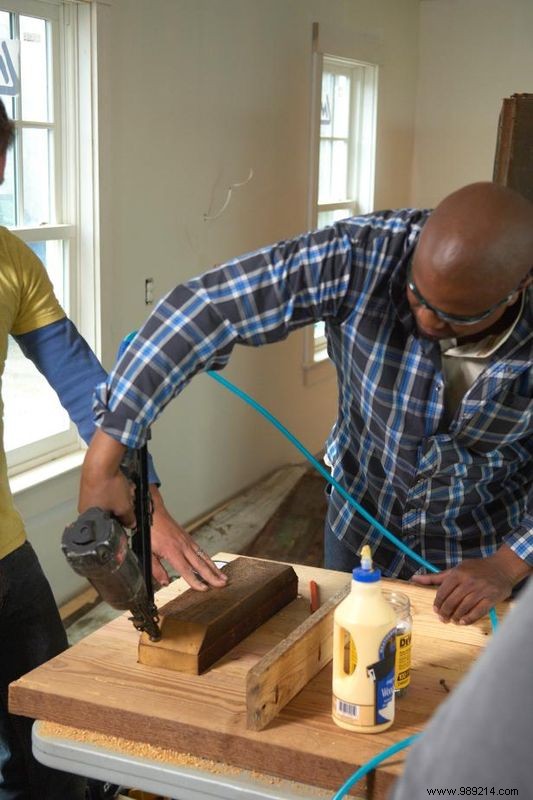
Stand boards on end, apply wood glue to edges. Glue biscuits, insert into one side of each slot pair, then join to the next board. Assemble sequentially. Position clamps 1' apart, tighten gradually until gaps close. Wipe excess glue with a plastic scraper; avoid topside squeeze-out. Let cure overnight.
Remove clamps, scrape glue residue, and check flatness with a straightedge. Trim ends 1/2" short of final length with perpendicular crosscuts.
Don't overtighten clamps—it causes bowing. Clamp 2x4 cross-pieces perpendicular to boards before final tightening to keep everything flat while drying.
Darren Setlow Photography, LLC
Darren Setlow Photography, LLC
Darren Setlow Photography, LLC
Darren Setlow Photography, LLC
Darren Setlow Photography, LLC
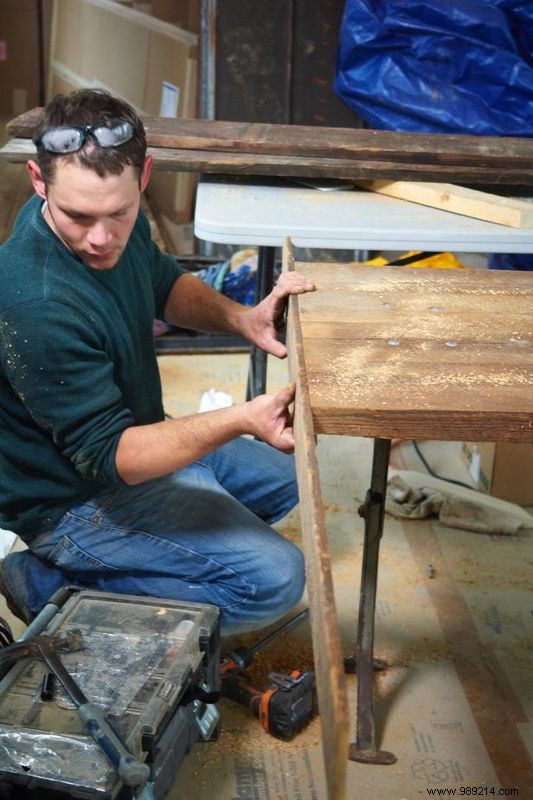
Cut remaining 2x8 into four 2'-long pieces. Bevel two at 45°. Flip top upside down. If flat, glue base pieces directly; otherwise, use pocket holes 1' from ends. Square and trace positions, drill 1/4" pocket holes. Glue and tack with 2" finishing nails.
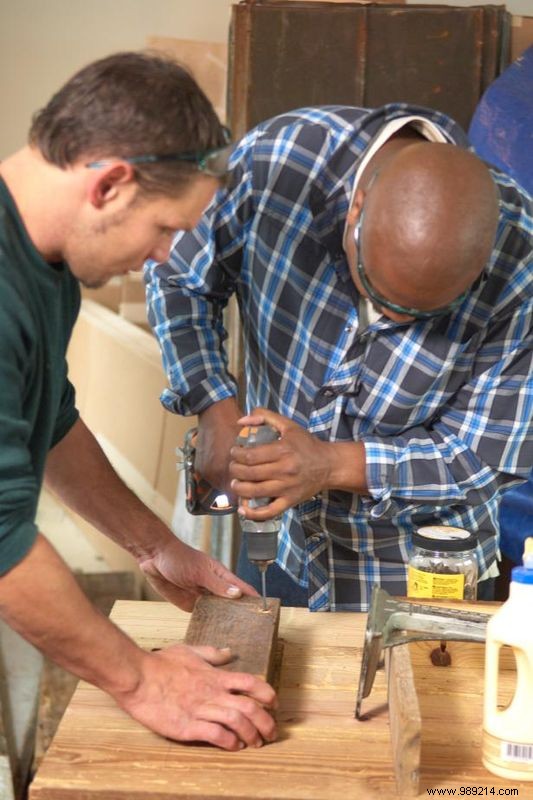
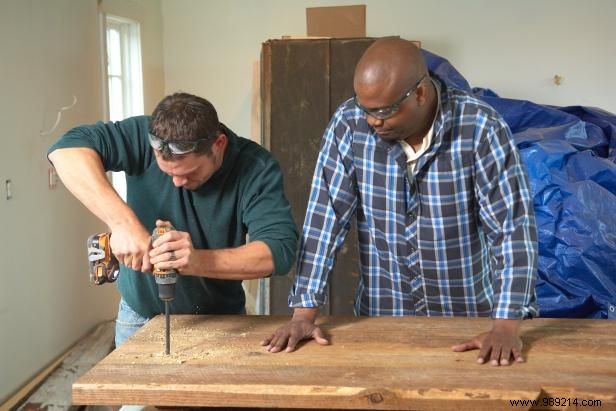
Center legs, mark mounting holes. Drill pilot holes perpendicular through top with a long bit. Use carriage bolts 1/16" smaller than leg holes; countersink top slightly with a larger bit. Install legs with help to flip and tighten—snug until bolt heads protrude slightly.
Darren Setlow Photography, LLC
Rip 1x reclaimed (or extra 2x) for edge banding to hide end grain on ends. Glue and nail with 15-gauge. Sand or leave rustic. Enhance natural tones with clear furniture polish or polyurethane.
Darren Setlow Photography, LLC
Darren Setlow Photography, LLC
Darren Setlow Photography, LLC
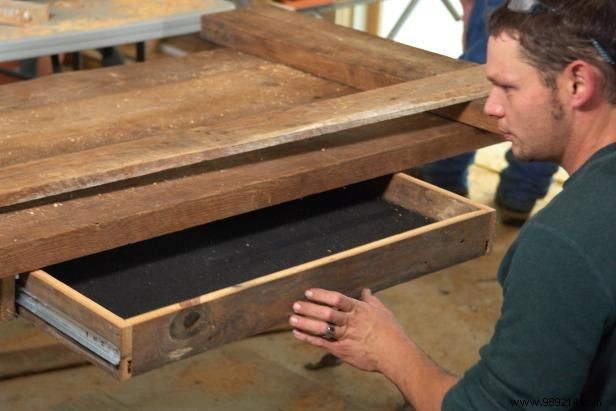
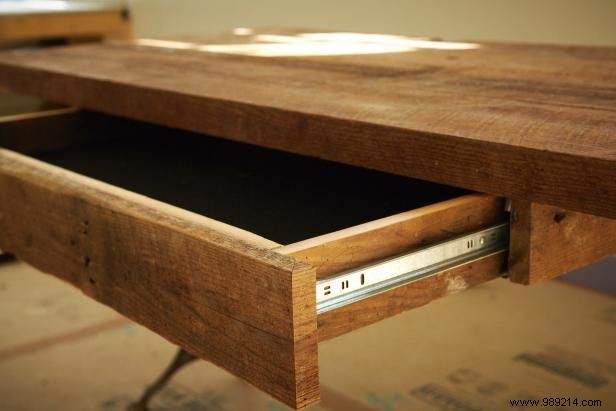
Use about 16' of 1x4 for a 24"x12" drawer. Cut sides: two 22.5", two 12"; bottom 22.5"x10.5" plywood. Glue/nail sides to bottom. Front: one 28" piece with 1/2" overhangs. Glue/nail front.
Install 12" slides. Cut back to total width. Sides: two 14". Glue/nail assembly flat. Mount under top, 1" from back, centered on long side.