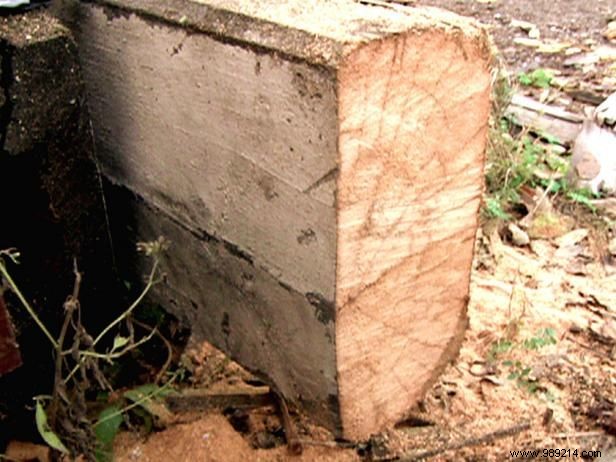
Experienced woodworker Amy sources distinctive reclaimed wood from a specialty lumberyard, prized for its rich, aged grain. Measure your space accurately and draft the layout. This clever shelving skips glue or nails, using interlocking notches like log toys. Two notched wall supports hold the shelves, with outer vertical legs for stability. Select large, robust beams suited to this durable design.
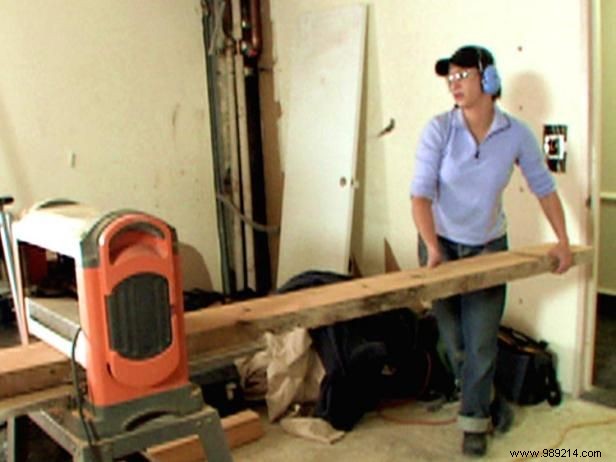
Reclaimed wood's rustic texture often needs smoothing for shelves. Cut pieces to size, then run them through a planer for flat, even sides. Align shelf boards to verify matching thickness—essential for precise notch alignment between shelves and legs.
Measure shelf thickness carefully. Line up all four legs and mark shelf positions. Craft a wooden template to match shelf thickness, using it to outline notches on legs.
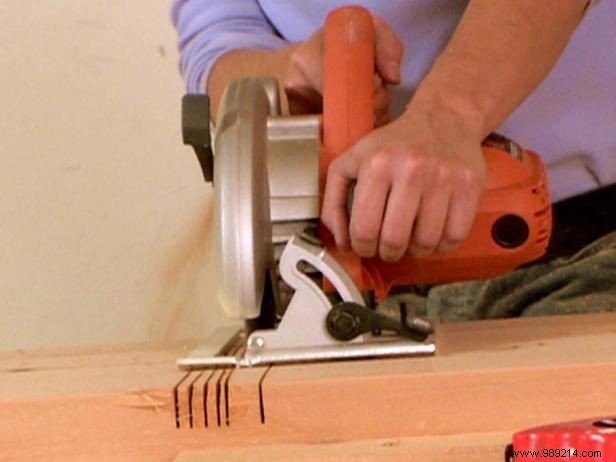
Score the notch areas with a circular saw, then chisel out the waste for clean, exact cuts.
Locate wall studs, mark bracket spots, and note stud spacing. Position shelf notches to align centers with studs, then cut using the prior method.
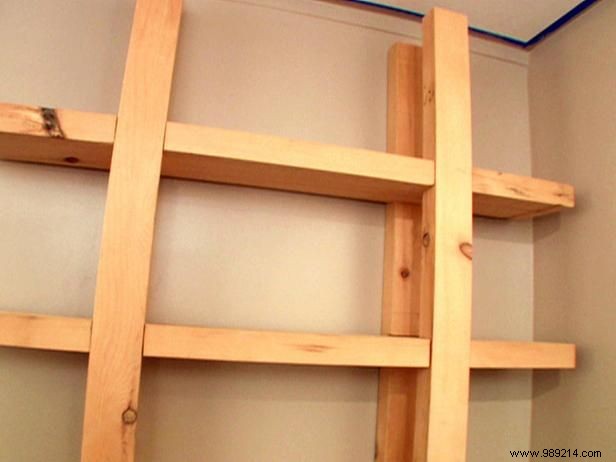
Screw two legs into studs through their notches, ensuring they're perfectly plumb.
Slide shelf notches into leg notches (tap lightly with a rubber mallet if needed). Cap with outer legs.
Finish by sanding smooth and applying tung oil for a professional, lasting sheen.