Looking to elevate your home lighting with a unique, boho-inspired fixture? This affordable DIY sisal rope pendant light draws on time-tested crafting techniques for a professional result that highlights your skills.
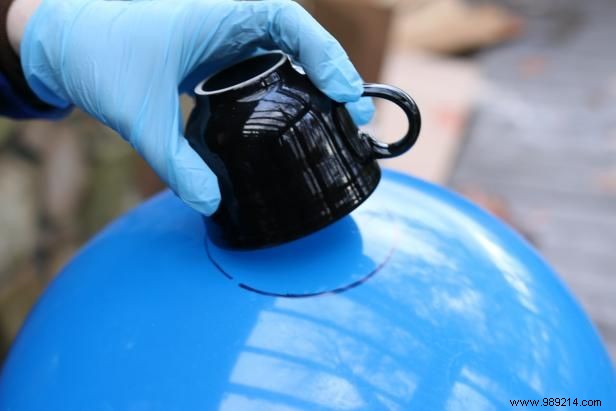
To install the hanging kit and later remove the deflated rubber ball, create a 4-inch access hole. Use a marker to trace a circle directly onto the ball's surface.
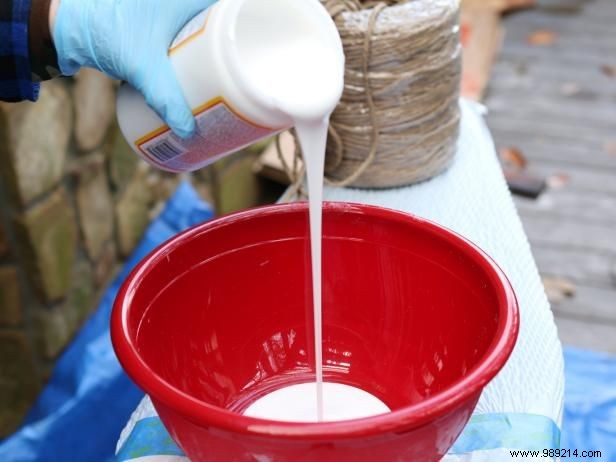
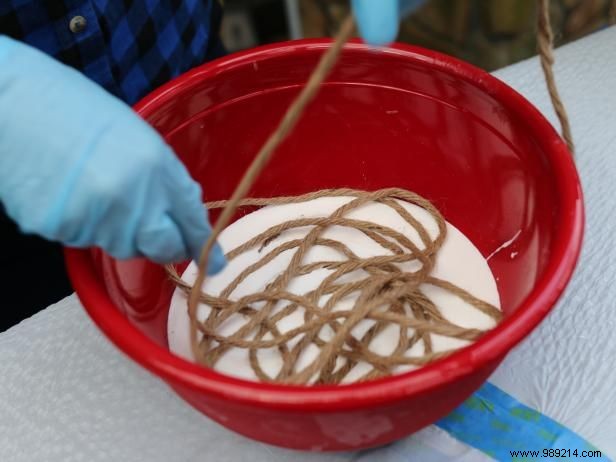
Fill a mixing bowl about one-third full with decoupage glue. Wear rubber gloves for protection. Unroll the sisal rope and dip it slowly into the glue, ensuring even coverage on all sides.
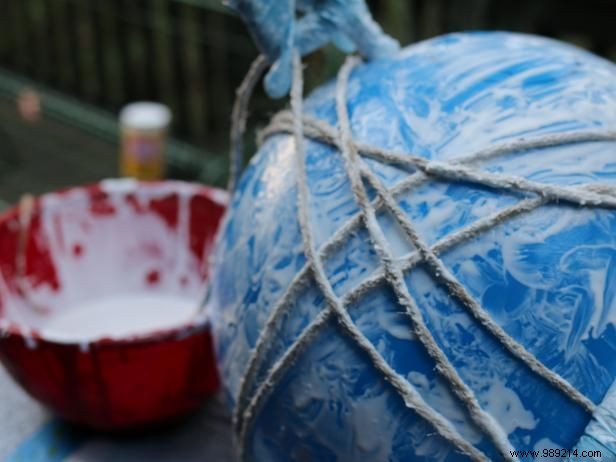
Spread a drop cloth on a flat surface. Wrap the glue-soaked rope around the ball in random, overlapping layers. Avoid covering the traced 4-inch circle to allow access for the pendant kit. Let it dry on the cloth for about 8 hours.
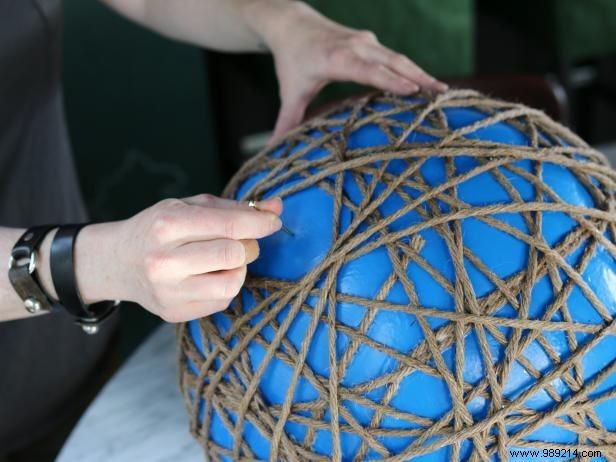
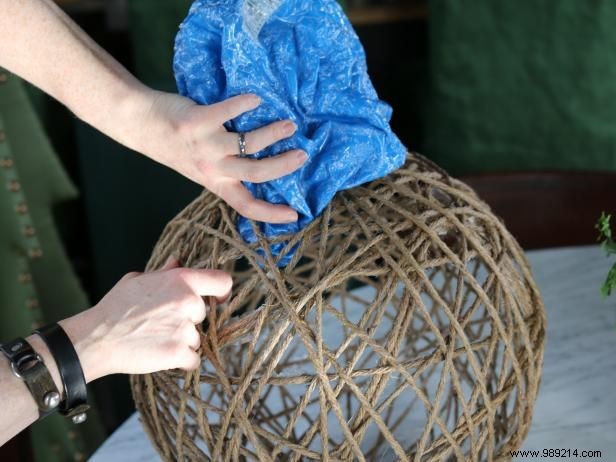
Confirm the rope has fully hardened. Pierce the ball with a 2-inch nail to pop it, deflate completely, and gently push it out through the 4-inch hole.
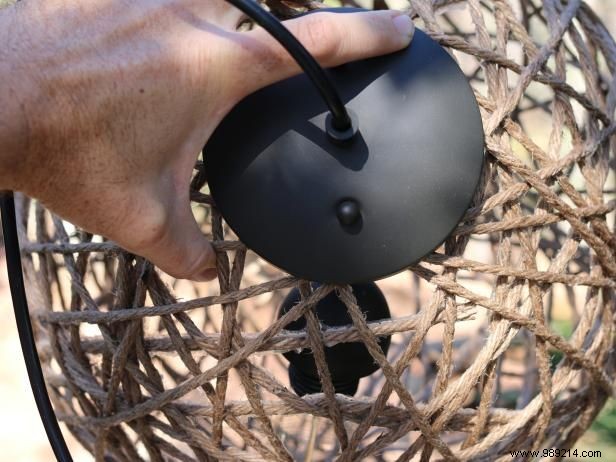
Secure the pendant kit to the sphere, insert a filament bulb into the socket, and connect to an outlet or junction box as required.