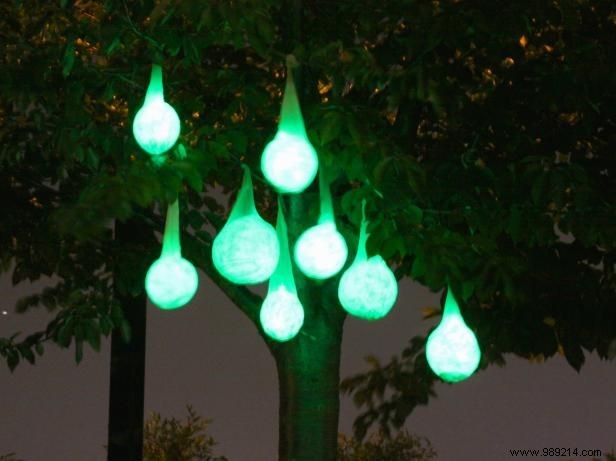
As a DIY crafter with years of Halloween projects behind me, these illuminated papier-mâché light pods are a go-to for creating an eerie glow. Hang them from trees or your porch to delight trick-or-treaters on Halloween eve.
Light up the night with these stunning glowing pods—simple to make and always a hit.
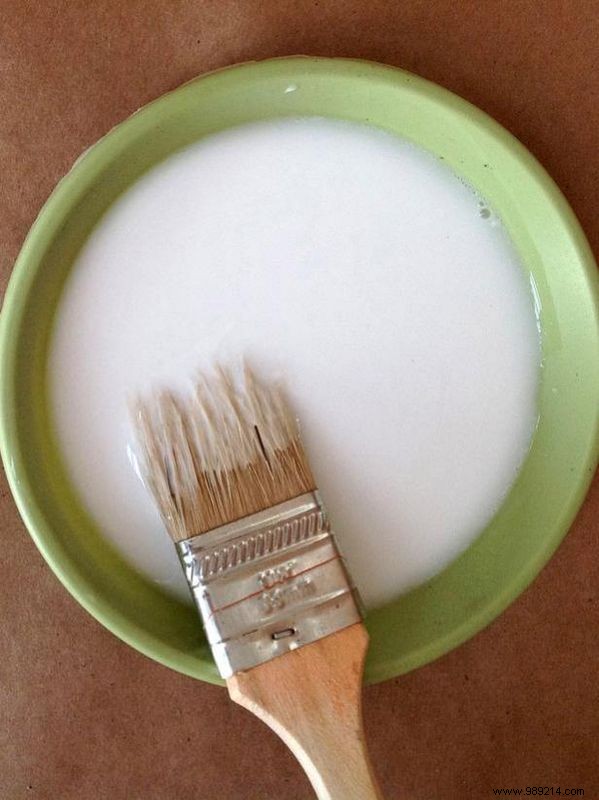
Inflate balloons to 4-6 inches in diameter and set aside. Mix white glue and water (4 parts glue to 1 part water) in a bowl until smooth and well combined for your papier-mâché paste.
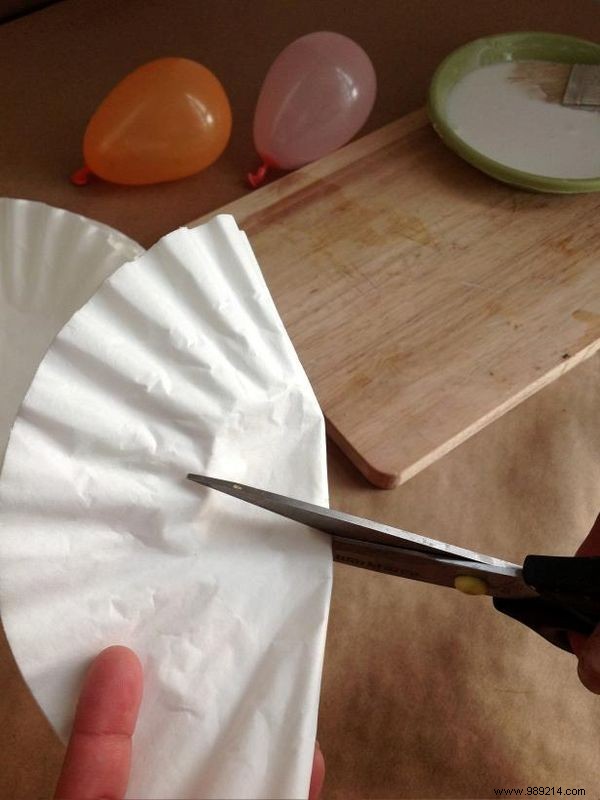
Cut coffee filters into quarters to prepare your strips.
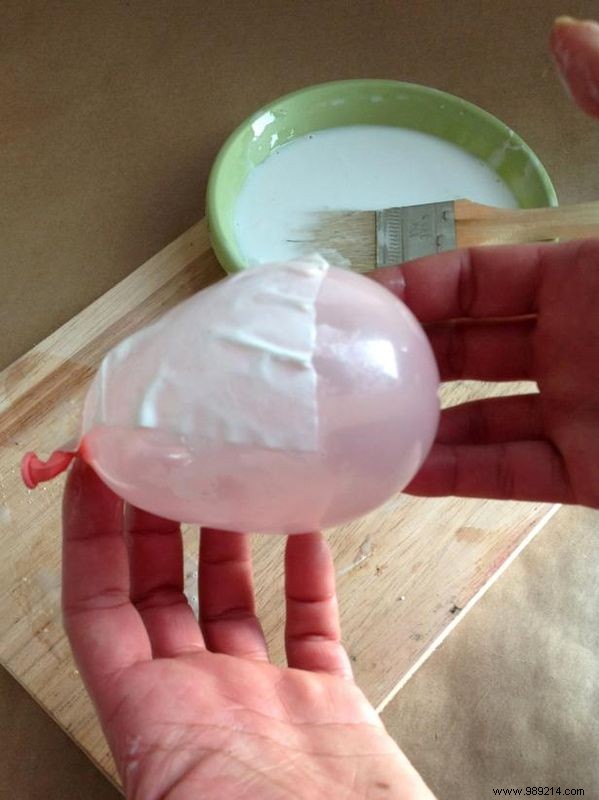
Brush a thin layer of paste on both sides of a filter quarter and adhere it smoothly to the balloon.
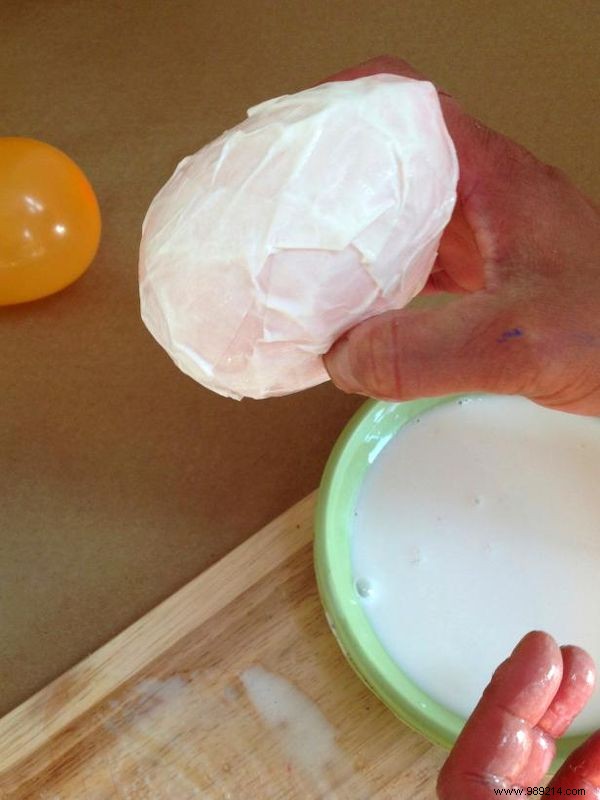
Continue layering until each balloon has four full layers of coffee filter pieces for strength and durability.
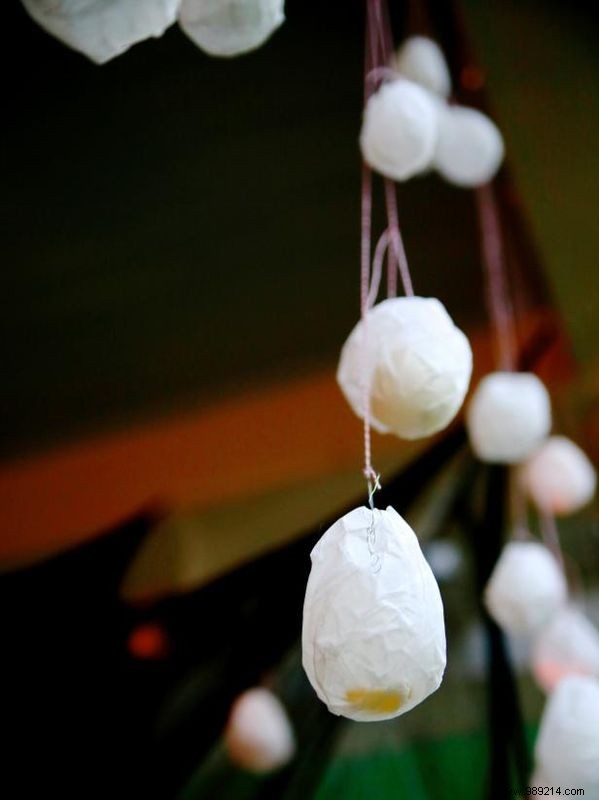
Repeat to cover all balloons. Tie them to a string at least 5 inches apart and hang overnight to dry completely.

Once fully dry, cut off the knotted tops to pop and remove the balloons. Pierce a skewer through the neck near the opening to create two holes. Thread rope through the holes, tie securely, and hang pods at varying heights from your porch or trees in groups. Activate glow sticks by breaking and shaking, then insert one into each pod for a magical glow.