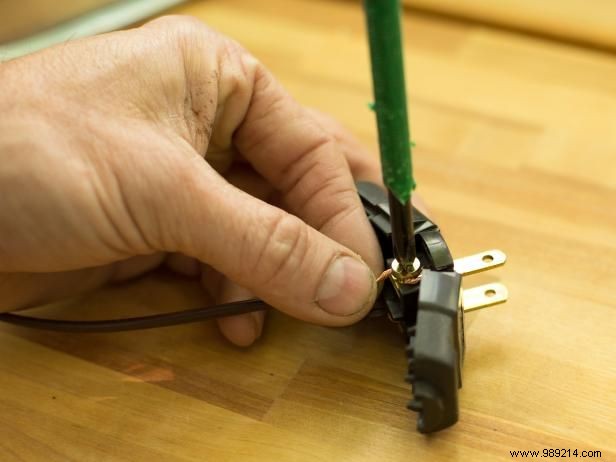
As a DIY expert with years of upcycling lighting projects, I recommend the plug-in method for flexibility—perfect for moving your pendant light around indoors or outdoors. Loosen the screws on a standard plug, strip the lamp cord's positive and neutral wires with wire strippers, wrap them securely around the screws, and tighten with a screwdriver.
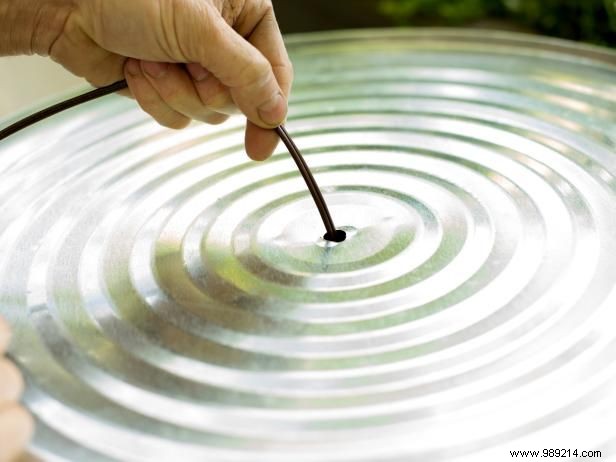
With the galvanized bucket upside down, use a drill and 1/2-inch bit to create a hole in the center of the bottom. Thread the raw end of the lamp cord through this hole from the inside.
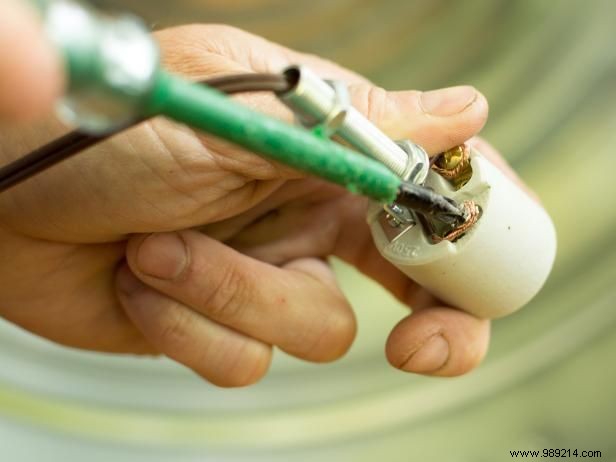
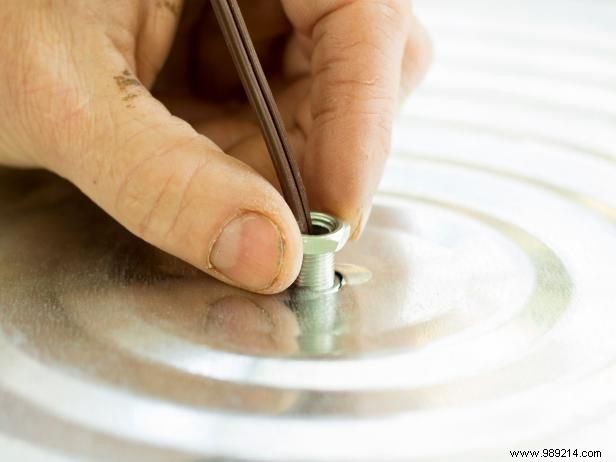
Loosen the socket's nuts and washers. Strip the cord wires, wrap the positive and neutral around their respective screws, and tighten securely with a screwdriver for a safe connection.
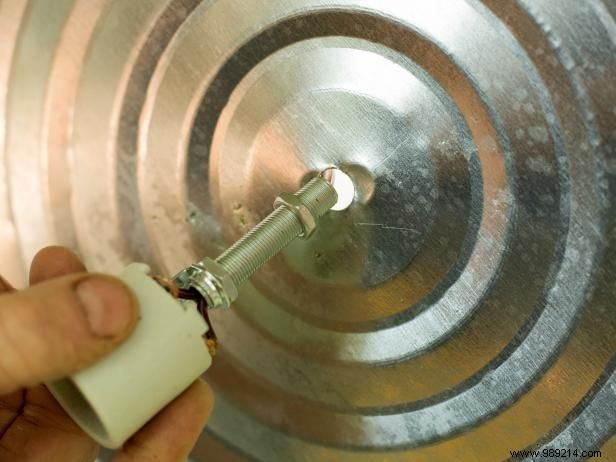
With the wires connected, push the socket's attached bolt through the center hole in the bucket from inside.
From the outside of the bucket, tighten the nut onto the bolt to firmly secure the socket in place.
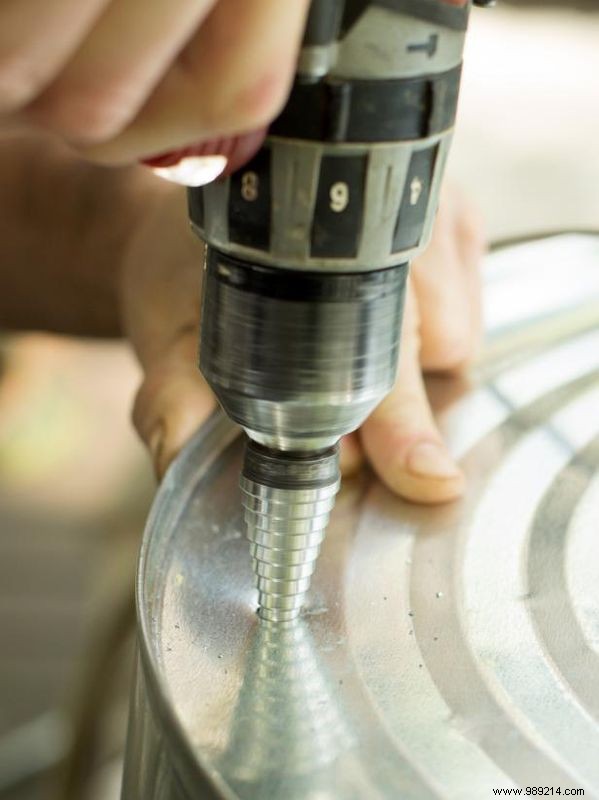
Drill four evenly spaced 1-inch holes around the top rim of the bucket using a step drill bit for clean cuts.
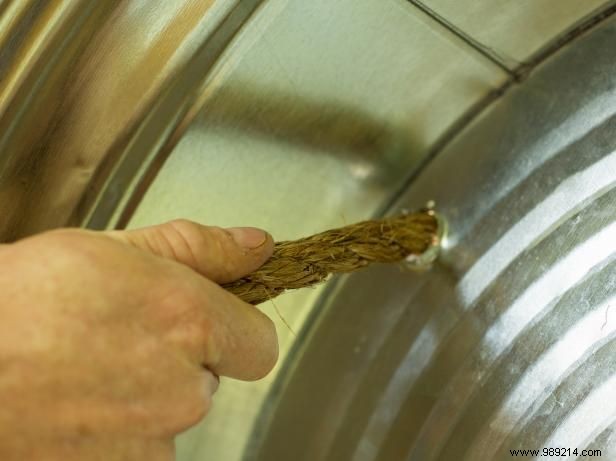
Flip the bucket right-side up and pull one end of a sturdy rope through a hole, leaving about 6 inches of slack inside.
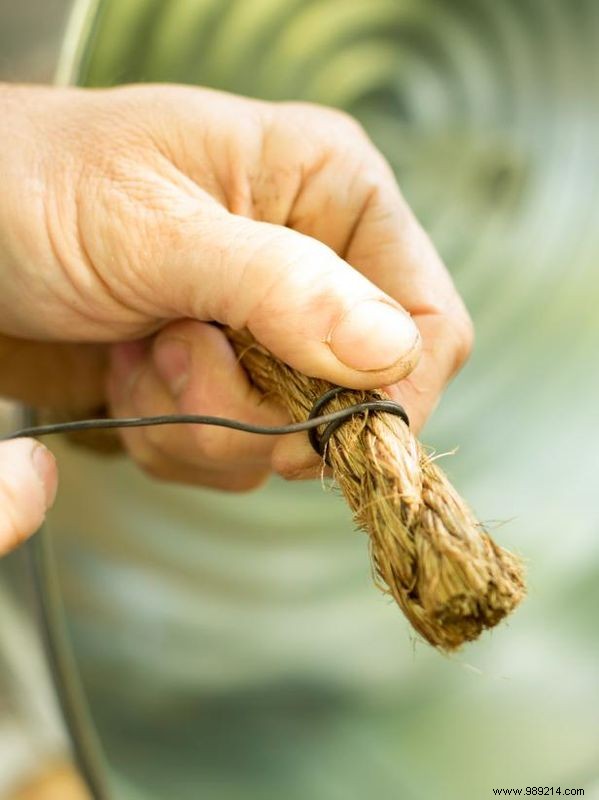
Wrap baling wire around the rope end about 3 inches from the edge to anchor it firmly inside the bucket. Repeat for all four ropes.
Turn the bucket upside down again and drape the rope over the top edge.
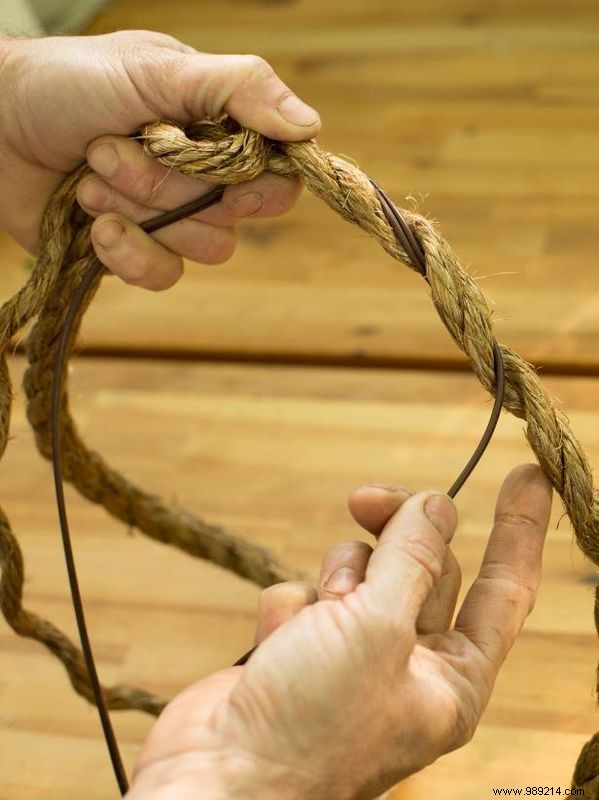
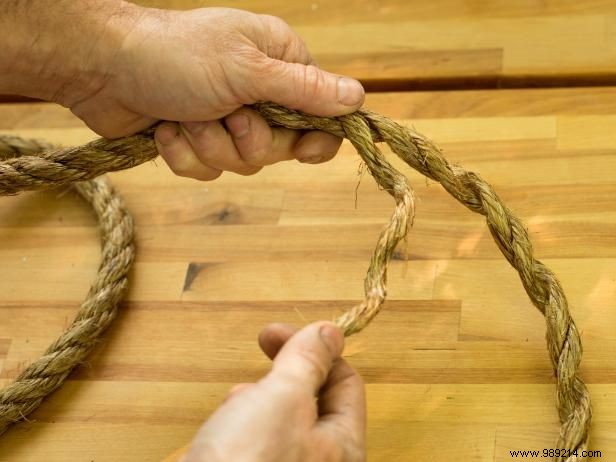
Twist the lamp cord together with the rope strands to conceal it neatly when hanging.

Wrap baling wire around the rope and cord at the top to hold them tight. Thread the other end through the opposite hole and secure similarly. Hang using heavy-duty ceiling hooks or screw eyes.
Galvanized buckets and rope make this pendant durable for outdoor summer use—just unplug when not in use for safety.