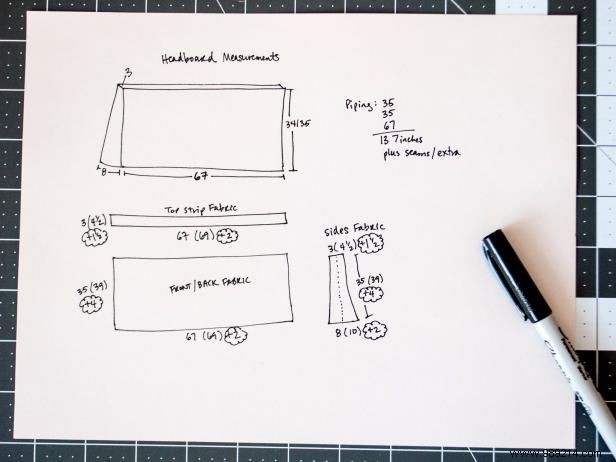
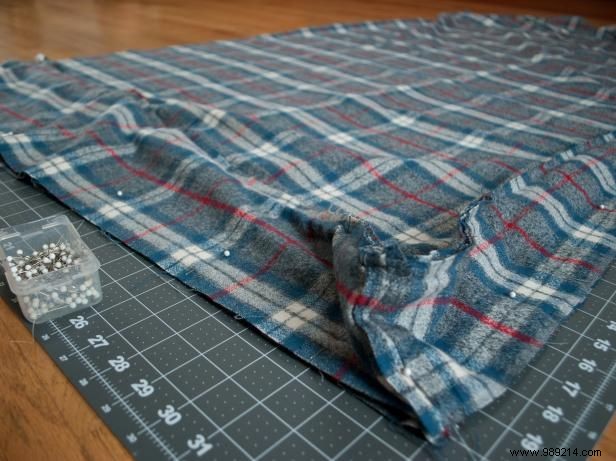
Start by measuring the width, height, and depth of your headboard, adding 1/2" seam allowances all around for a precise fit. If removable, lay it on the fabric and trace, including extra for seams. Always round up generously—it's easier to trim excess later. For our project: The top fringe measured 3" x 67" with 1/2" seams on each side, yielding a 4-1/2" x 69" piece. Front and back panels were 35" tall x 67" wide; adding 4" for the hem plus 1/2" seam made two 39" x 69" pieces. Tapered sides started at 3" wide top to 8" bottom, so we cut two pieces 4-1/2" at top, 10" at bottom, and 39" tall.

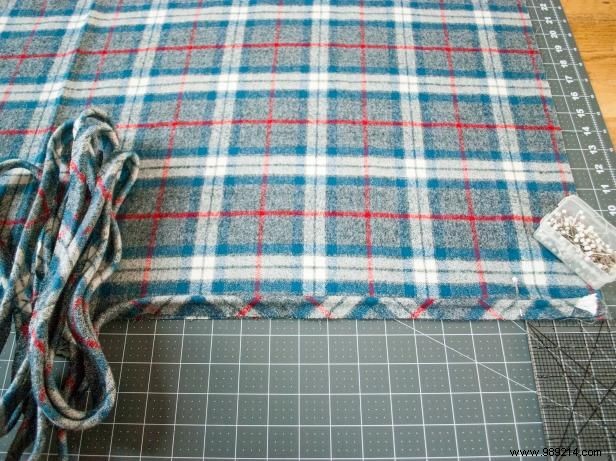
Cut one top piece, two side pieces, and two front/back pieces. For patterned fabric, match designs at seams: Cut the front first, then align top and sides, saving the back for last as it's least visible.
Piping must stretch around corners, so cut bias strips at a 45-degree angle for elasticity. Use 1/2 to 1 yard of fabric (more reduces seams, increases waste—we used a yard). Fold one corner into a right triangle, press, and trim it off. Note: Straight-edge piping doesn't need bias cuts, but corners do.
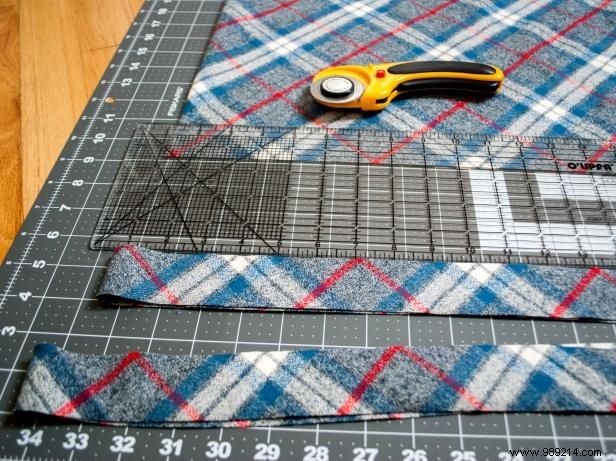
Measure headboard perimeter: ours was 35" (right side) + 35" (left) + 67" (top) = 137", plus 2" for hem and extra, totaling 140". For strips: 2x cord width + 2x seam allowance. With 3/16" cord and 1/2" seams: 3/16" + 3/16" + 1/2" + 1/2" = 1-3/8"; round to 1-1/2" wide strips for easy folding.
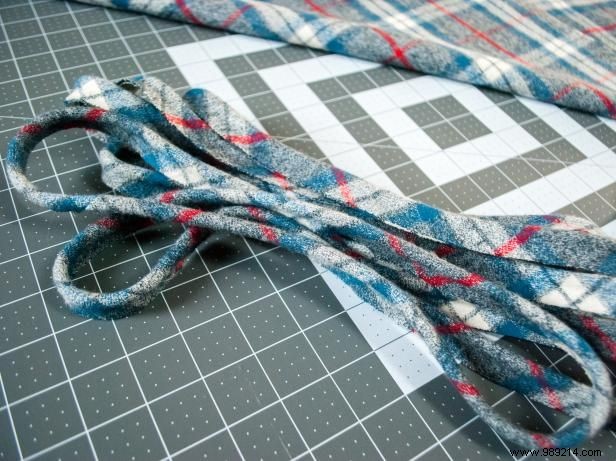
This minimal sewing joins strips into one long piece. Lay one strip flat. Overlap a second at 90 degrees, right sides together, with 1/4" triangles overhanging top and side for perfect alignment post-seam.
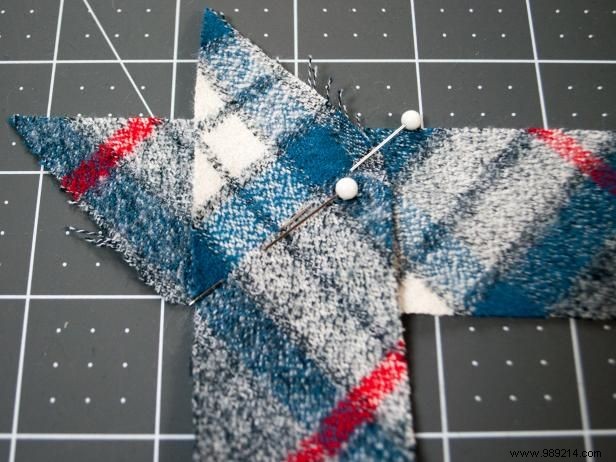
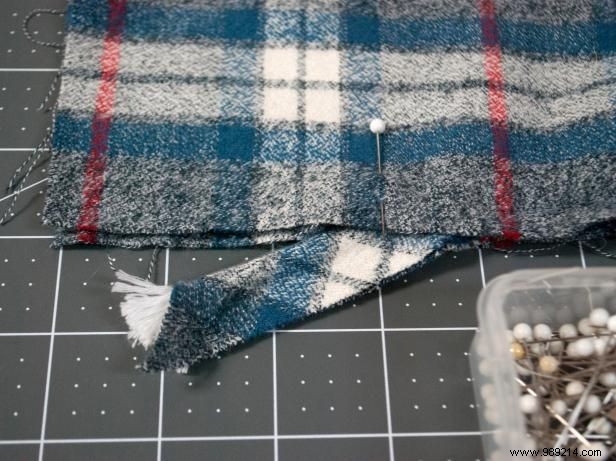
Sew right sides together at 1/4" seam. Press open, trim excess triangles above and below the join. Repeat until you have one continuous strip matching your needed length.
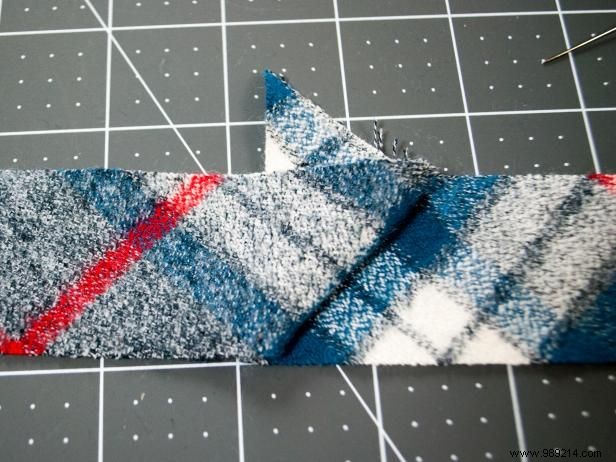
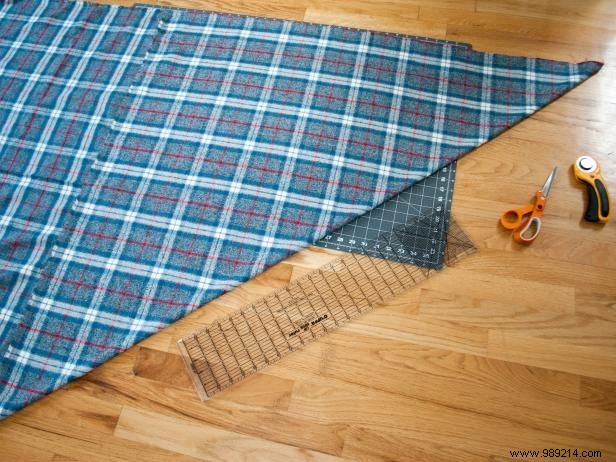
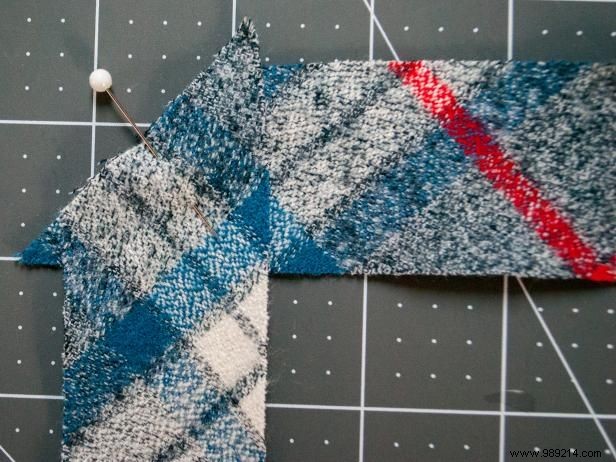
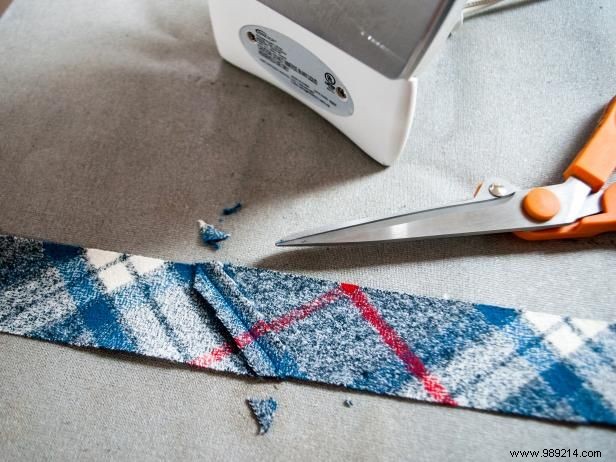
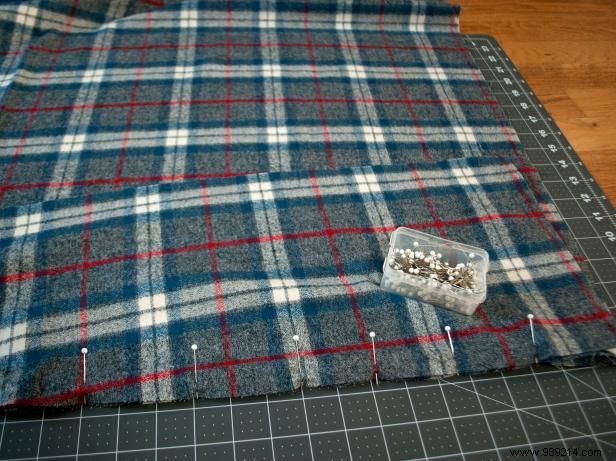
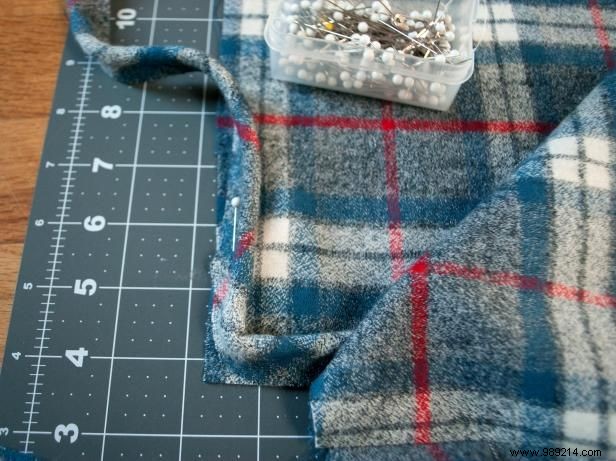
For seamless patterns: Lay first strip face up. Fold a right triangle on the second strip's right, slide to match pattern (Image 1). Unfold to 90 degrees, pin from top right at 45 degrees, sew 1/4" above pins (Image 2). Trim seam to 1/4" and press open.
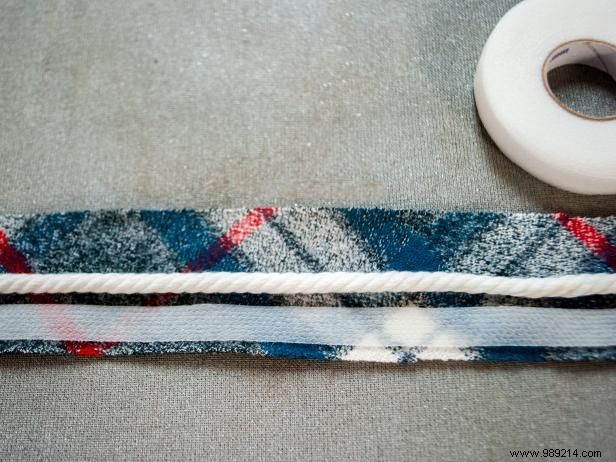
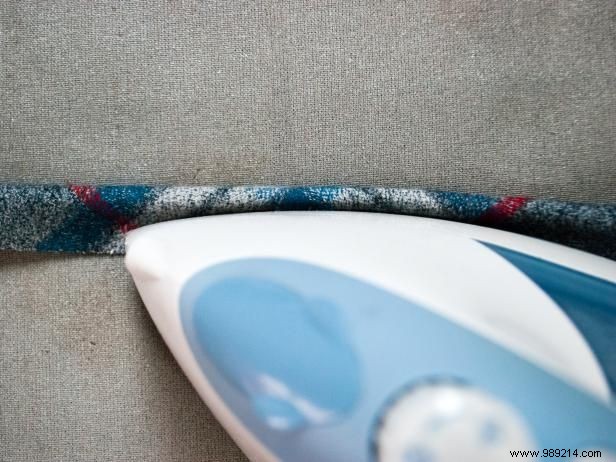
Skip tricky stitching: Use iron-on hem tape. Lay bias strip right side up, center cord, place tape below it (Image 1). Fold fabric over, iron per package instructions to secure (Image 2). Perfect piping, no visible stitches (Image 3). Set aside.
Pin top cover piece to side pieces, right sides together, at 1/2" seams for one long panel. Test on headboard, adjust fit—scale front/back accordingly if needed.
Lay front piece face up. Pin hem line, then align piping atop front, raw edges matching.
Layer top/sides over front, right sides together, trapping piping. Pin securely.
Ensure piping curves smoothly at corners before pinning (Image 1). At hem, shift piping aside to hide raw cord ends and avoid bunching (Image 2).
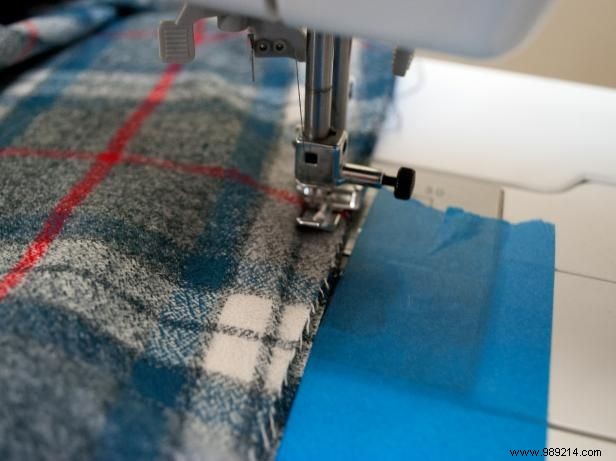
Use zipper foot for close stitching. Sew 1/2" seam. Pro tip: Painter's tape 1/2" from needle guides straight seams. Trim piping ends to 1/2".
Place assembly face up. Add back piece, right sides together. Pin and sew 1/2" seams. Optional: Zigzag raw edges to prevent fraying.
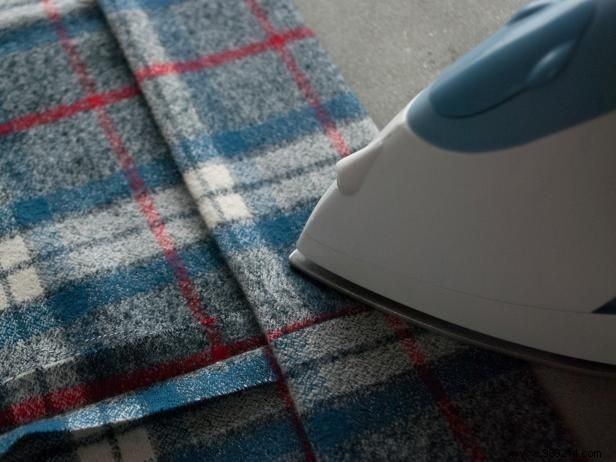

Fit cover on headboard to set hem length. Press up, sew hem (Image 1). For polish, stop at piping, backstitch, reposition needle past it, backstitch, and continue (Image 2).
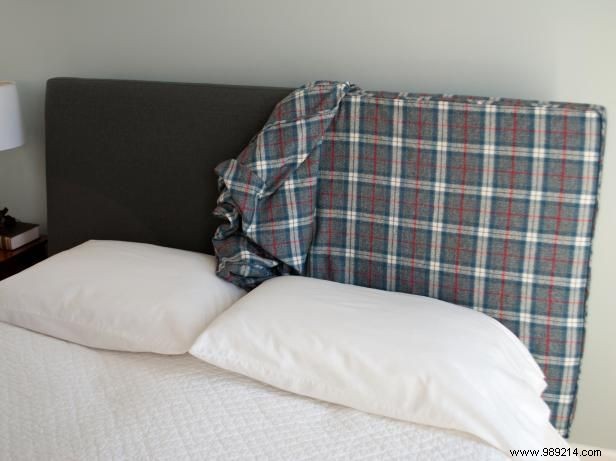

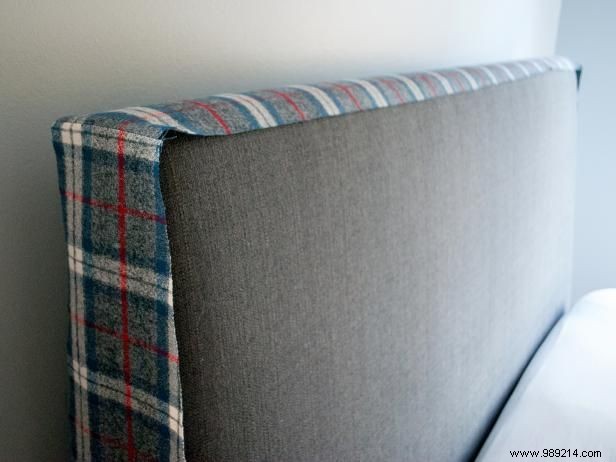
Slide cover onto headboard (Image 1). Pair with matching pillows or bedding for a custom bedroom upgrade (Image 2).