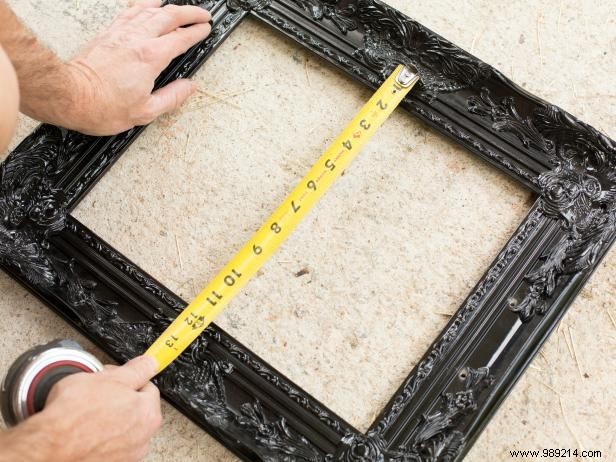
Use a tape measure to determine the size of the removable panel along the back of the frame. Take this measurement, then add an additional inch to account for the proper overlap needed for screw placement.

Mark the 1/2" plywood to size with a pencil or marker referring to the dimensions taken with the tape measure.
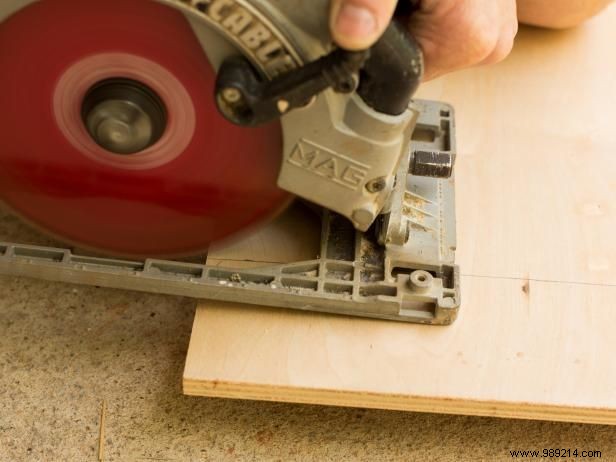
Cut the plywood to size with a circular saw.
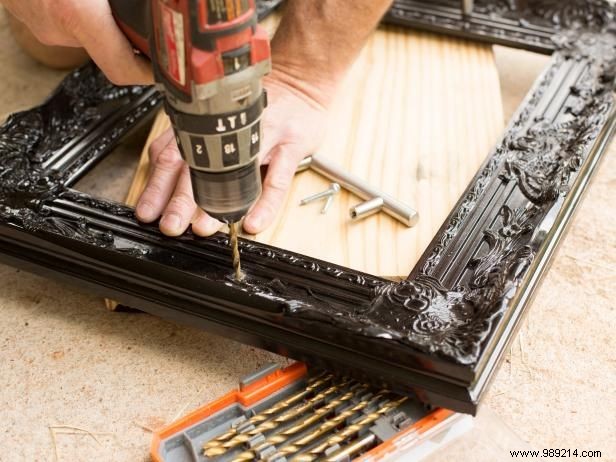
Based on the built-in mounting holes, use a tape measure to determine the correct position of the drawer handles on the front of the picture frame. Mark with a pencil or marker, then drill two holes in the frame using the appropriate drill and bit.
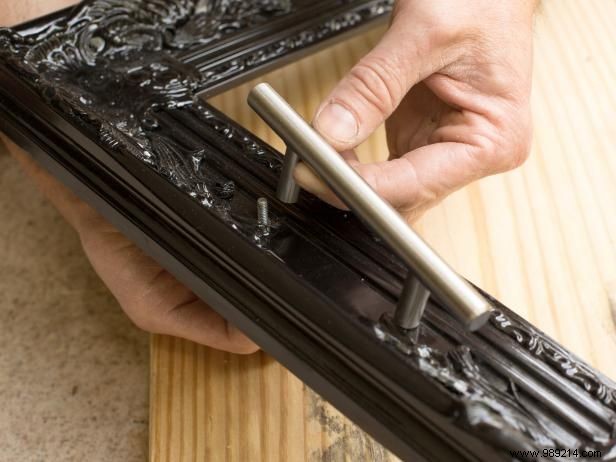
Put the handles over the drilled holes, then fix with screws using a screwdriver or drill.
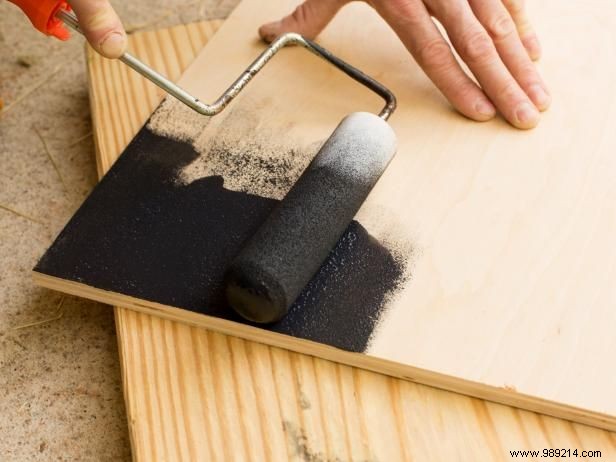
Apply two coats of chalkboard paint to the plywood with a roller handle and roller sleeve.
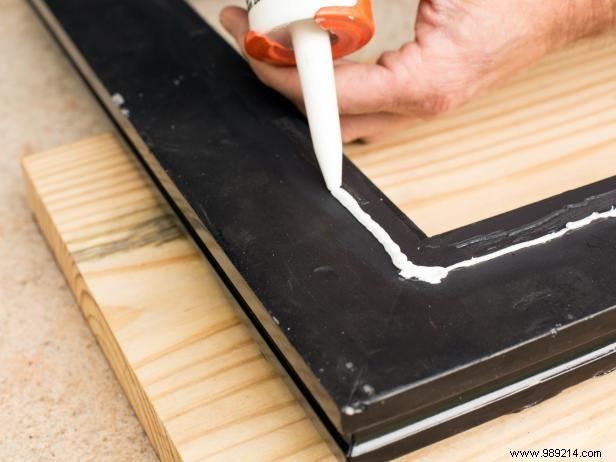
Once the paint is dry, use a caulking gun to add a bead of liquid adhesive that adheres about 1/4” from the edge of the opening along the back of the picture frame. Next, lay the slate-painted plywood in its permanent position.
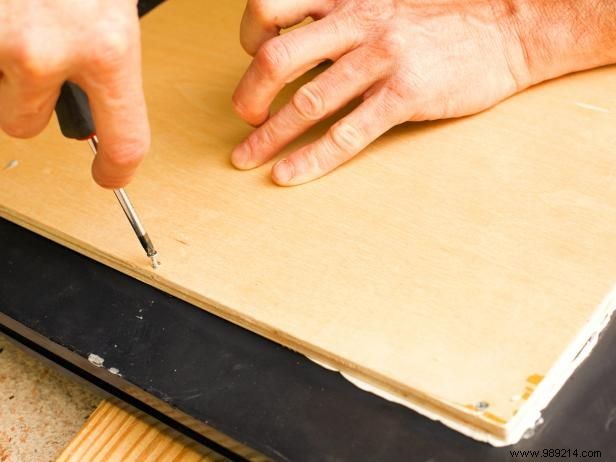
With the plywood firmly in place, secure it with screws using a screwdriver. Thread each screw about 1/8” below the surface of the plywood. TIP:The countersink ensures that the screw heads do not loosen and cause the tray to sit unevenly when placed on level surfaces or lifted off the surface it sits on.