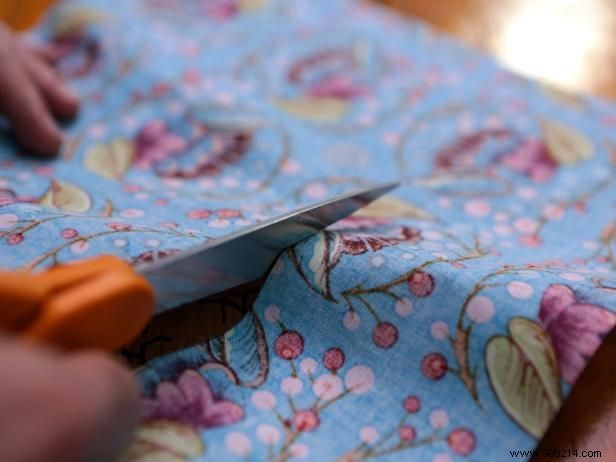
Start by making a pattern from kraft paper, old wrapping paper, or newspaper, adding 1 inch total for seam allowances. We used a 9" x 7" pattern for a finished bag measuring 8" x 6". Fold the lining fabric in half with right sides facing out. Trace the pattern with a fabric marker, pin the pattern outside the line, and cut both pieces at once. For fabrics with a directional print, center it and cut pieces individually.
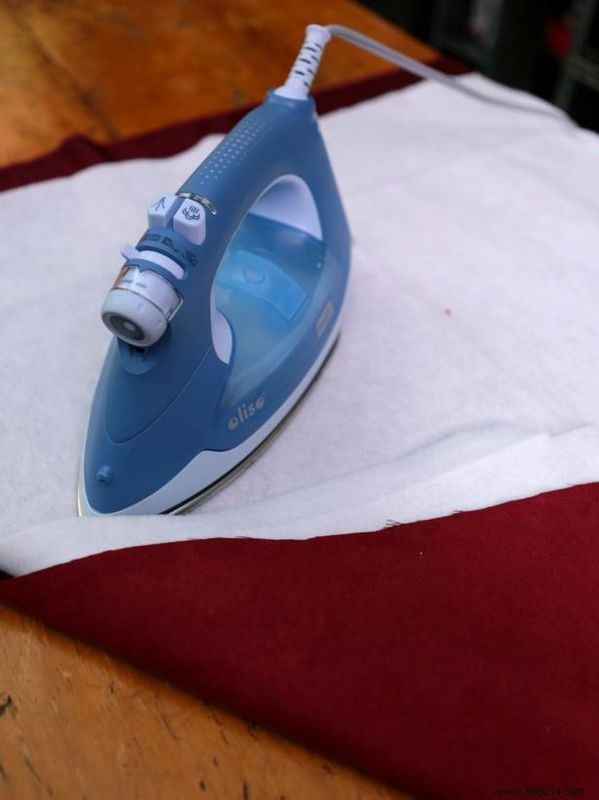
Reinforce the outer fabric with fusible fleece for durability. Trace and cut two fleece pieces to match the pattern. Set your iron to the correct temperature for your fabric. Place the outer fabric right side down, position fleece rough side down on the wrong side, and press until fully fused.
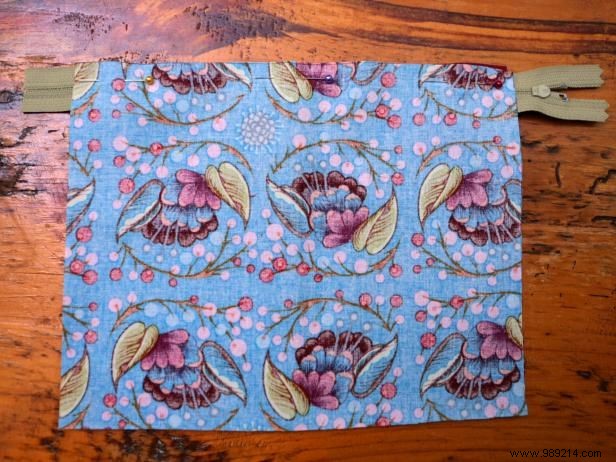
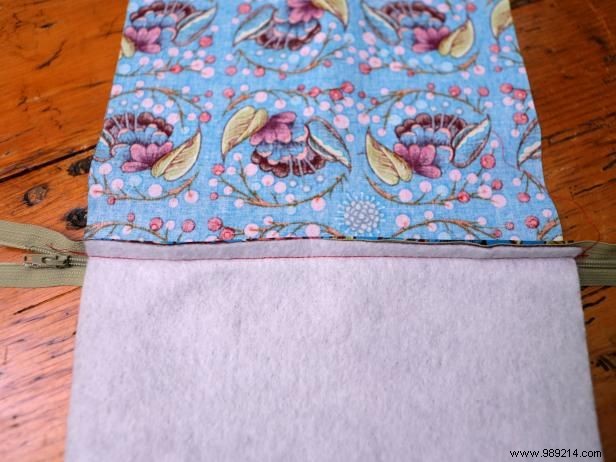
Install the zipper foot on your sewing machine. Layer the pieces: outer fabric right side up, zipper right side down on top (pull tab downward), then lining right side down over the zipper. Align all top edges to fully enclose the zipper tape. Pin securely in place.
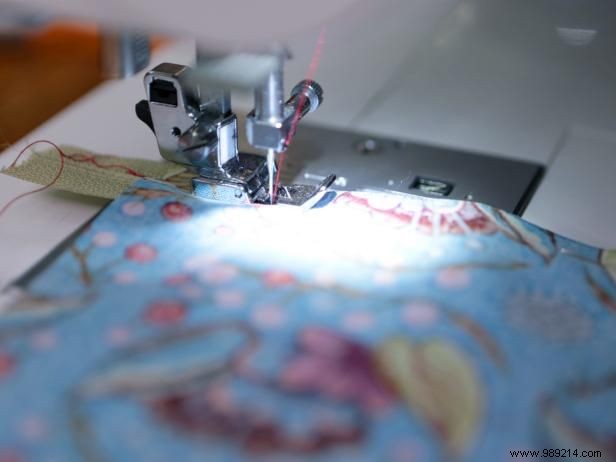
With the zipper foot, stitch along the top edge close to the zipper teeth. Shift the zipper pull aside as needed for a flat seam. Backstitch at the beginning and end to secure.
Fold the layers open, reposition so the second outer and lining pieces sandwich the zipper's other side (right sides facing), and sew as before.
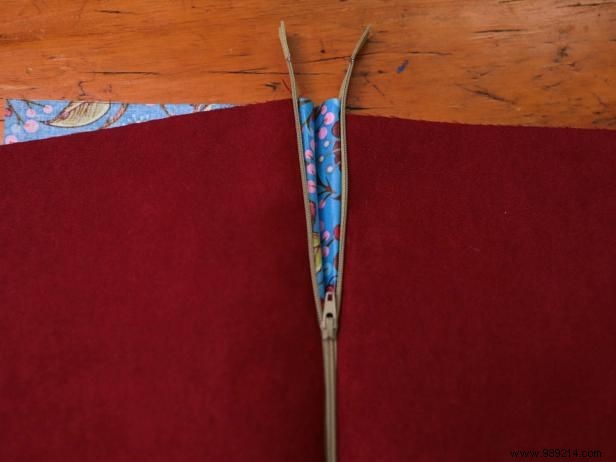
With right sides out and all layers attached, switch to the regular foot. Topstitch along the zipper length to flatten seams and prevent fabric from catching in the teeth. Use matching thread since it shows on the finished bag.
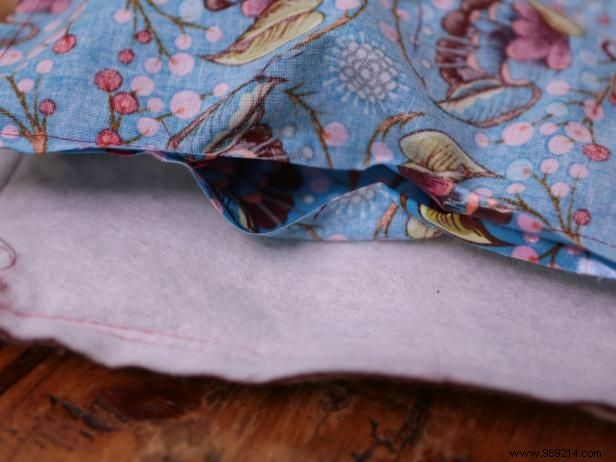
Fold with outer fabrics right sides together and linings right sides together (zipper tucked inside). Pin along the sides. For the lining bottom, place pins 3 inches apart to mark the turnaround gap. Sew around the lining perimeter using your seam allowance as a guide, backstitching at start and gap edges.
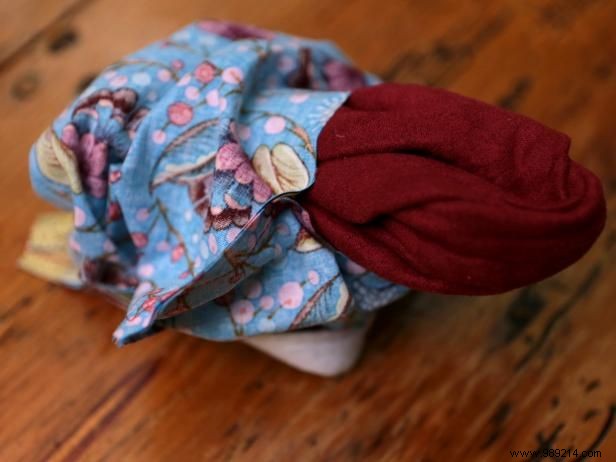
Open the zipper at least halfway—crucial for turning! Pin outer layers right sides together and sew all three sides. Reach through the lining gap and open zipper to pull the bag right side out, pushing corners fully.
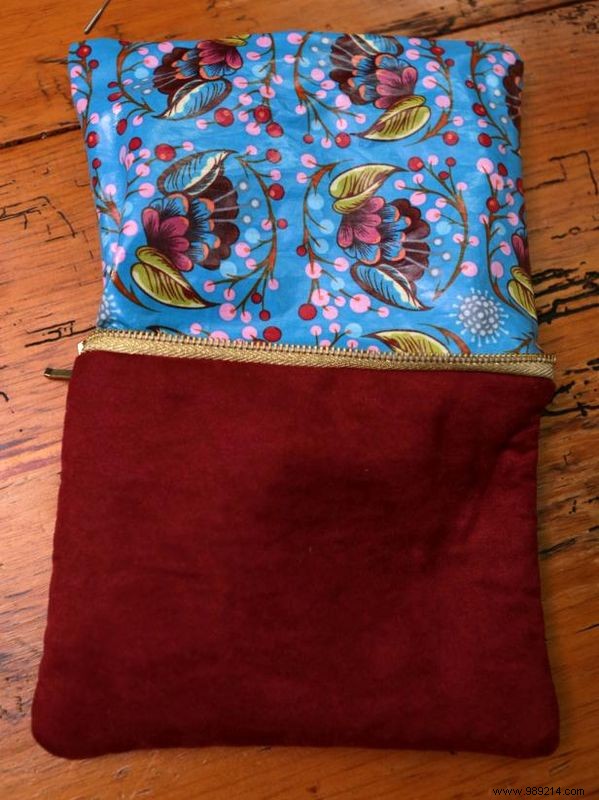
Poke out the corners sharply and press the bag flat with an iron for a polished look.
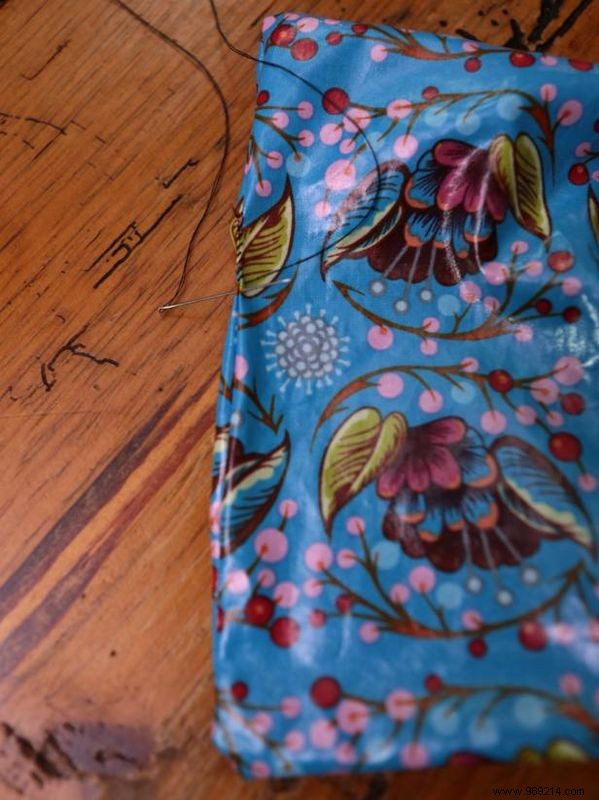
Ladder stitch the lining opening closed by hand or machine—it's hidden inside, so no one will see it.