Begin by measuring your bed to determine the headboard's dimensions. Select two doors that match the required width—ideal for reusing salvaged pairs, or choose affordable new hollow-core doors as a reliable alternative.
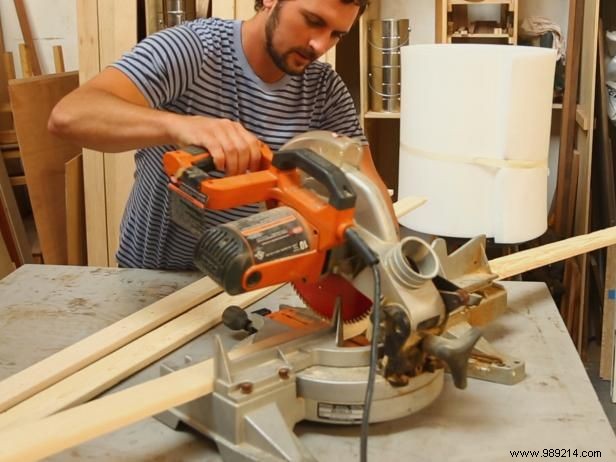
Cut three 1x4 pine boards slightly shorter than the headboard's width. For precision and ease, have your hardware store handle the cuts.
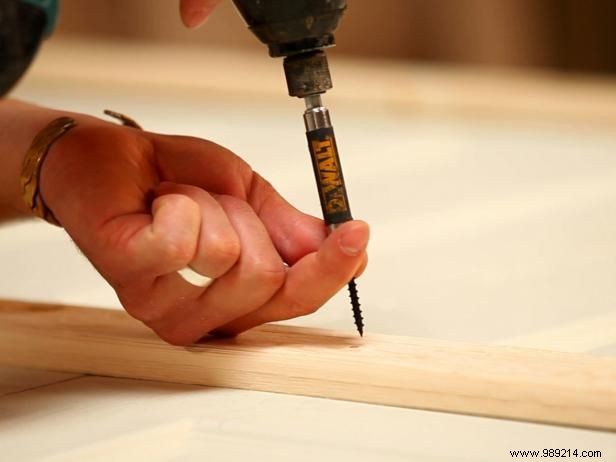
Secure the doors together by fastening the pine braces horizontally across the back using 1-1/2-inch wood screws for a sturdy bond.
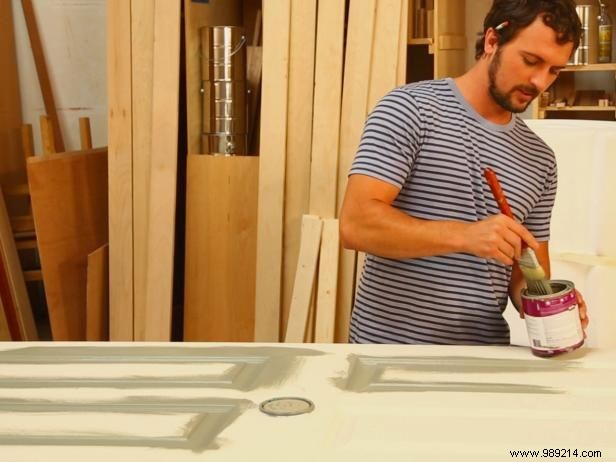
Prime and paint the doors in a soft grayish-green shade, a hallmark color of authentic French Provincial style that adds warmth and elegance.
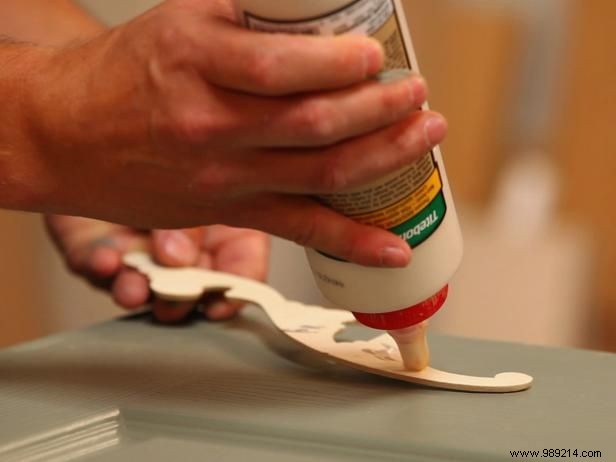
Elevate the design with decorative moldings for classic detail. Source them from resale shops, hardware stores, or online retailers. Attach securely with wood glue.
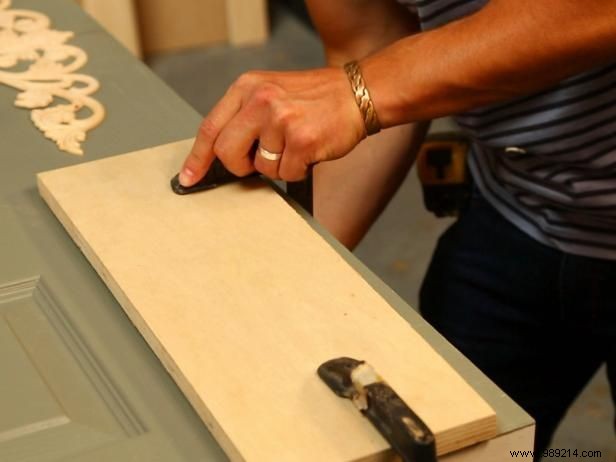
After gluing the moldings, brace them firmly to ensure they dry flat and adhere perfectly.
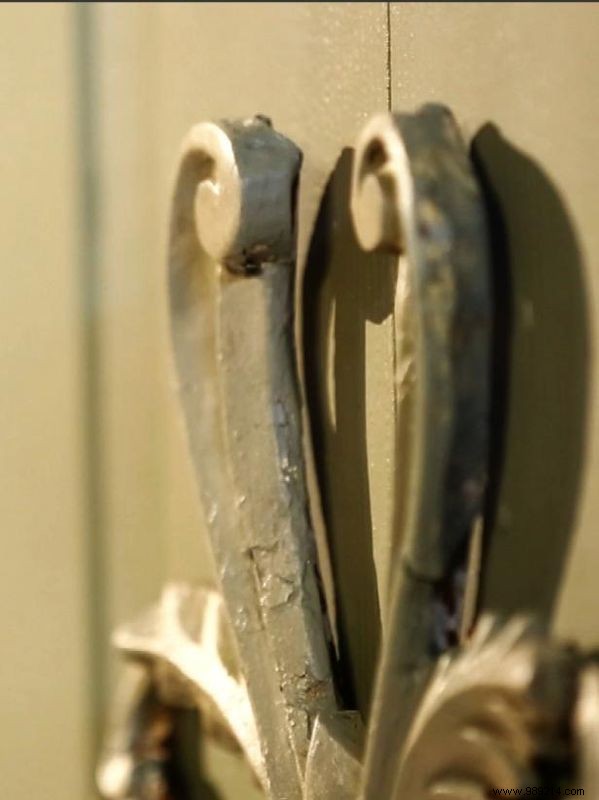
Paint the trim to match the doors for seamless unity, or select a contrasting color for emphasis. Lightly distress the finish for added vintage character.