Think about it, it's fine to make your own shelves, its own storage compartment etc...
The thing is, once the product is finished, you have to fix it well and that's where things go wrong.
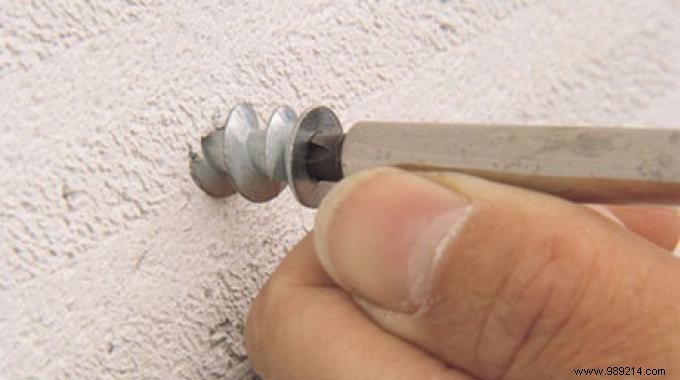
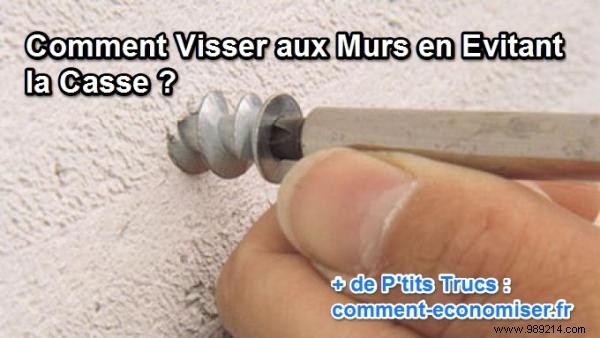
To avoid injury and extend the life of our latest creations, it is useful to know how to screw them to the walls to avoid breakage!!
Going home to find your broken flat screen right in the middle of the living room is something we would all like to avoid.
Likewise, we generally don't appreciate our furniture falling on our heads or on those of our children !!
So how can we be sure that this will not happen to us or not?
Obviously the choice of screws will be different depending on the object you want to fix, its weight and thickness and the quality of the wall.
Remember that any competent seller will be able to advise us in the DIY department depending on the type of wall in which we want to fix!
The screw diameter will therefore depend more on the weight of the object to fix and its length than the quality of the wall.
Generally speaking, for us do-it-yourselfers, 3 mm screws are enough for light objects (frames, shelves weighing less than a kilo once loaded, etc.), 5 mm screws can support your furniture from light kitchen, 6 mm for the heaviest, this can climb up to 16 mm threaded rods for a gate or other extremely heavy objects.
You may need to choose larger screws if:
1. they would support a pull on their axis (chandelier)
2. the density of the wall would be poor.
The length of the screw will depend rather on the quality of the wall and the thickness of the object to be fixed:any screw is not effective without the dowel that goes with it in the context of fixing to a wall.
As a result, whatever the thickness of the object, the screw must arrive at the bottom of the dowel . It is therefore necessary to plan the useful length of the screw (the one that will be in the wall) taking into account the length that will protrude.
There are many types of ankles and all have their particularities. In the same way, the e seller of our DIY department favorite will be able to advise us between the different kinds:
- the standard plug:for almost all materials, except cellular concrete, plasterboard and chipboard.
- the universal dowel:in metal or plastic, it is suitable for most solid and hollow materials except cellular concrete.
- the plug for hollow brick:it can also be used for plaster blocks.
- the plug for aerated concrete:it is only suitable for this material.
- the dowel for placo:in metal or plastic, it is suitable for 4 mm wood screws and only supports light loads.
- the expansion pin:in metal, it requires a clamp provided for its use and supports greater weights than its plastic cousin. They are designed for plaster, chipboard, hollow blocks...
- the quick-fixing anchor:it is designed for light loads. Very easy to use, it only adapts to concrete and solid blocks.
Here is the list of pegs that we will need the most; note that their formats vary just as much as that of our screws, so you have to match the measurements of the two .
Once the screws and dowels have been chosen, all I have to do is drill holes of the same diameter in my wall, equip myself with a hammer to drive in the dowels and, of course, a screwdriver or a electric screwdriver!
And to screw placo properly, there is a very practical and effective trick. The screws should be coated with soap.
Feedback, additional advice to give on the use of screws and dowels:tell me in a comment!