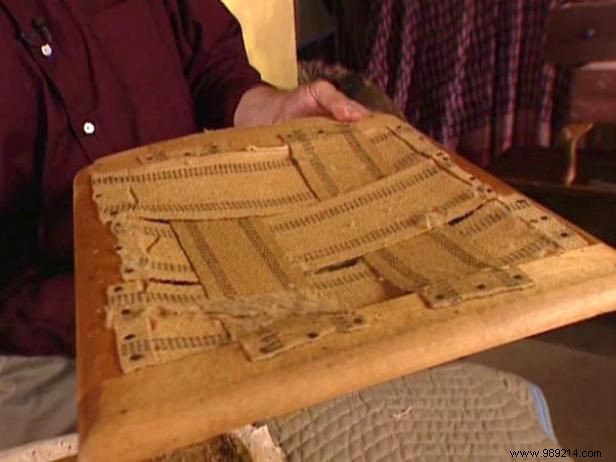
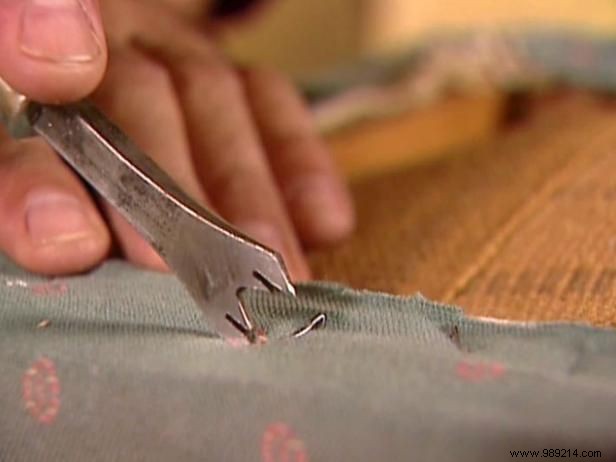
Gather tools and upholstery materials. Remove the fabric from the chair by pulling out the staples with a staple remover (upholsterer's staple remover - Image 1). Be sure to remove all staples and tacks. Never lay new fabric on top of old material. If you do, when you go to clean the new fabric, the stains on the old cover could come off. Remove the old straps (Image 2) and padding from the chair.
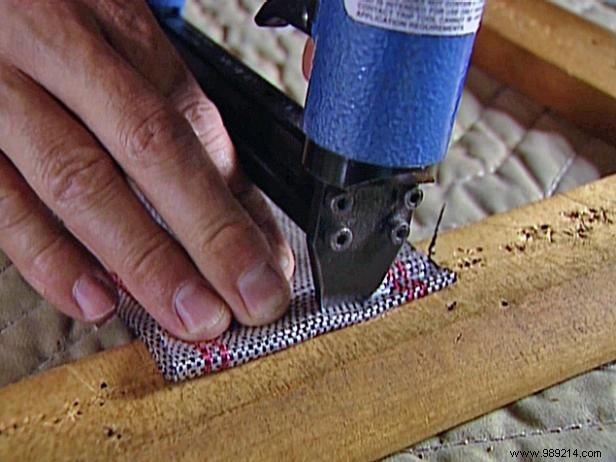

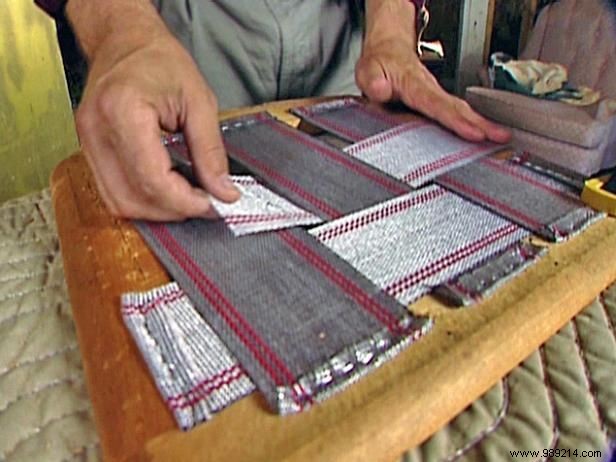
Lay new polypropylene tape in a basket weave pattern by doing the following:Start in the middle, fold the end over, and staple in place (Image 1). Use a bar clamp to hold the tape down. Gently shake the tape stretcher (Image 2) until the tape is snug. Staple the end in place. Cut the tape, leaving an extra inch to fold and staple. Repeat the process for the other strips from front to back. To add horizontal straps, repeat the steps above and wrap the straps under and over, alternating weaving (Image 3) on the remaining straps.
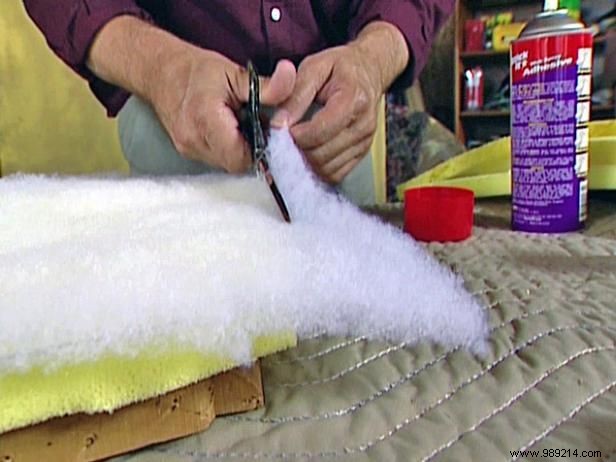
Lay the pad on oversized 1" foam (available at most fabric stores). Trace the outline of the pad onto the foam, leaving 1/4" length all around. Put foam on top of the tape with spray adhesive. Lay 1/2 thick bonded dacron on top of the foam. Trim the dacron 1/4" larger than the pad. The dacron will give the seat a nice crown effect.
For four chairs, it will take about a yard of fabric and 1-1/2 yards of fabric for six chairs. Be sure to leave at least three inches of excess fabric around the seat of the chair.
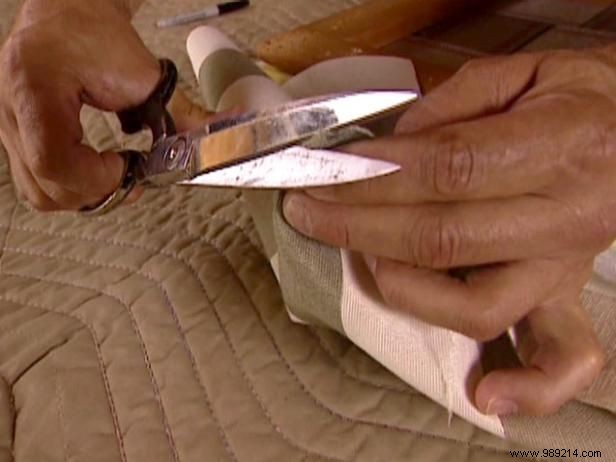
To position the fabric, first find the center front width of the pad and back, and mark. Do the same on the back and make a center mark. Find the center of the fabric. Fold the fabric along the center line and cut a small notch (Image 1) for the front and back. Starting from the back, fold the fabric and align the notch with the center mark. When the fabric is straight, start stapling, leaving the corners alone. Repeat the previous step to attach the front and then the sides. Use your spare non-stapling hand to smooth and straighten fabric while you staple. Don't stretch the fabric so tight that the lines (if you're using striped fabric) are distorted. Recorte la tela extra.
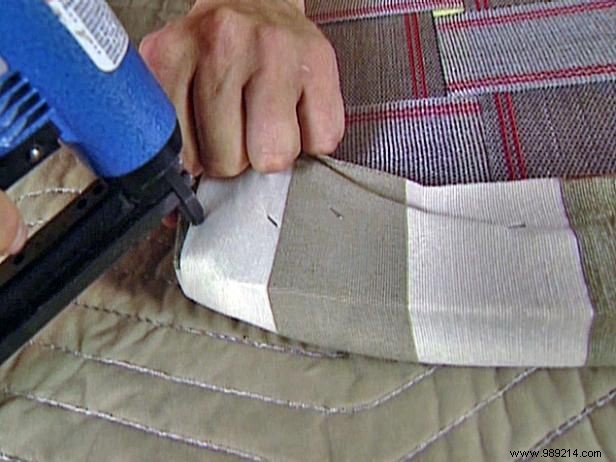
En las esquinas, doble la tela y tire hacia abajo y hacia afuera y engánchela en su lugar (Imagen 2). Gire la almohadilla del asiento y repita el proceso para cada esquina. Grapa el material de la cubierta de polvo para ocultar las grapas y los extremos de la tela.