Don't settle for boring factory ripped up steps. Do your thing. You'll be able to draw, play with shiny glass and tile, and mix wet concrete, which is a bit like making mud pies. This is a good project to do with children because you can turn their drawings into an art path in the garden. I have been doing stepping stones with my kids every year since they were little kids. They are teenagers now and we have enough of their handmade steps for a wide catwalk across the yard. It is an honest memory path to the goodness of his art..
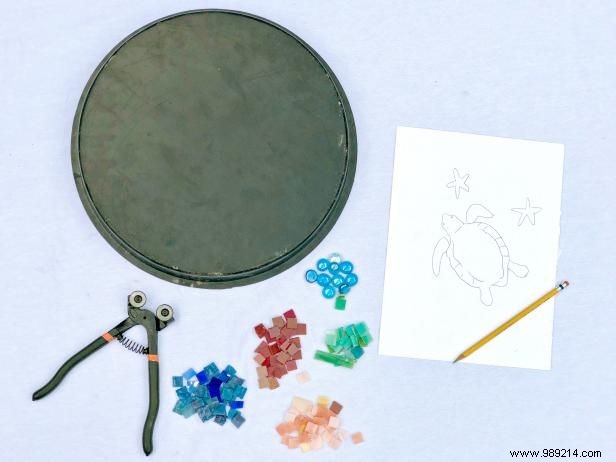
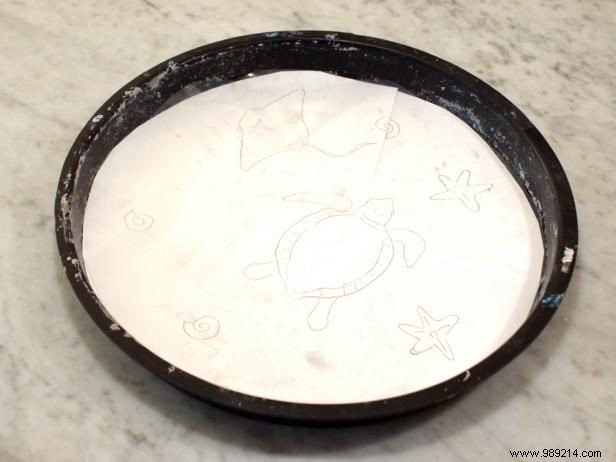
Trace your child's drawing or create a new drawing for your step on a piece of paper. Place it in the bottom of the mold. Cut a sheet of clear contact paper the size of the template and place it over the drawing, sticky side up. You will be able to see the drawing through the contact paper.
Tip: Your drawing will be inverted on the finished stone. If your design includes letters or numbers, trace your design and flip it over before placing it in the mold.
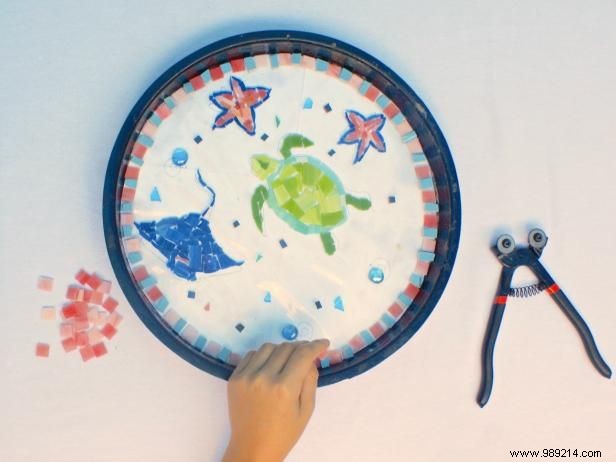
Use mosaic cutters to cut the tiles into small pieces to complete your drawings. Place the tiles face down on the drawing and push them until they stick to the contact paper. Remember, you are working backwards, so you should see the backs of the tile as you work. Once you've finished your design, apply petroleum jelly to the walls of the mold to make it easier to remove from the mold once the concrete is dry.
Tip: A border of tiles will act as a frame for your design, putting the focus on the cute pattern and making the stone look more finished.
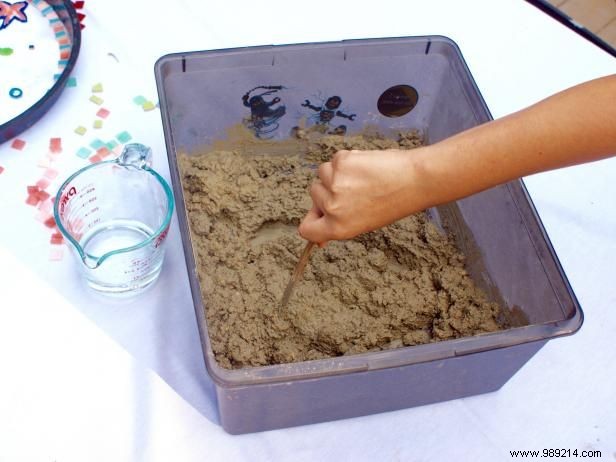
Mix concrete according to package directions. You want it to be the consistency of thick cake batter.
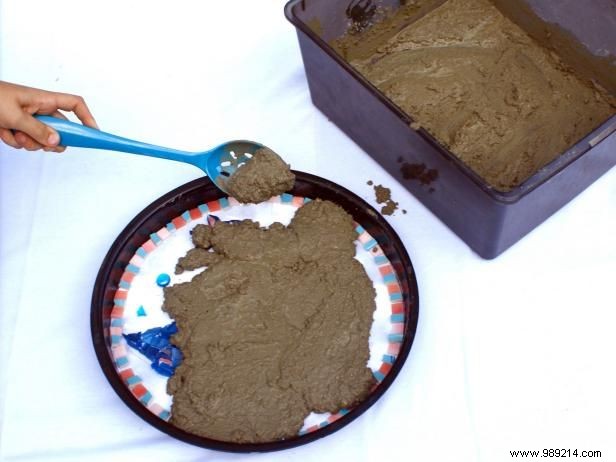
Concrete spoon in the mold. We use an old kitchen spoon. Don't pour concrete into the mold because it could dislodge your tiles. Fill the mold halfway.
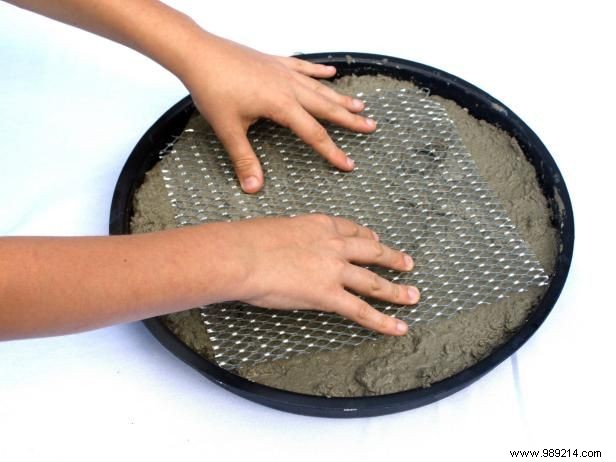
Place the wire square into the wet concrete and push gently. This will reinforce your trampoline. Place more concrete in the mold on top of the wire until the mold is full.
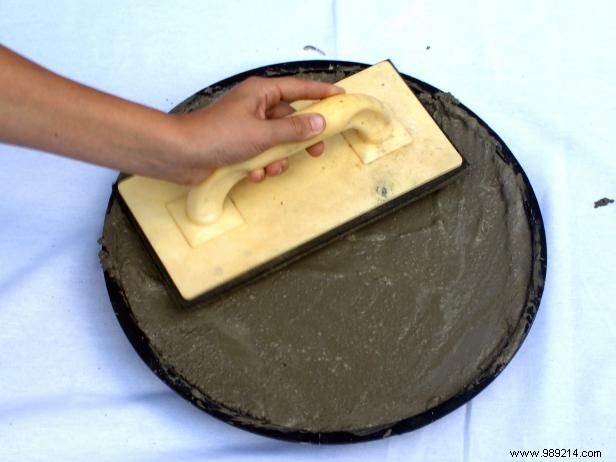
Use a tile float to smooth the concrete. Make the surface level so your step lays flat on the ground. A catywampus stone could trip you up. Let the concrete dry overnight. .
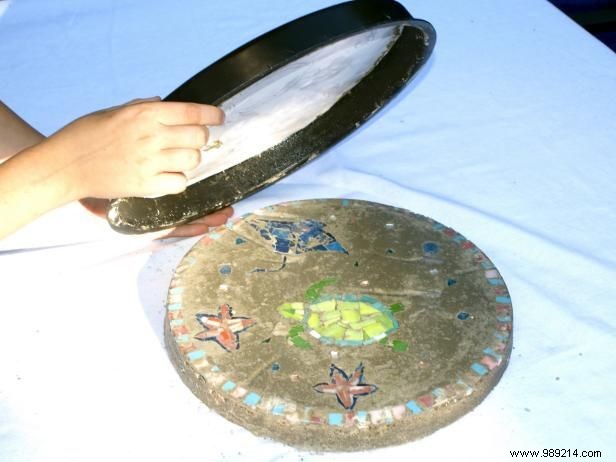
Gently turn the mold filled with hardened concrete and place it upside down on a flat surface. Remove the mold from the stone.
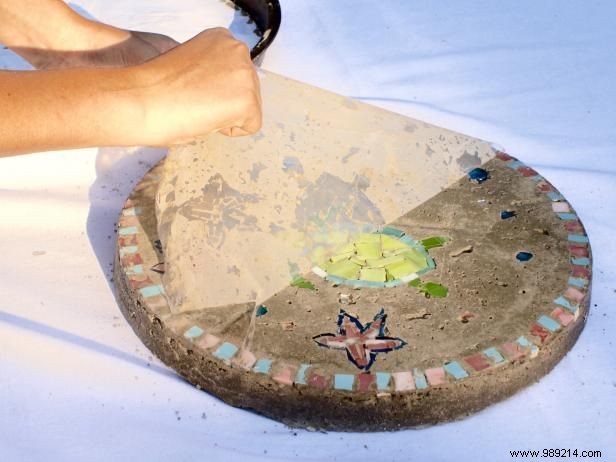
Carefully pull the contact paper off the stone. There's your design! Use a steel brush to gently break down any concrete that is sticking to the face of the tiles. A butter knife used as a scraper also works well.
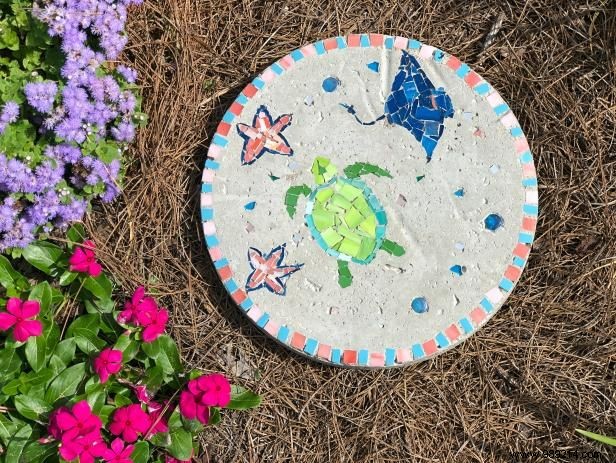
Let the concrete dry for another 24 hours. Seal with tile sealer to make it waterproof. Put your stone in your garden, and voila, your garden has an eccentric touch. Now do much more. You have a path to put.
Continue reading