Family Encyclopedia >> Home & Garden

Transform Your Child's Artwork into Custom Garden Stepping Stones: A Proven Family DIY Guide

As a parent with years of hands-on experience crafting garden stepping stones alongside my children—from their early childhood drawings to now as teenagers—I've built an expansive, personalized art path across our yard. Ditch plain factory-made stones and create durable, meaningful ones using kids' artwork, mosaic tiles, and concrete. This engaging project blends creativity with practical outdoor enhancement, preserving cherished memories in your garden.

Transform Your Child s Artwork into Custom Garden Stepping Stones: A Proven Family DIY Guide

Tools and Materials

  • Stepping stone molds (available at craft stores; plastic containers or old metal molds work too)
  • Glass or ceramic tiles
  • Mosaic cutters
  • Paper and pencil
  • Clear contact paper
  • Petroleum jelly
  • Concrete mix (Sakrete High-Strength recommended; opt for fast-setting if in a hurry—10-15 pounds per stone)
  • Plastic container for mixing
  • Large spoon
  • Steel mesh (or chicken wire, cut to fit mold)
  • Grout float
  • Tile sealer

Step 1: Create and Prepare the Design

Transform Your Child s Artwork into Custom Garden Stepping Stones: A Proven Family DIY Guide

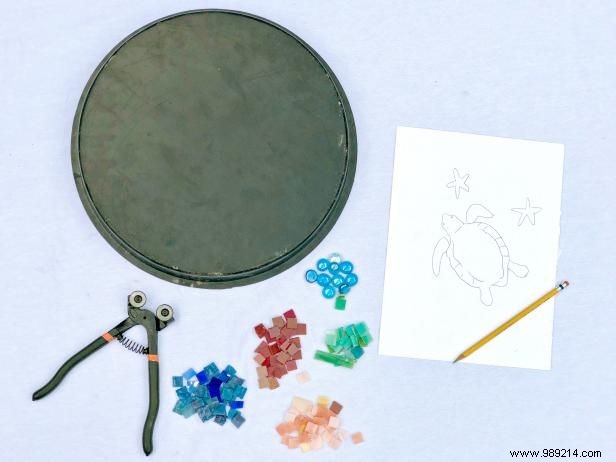
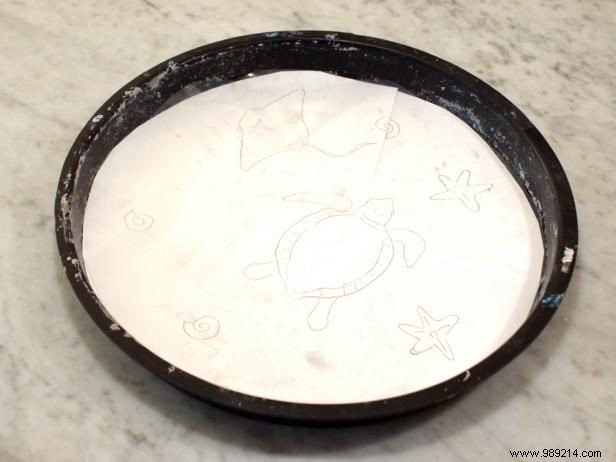
Trace your child's drawing or sketch a new design on paper, then place it at the mold's bottom. Cut clear contact paper to match and lay it sticky-side up over the drawing for visibility.

Tip: Designs invert on the finished stone. For letters or numbers, trace, flip, and place accordingly.

Step 2: Cut and Place Tiles

Transform Your Child s Artwork into Custom Garden Stepping Stones: A Proven Family DIY Guide

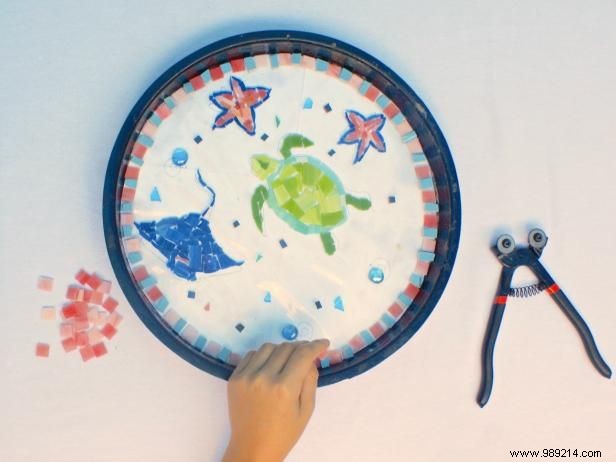
Use mosaic cutters to shape tiles into your design. Position them face-down on the contact paper until they adhere. Work from the back view. Apply petroleum jelly to mold walls for easy release.

Tip: Add a tile border to frame the design, enhancing focus and polish.

Step 3: Mix the Concrete

Transform Your Child s Artwork into Custom Garden Stepping Stones: A Proven Family DIY Guide

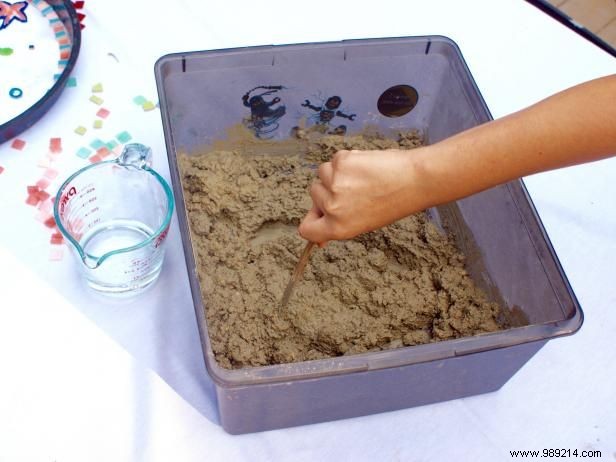
Follow package instructions to mix concrete to a thick cake batter consistency.

Step 4: Add Concrete to Mold

Transform Your Child s Artwork into Custom Garden Stepping Stones: A Proven Family DIY Guide

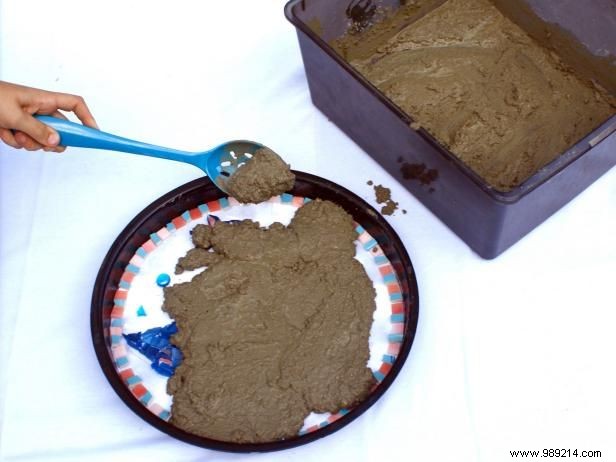
Spoon concrete into the mold carefully—avoid pouring to prevent displacing tiles. Fill halfway.

Step 5: Reinforce

Transform Your Child s Artwork into Custom Garden Stepping Stones: A Proven Family DIY Guide

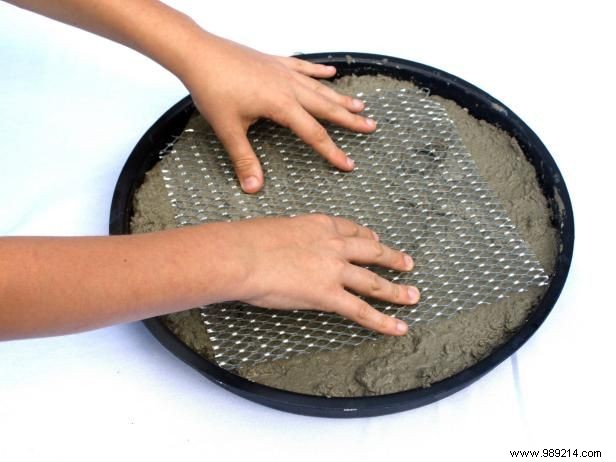
Gently press the wire mesh square into the wet concrete for added strength. Top with more concrete until full.

Step 6: Smooth the Surface

Transform Your Child s Artwork into Custom Garden Stepping Stones: A Proven Family DIY Guide

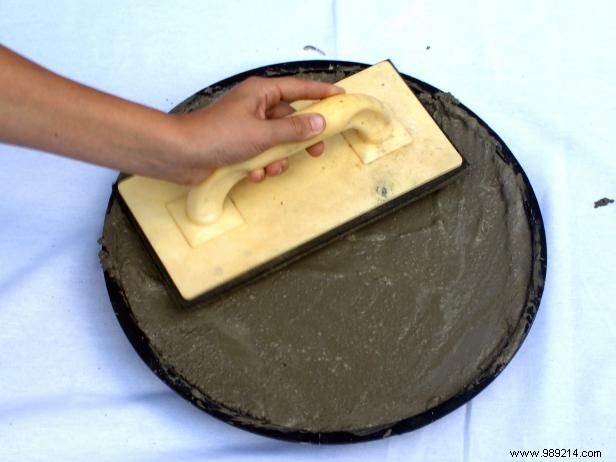
Smooth with a grout float for a level surface, ensuring stability. Let cure overnight.

Step 7: Remove from Mold

Transform Your Child s Artwork into Custom Garden Stepping Stones: A Proven Family DIY Guide

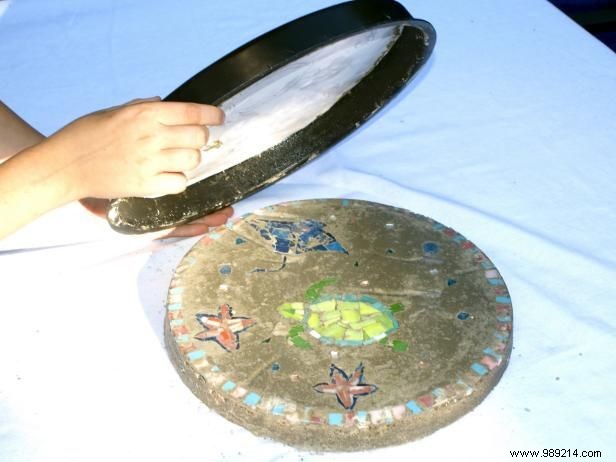
Flip the mold onto a flat surface and gently lift it off the hardened stone.

Step 8: Remove Backing

Transform Your Child s Artwork into Custom Garden Stepping Stones: A Proven Family DIY Guide

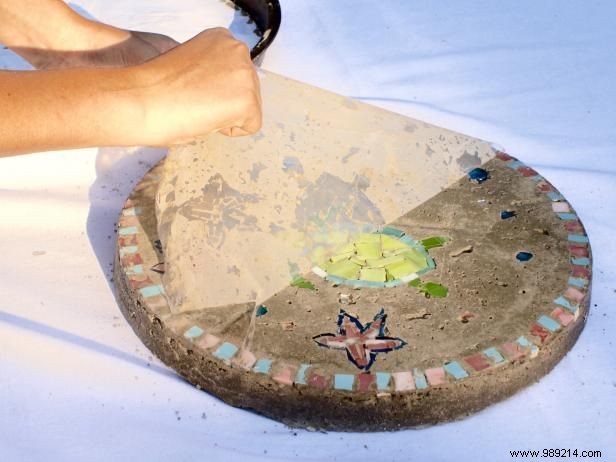
Peel off the contact paper to reveal the design. Use a steel brush or butter knife to clean any concrete from tiles.

Step 9: Final Cure and Seal

Transform Your Child s Artwork into Custom Garden Stepping Stones: A Proven Family DIY Guide

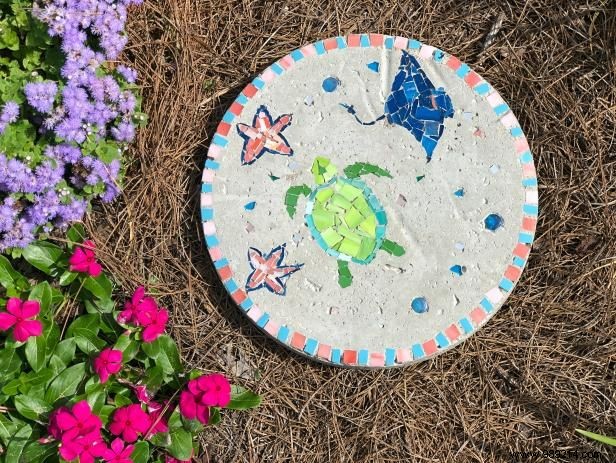
Cure for another 24 hours, then seal with tile sealer for weatherproofing. Place in your garden for a unique, artistic path.