Start by deciding the size of your built-in shelving unit and its wall position. Avoid spots directly above or below switches, outlets, or fixtures to steer clear of electrical wires. Locate wall studs (typically 16 inches apart) and fit the unit between them for solid support.
Using a straightedge and utility knife, score the drywall along your outline. Punch a starter hole with a hammer inside the lines, then inspect behind for wires or obstacles.
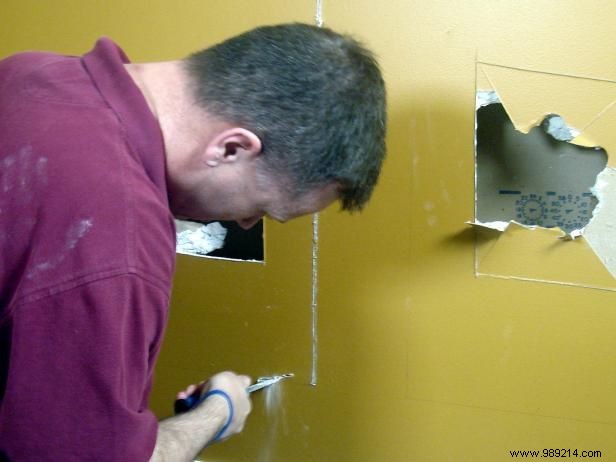
With the area clear, use a drywall saw to carefully cut along the scored lines. Take care to avoid any wiring.
Measure and cut plywood for the shelves. We used pre-slotted plywood for the sides to hold adjustable shelves, plus standard 3/4-inch plywood for the top, bottom, and back.
Ensure slots align perfectly during plywood cuts—misaligned slots lead to crooked shelves.
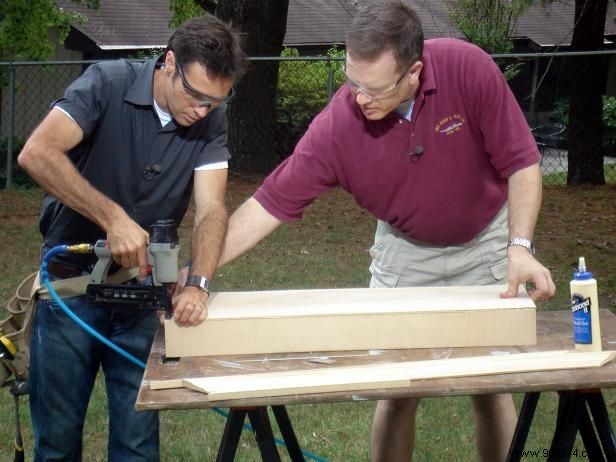
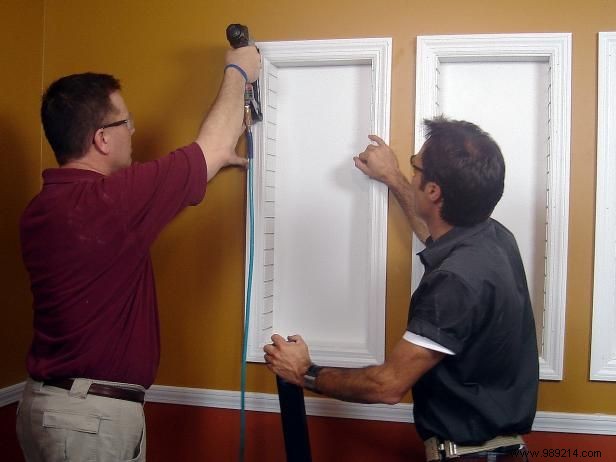
Secure the box with wood glue and a brad nailer. Add decorative trim to the face to conceal plywood edges and gaps against the drywall.
Sand the unit and trim smooth, then apply stain, primer, and paint to your preference for a polished look.
Support depends on the unit's weight and contents. For heavy loads, secure 2x4s to existing studs and align with the opening edges. For lighter units, slide plywood strips behind the drywall, flush with edges, and screw them in place.
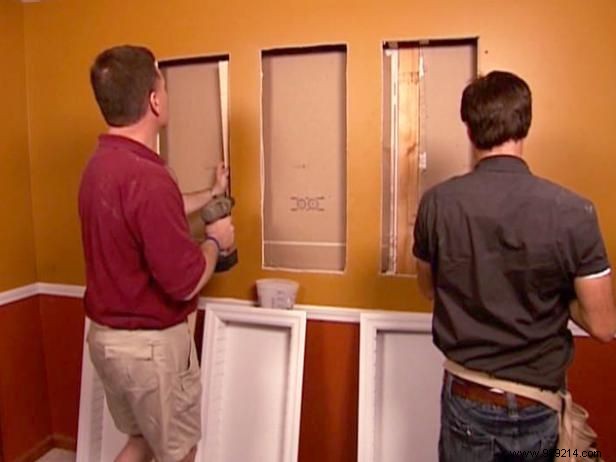
Slide the assembled box into the opening. Nail sides into 2x4 framing or front edges into plywood strips. Verify it's plumb and level.
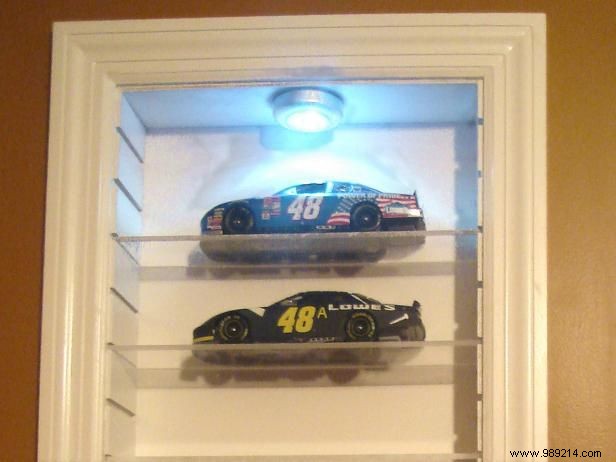
Cut acrylic sheets into six shelves (stores can pre-cut). Remove protective film and insert into slots. Attach battery-operated LED lights to the top with double-sided tape for enhanced display.