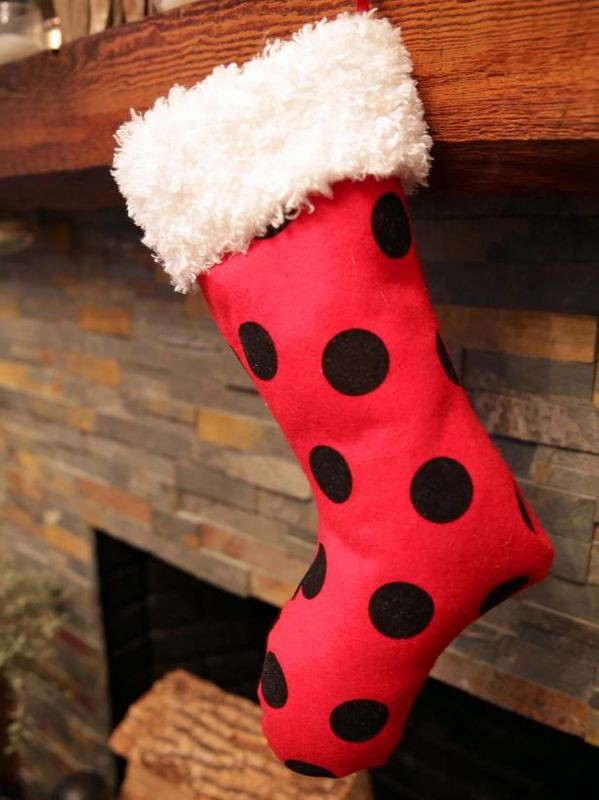
As experienced crafters, we've created a timeless Christmas stocking with a fresh modern twist using polka dot felt for the body.
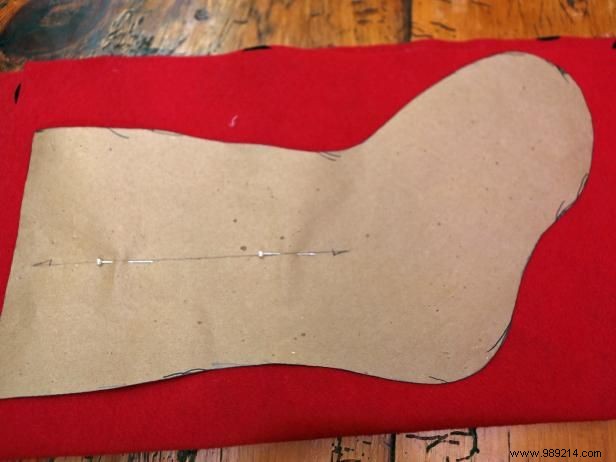
Create a custom pattern for your ideal stocking shape. Draw it on brown craft paper or a paper bag, then cut it out. Fold the burlap fabric in half, right sides together, place the pattern on top, and trace it with a fabric pen.
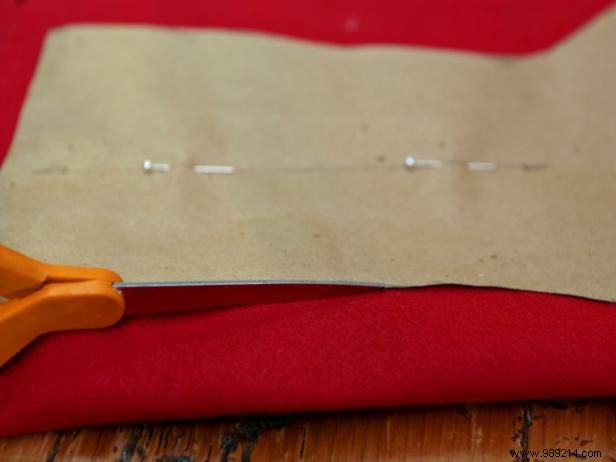
Remove the pattern, pin the layers together, and cut through both layers along the traced line.
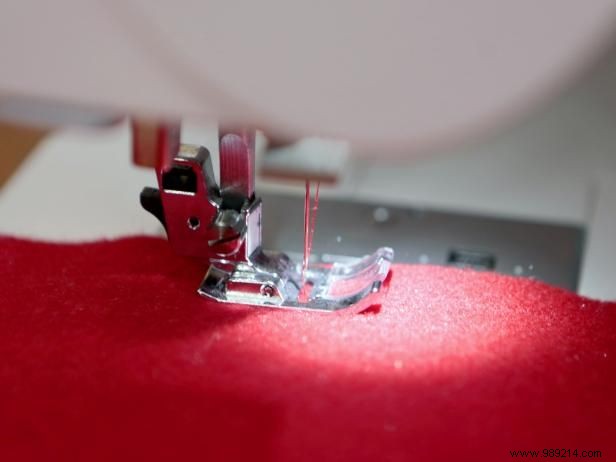
Sew a half-inch seam around the stocking edges, leaving the top open. Backstitch at the start and end for durability.
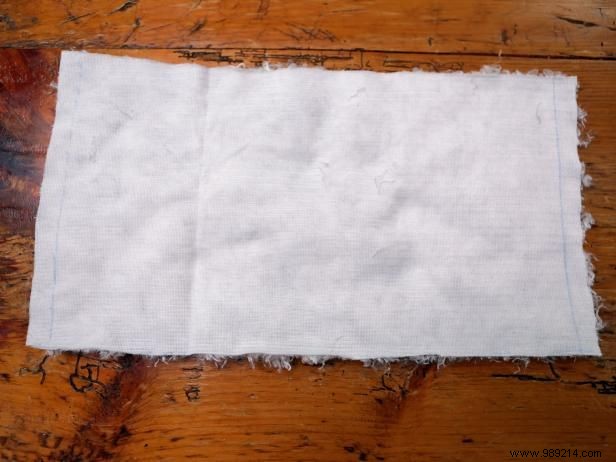
From the cuff fabric, cut a rectangle twice the stocking's top width and twice the desired cuff height, plus 1 extra inch for seams.
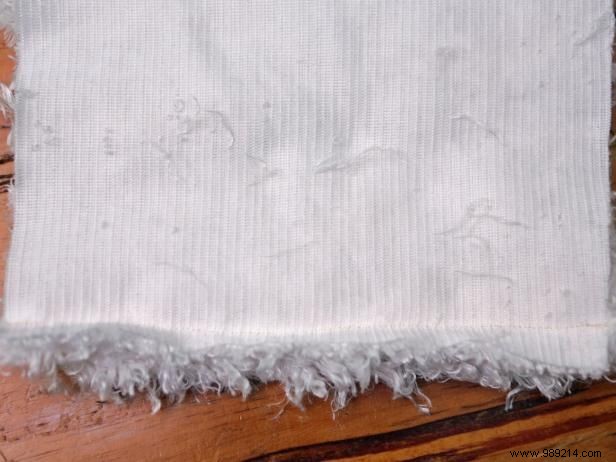
Fold the cuff rectangle right sides together so the short ends meet. Sew a half-inch seam along the short edge, then turn right side out to form a cuff tube with finished sides.
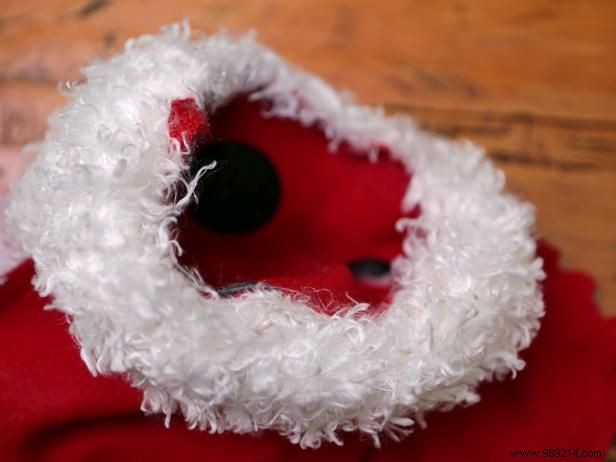
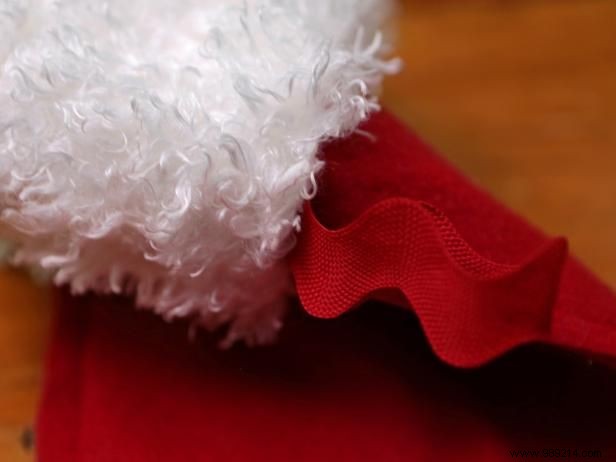
Slide the cuff (inside out) over the stocking's top, aligning raw edges at the opening with the cuff's folded edge facing down. Sew all around the opening.
Cut a two-inch piece of ribbon to form a loop. Glue the ends securely to the inside of the stocking near the top.

Turn the stocking right side out and fold down the cuff for a polished look.