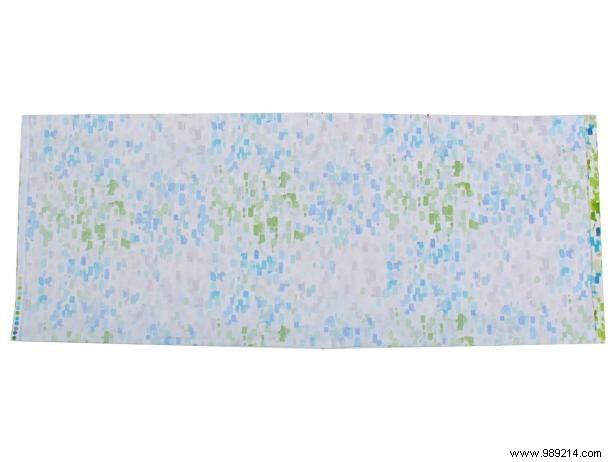
Your yard of fabric measures 45" x 36". On both short sides, fold the edge over to the wrong side. Iron flat and sew along both edges for a clean finish.
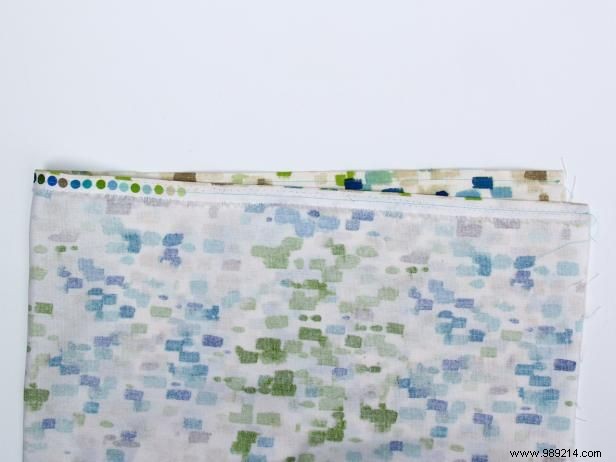
Fold the fabric so the long raw edges meet, right sides facing. Using a 1/4" seam allowance, sew along the raw edge to form a long fabric tube.
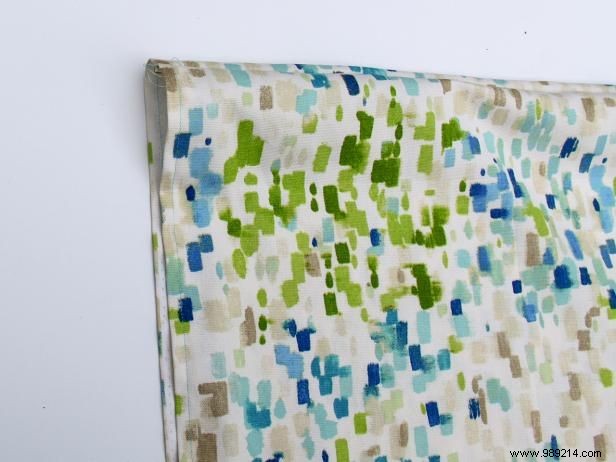
Turn the tube right side out and press the seam flat for a professional look.
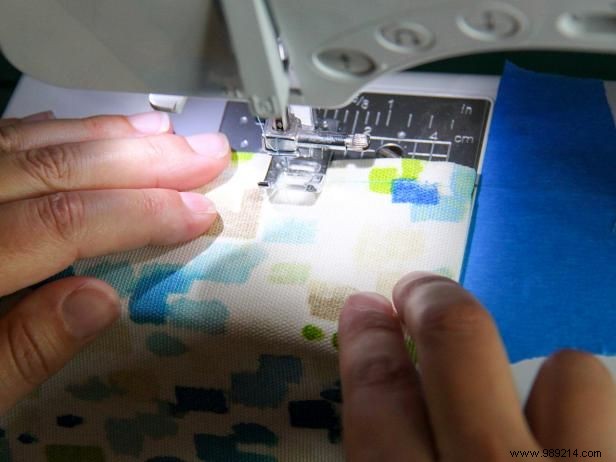
Photo by Carla Wiking
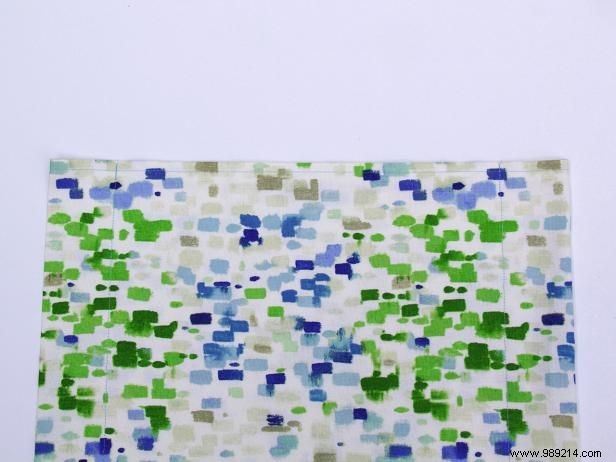
Photo by Carla Wiking
Sew a seam 2-1/4” from one long edge. Use masking tape on your sewing machine as a guide. Repeat on the opposite long edge.
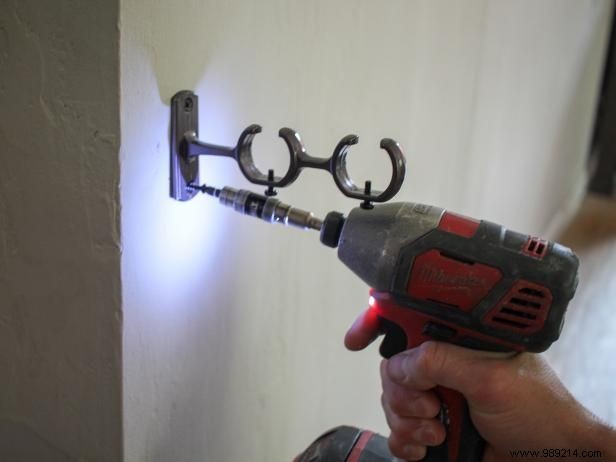
Photo by Carla Wiking
Mount brackets on a stud if possible, or use anchors for security. Space brackets 46" apart and position low enough for kids to reach their books easily.
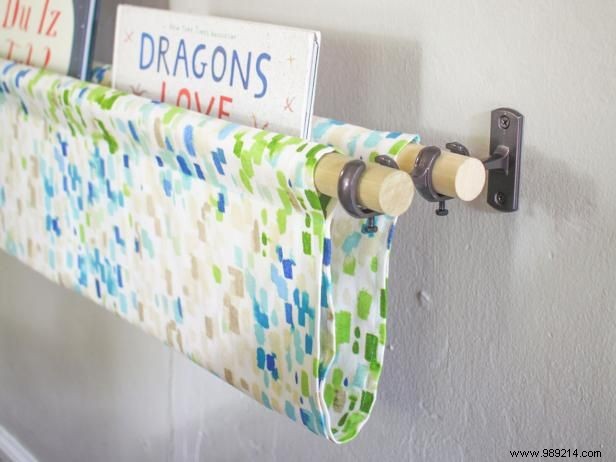
Photo by Carla Wiking
Slide a rod into each casing and attach the rods to the brackets. You've now created a sturdy, attractive book sling visible from all angles.
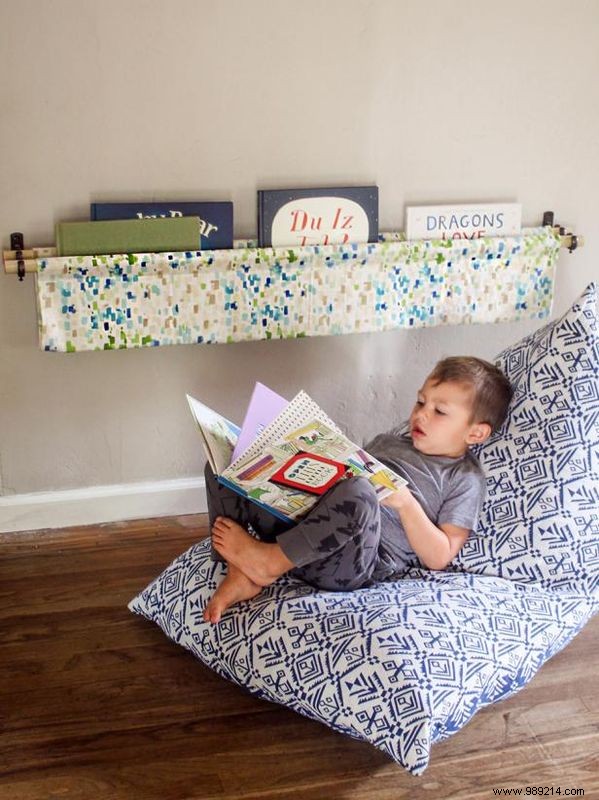
Photo by Carla Wiking
This DIY book sling provides a fun, accessible spot for children's books.
Load the sling with books and watch your little readers light up with joy.
Learn how to make a bean chair with animal fabric. Get step-by-step instructions>>