Tie-dye opens up endless creative possibilities. Achieve a classic shibori navy effect, a nostalgic rainbow vibe, or even fruit motifs. With expert color selection, patterns, and paints, you can wear a vibrant kiwi design by tomorrow.
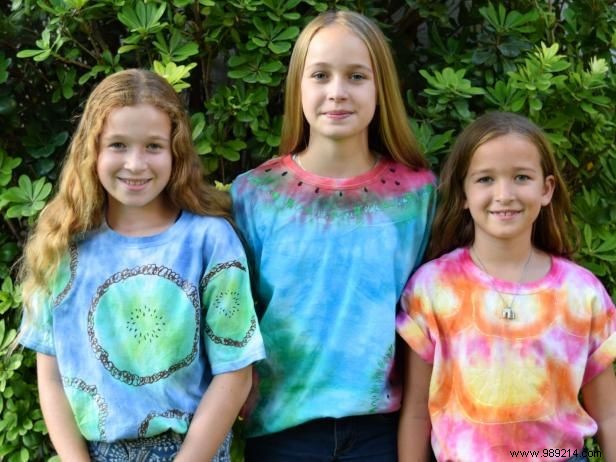
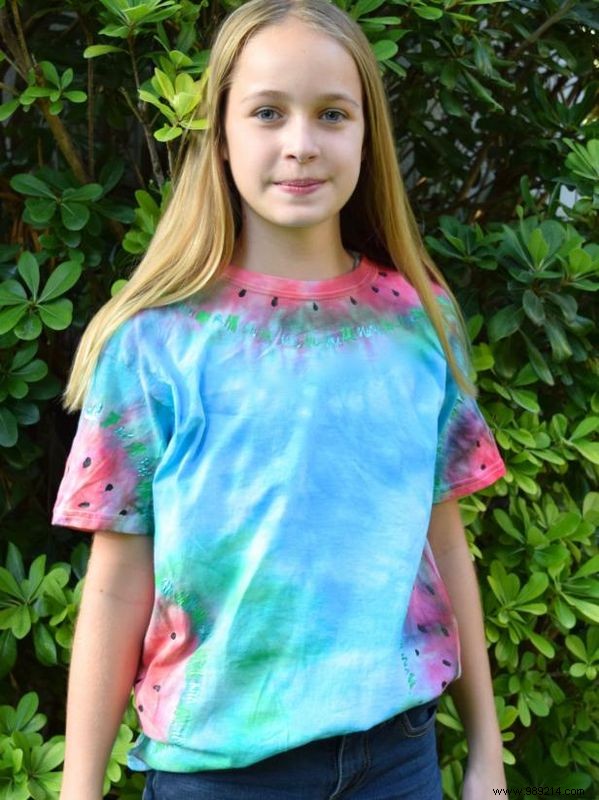
Go beyond basics with citrus slices or watermelon wedges. Start with tie-dye as your foundation, then add painted details like seeds and textures for a professional finish.
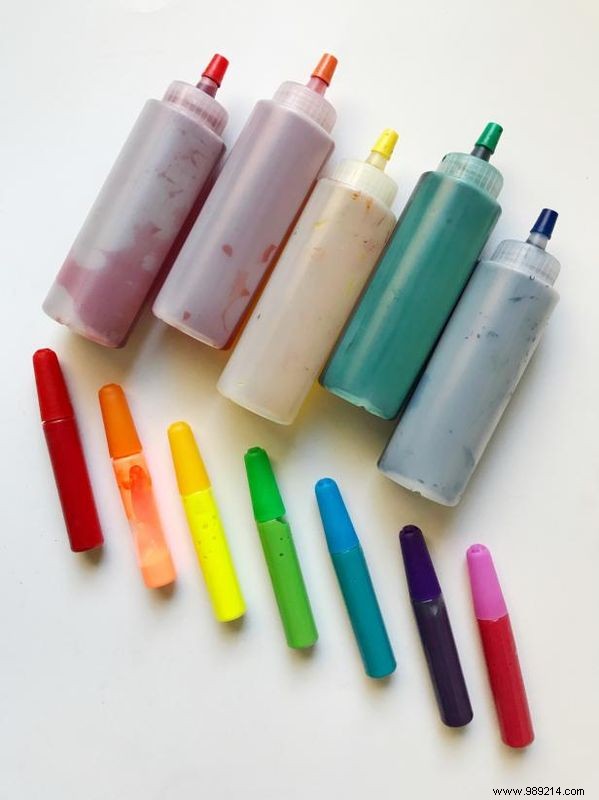
SUPPLIES
Begin with a pre-washed 100% cotton t-shirt—new fabrics have sizing that blocks dye absorption. Choose your fruit theme to dictate colors: earthy browns and greens for kiwi, or bright yellows and pinks for grapefruit and lemons.
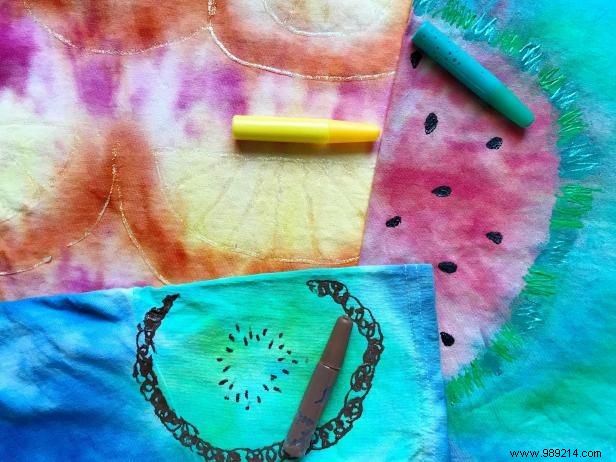
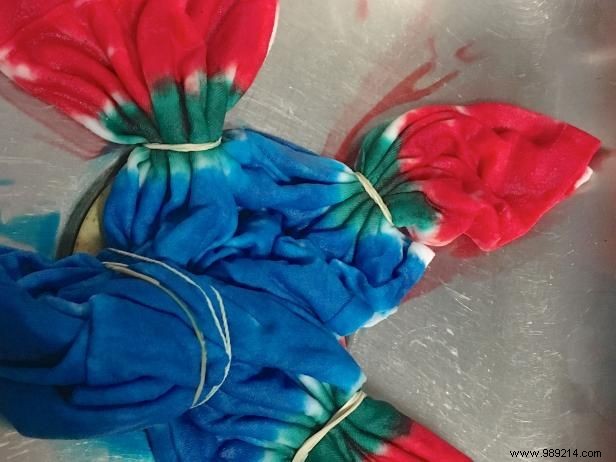
For most fruits, use a simple circular rubber band technique. Position bands to guide dye application—for a watermelon, apply red on one side and green on the other, leaving white where the band sits.
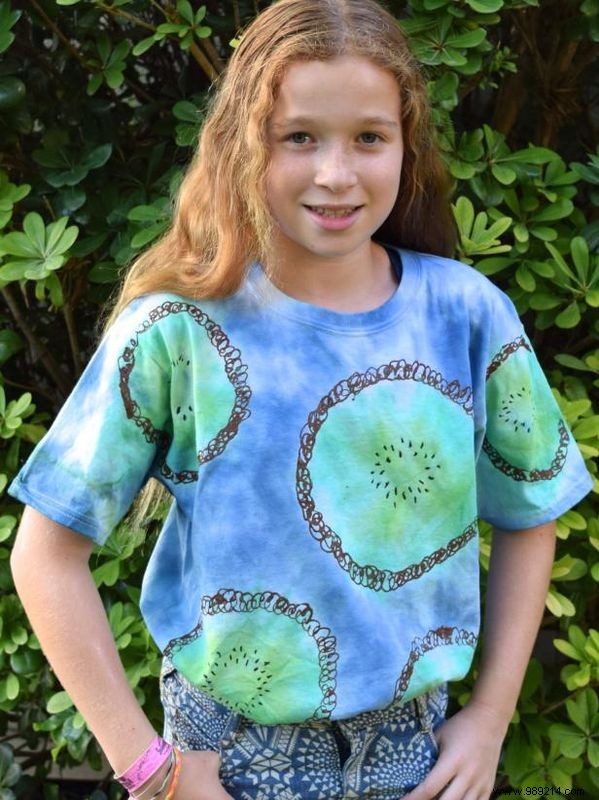
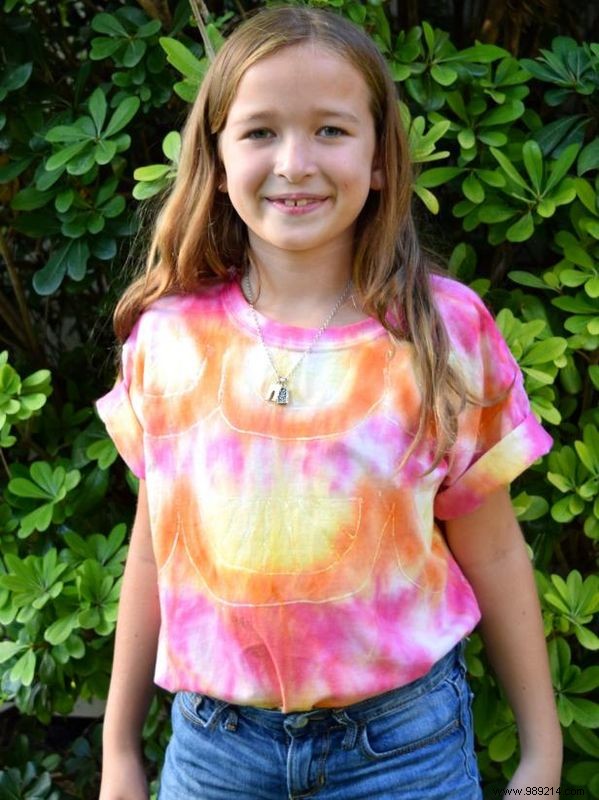
Let the dye set for 24 hours (or per package instructions), then rinse and wash. Next, add details with fabric paint: fuzzy brown kiwi skin or segmented yellow lemon slices.
Allow paint to dry for 24 hours. Your custom fruity tie-dye tee is ready to wear! This approachable project suits kids and adults, drawing from years of hands-on crafting experience.