As a seasoned crafter with years of upcycling experience, I've perfected this simple, eco-friendly project. Transform an old sweater into a charming Christmas stocking that evokes cozy log cabin holidays—all on a budget.

Jess Abbott
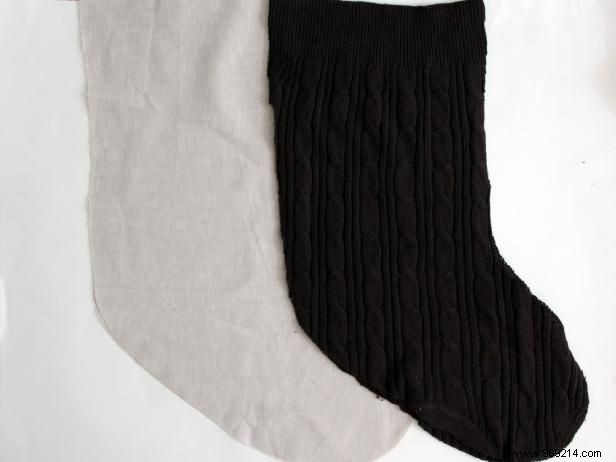
Position the top edge of your pattern along the sweater's bottom hem. Cut the front and back pieces around the pattern to form the stocking's exterior.
Jess Abbott
Cut two matching pieces from cotton fabric for the lining.
Jess Abbott
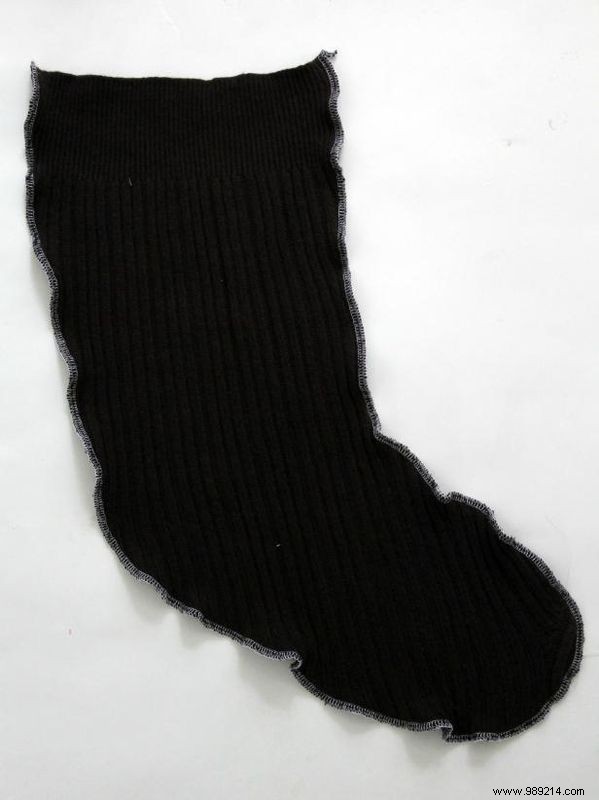
Place the front and back sweater pieces right sides together. Sew around the sides and bottom, leaving the top open. Turn right side out and gently press the seams with your fingers.
Jess Abbott
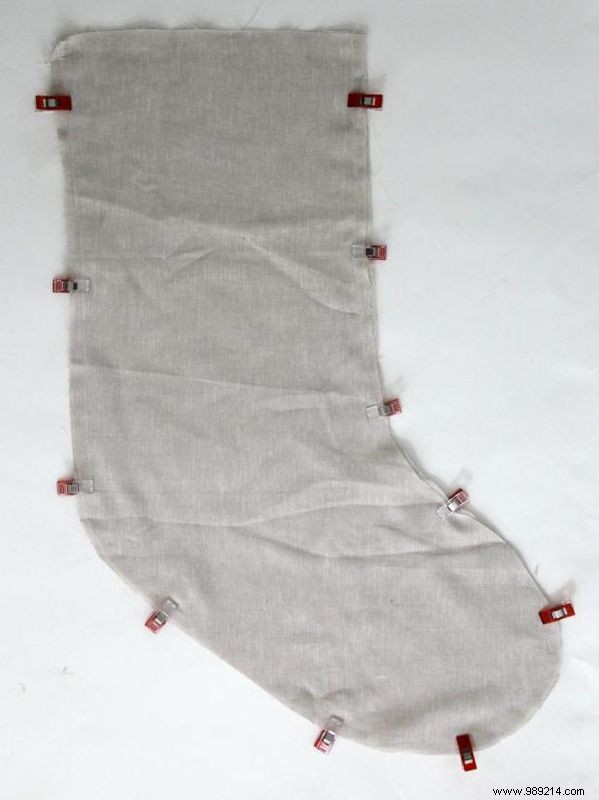
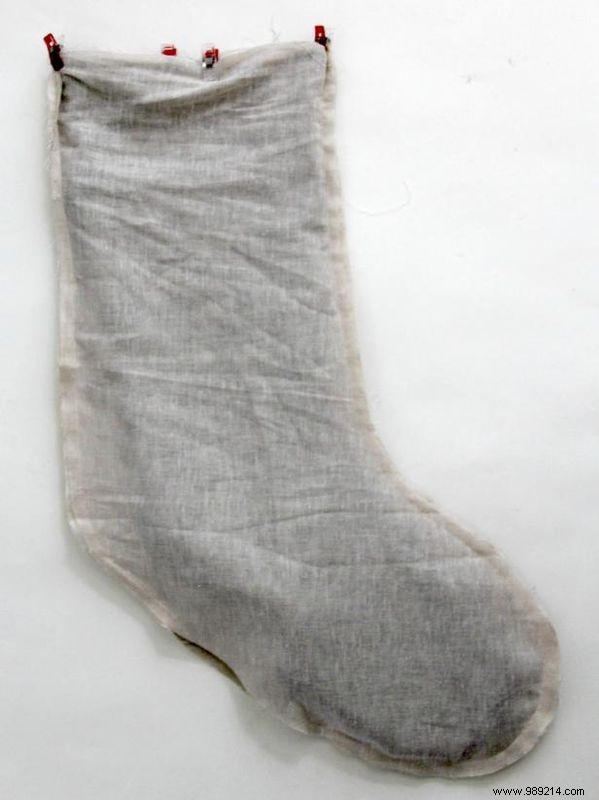
Place the lining pieces right sides together and sew the sides and bottom, leaving a 5-inch opening in the foot area for turning later.
Jess Abbott
Slide the lining inside the exterior stocking, matching side seams at the top. Pin and sew around the top edge. Reach through the lining's opening to turn the stocking right side out, then sew the opening closed. Push the lining fully inside and poke out the corners with your finger.

Jess Abbott
Sew around the top edge of the stocking to hold the lining securely in place.

Jess Abbott
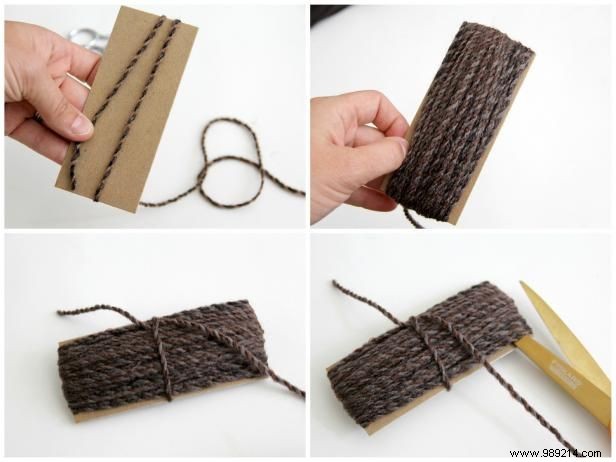
Wrap yarn lengthwise around a piece of cardboard until it's thick and full—the more wraps, the larger the pom-pom.
Jess Abbott
Cut the yarn from the skein. Tie a loose piece around the center over the cardboard, then cut the loops on both sides.

Jess Abbott
Slide out the cardboard, tighten the tie into a secure knot, and trim ends evenly.

Jess Abbott
Repeat for the second pom-pom. Tie them together with an 18-inch yarn strand, forming a 3-inch hanging loop at the top knot. Position as desired.

Jess Abbott
Place the loop knot along the stocking's top back seam and sew back and forth securely over the yarn.

Jess Abbott
Hang your handmade stocking with pride or gift it with a favorite bottle. You've crafted a holiday heirloom!